Microsoft recommends upgrading the operating system, and after installation, you can delete the old Windows folder in Windows 10. The OS quickly reminds us of the “Access Denied” error, which doesn’t go away that easily. You can try plenty of things, but it will go in vain because Microsoft doesn’t want you to remove it yet. In this tutorial, we are going to provide an in-depth guide on how to remove Windows.old folder in the C: partition. We have installed Windows operating system more than 100 times in the last 10 years, and our guide covers 7, 8.1 Pro, and 10 editions.
Contents
Delete old Windows folder in Windows 10: Wait for 7 Days
Our recommendation for readers is to wait for a minimum of one week before deleting it. Unfortunately, Windows upgrade doesn’t work correctly in some rare cases, and this is where Windows.old folder comes handy. The PC administrators have the option to go back to the previous version without losing the original product key. Consider our suggestion as a warning because the latest Microsoft operating system is getting heavier for older machines to run smoothly.
1. Inbuilt Storage Cleaner
Microsoft added an inbuilt storage cleaner in the latest Windows 10 build version. Readers can remove the files without errors, but it consumes plenty of time. Your HDD or SSD Read/Write speed doesn’t matter in this case because it indeed consumes a lot of time. Our suggestion is to wait for the program to clear the folder permanently and work in the background.
Step 1: Press Windows Key + I will open the “Settings” page.
Step 2: Click on “System” from the page, which is the first option.
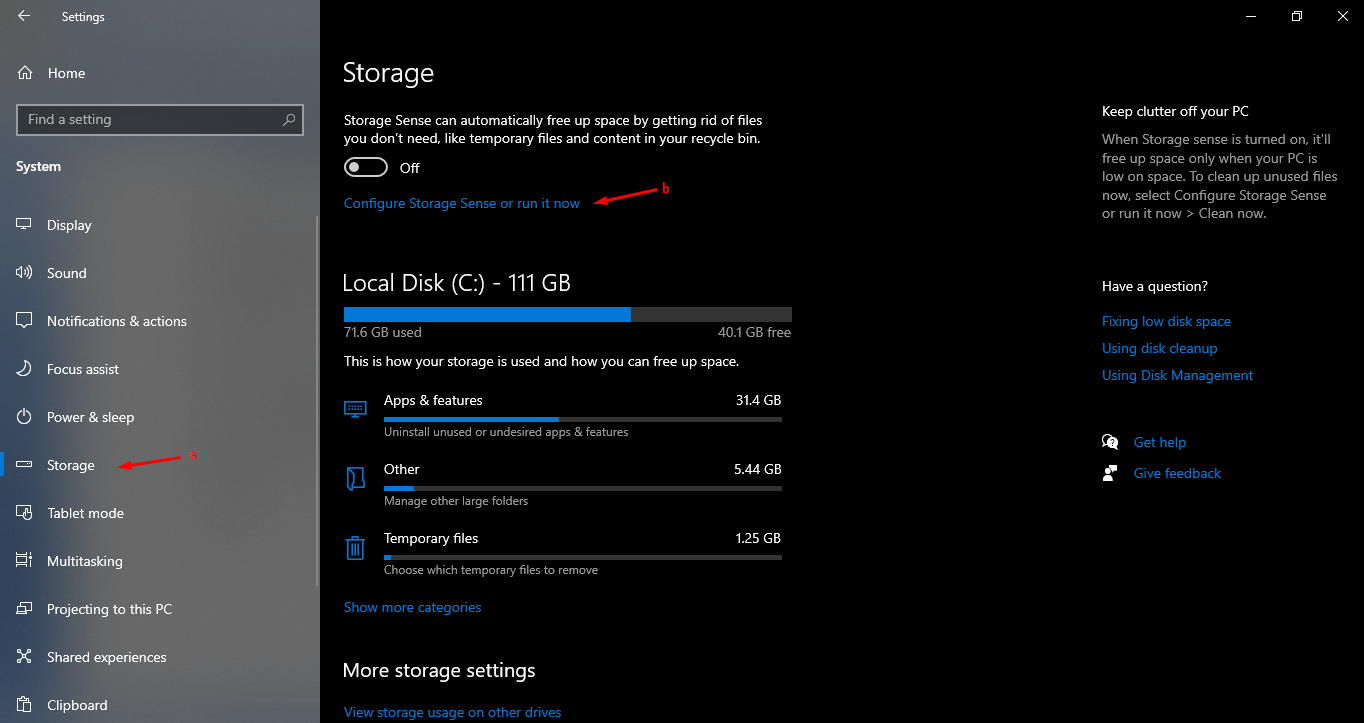
Step 3: Find “Storage” and click to select it.
Step 4: Click on “Configure Storage Sense or run it now” to continue.
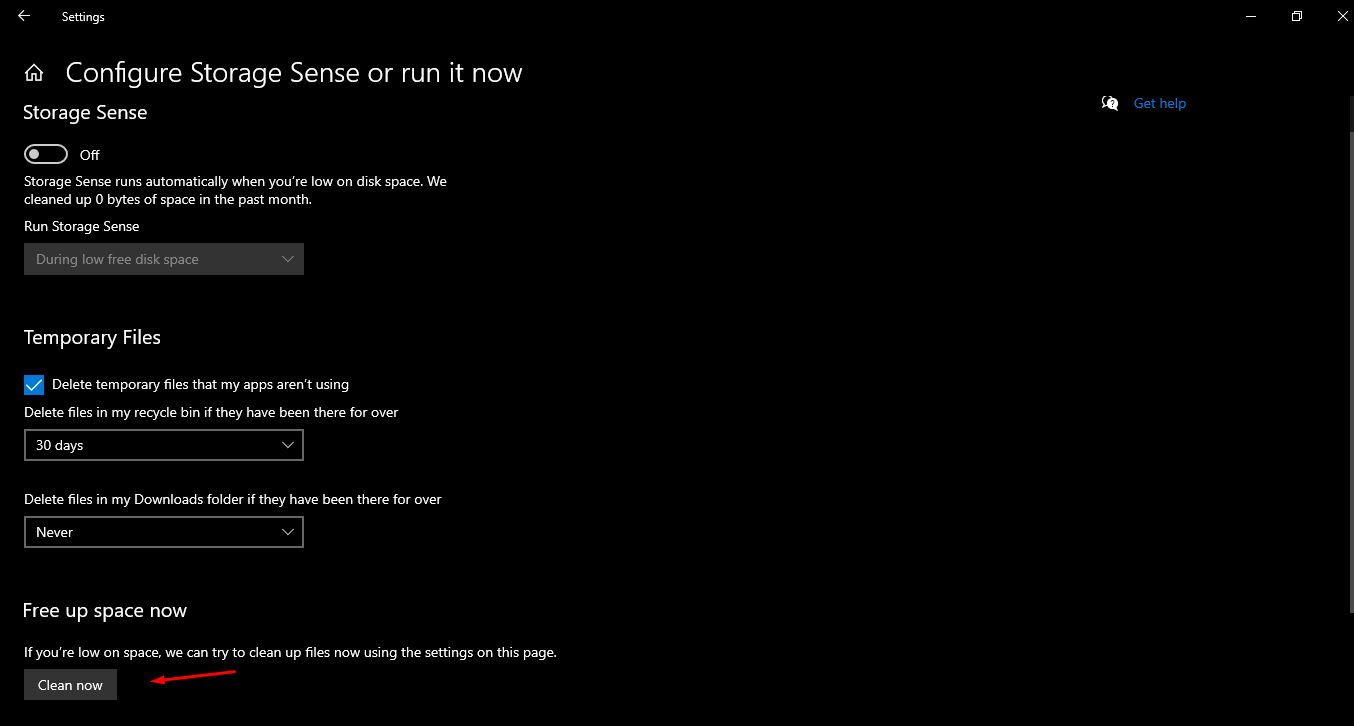
Step 5: Click on “Clean Now” from the settings page.
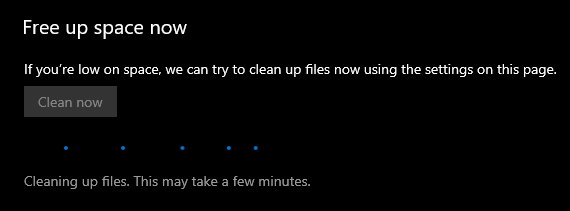
Step 6: The cleaning process begins, and the “Storage Sense” function consumes plenty of time in removing the files and folders. You have to be patient during this time and do not close the window.
Step 7: The results will show up on the screen. There’s no detailed report available for the geeks, but that’s about it.

You can turn on the “Storage Sense” feature that will take care of the cleaning process automatically. If you are not into manual work, then it is a useful feature.
2. Traditional Disk Cleaner
Microsoft added partition Disk Cleaner in the previous version a decade ago, and it has been beneficial for the most part. Allow us to show you can remove the Windows.old folder from the operating system installed partition.
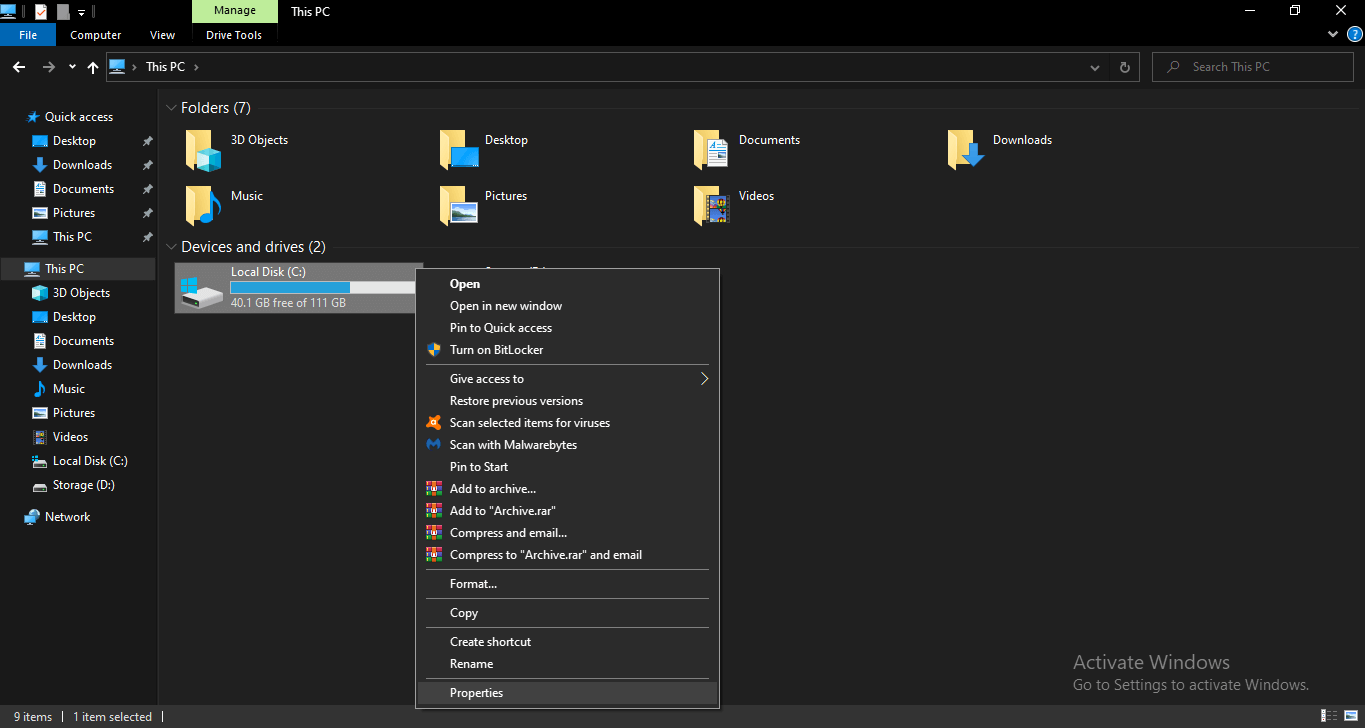
Step 1: Open “This PC” or “My PC” using the file explorer.
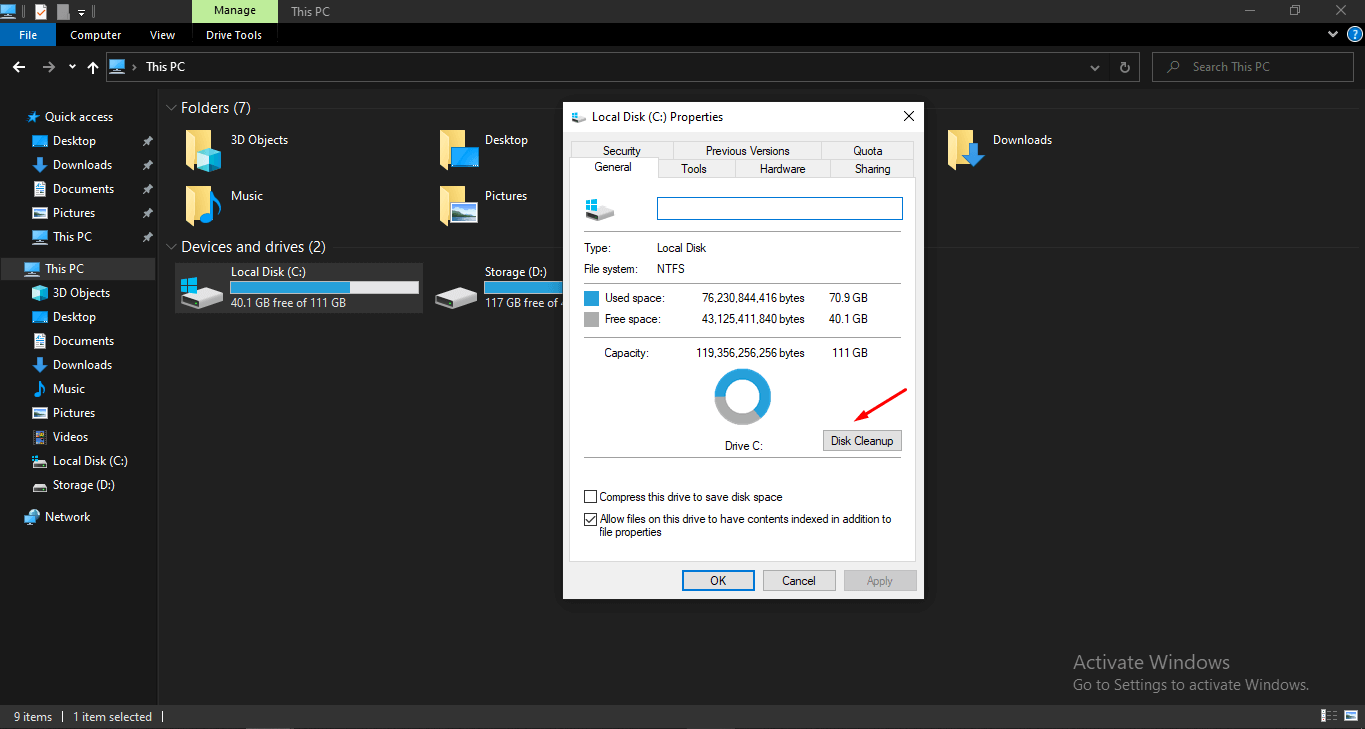
Step 2: Select the Windows installed partition and then right-mouse click for more options, and then click on “Properties” to begin the process.
Step 3: A small window pop-up on the screen and click on “Disk Cleanup” to continue.
Step 4: Select “Windows.old” from the list, and then click on “OK” to continue.
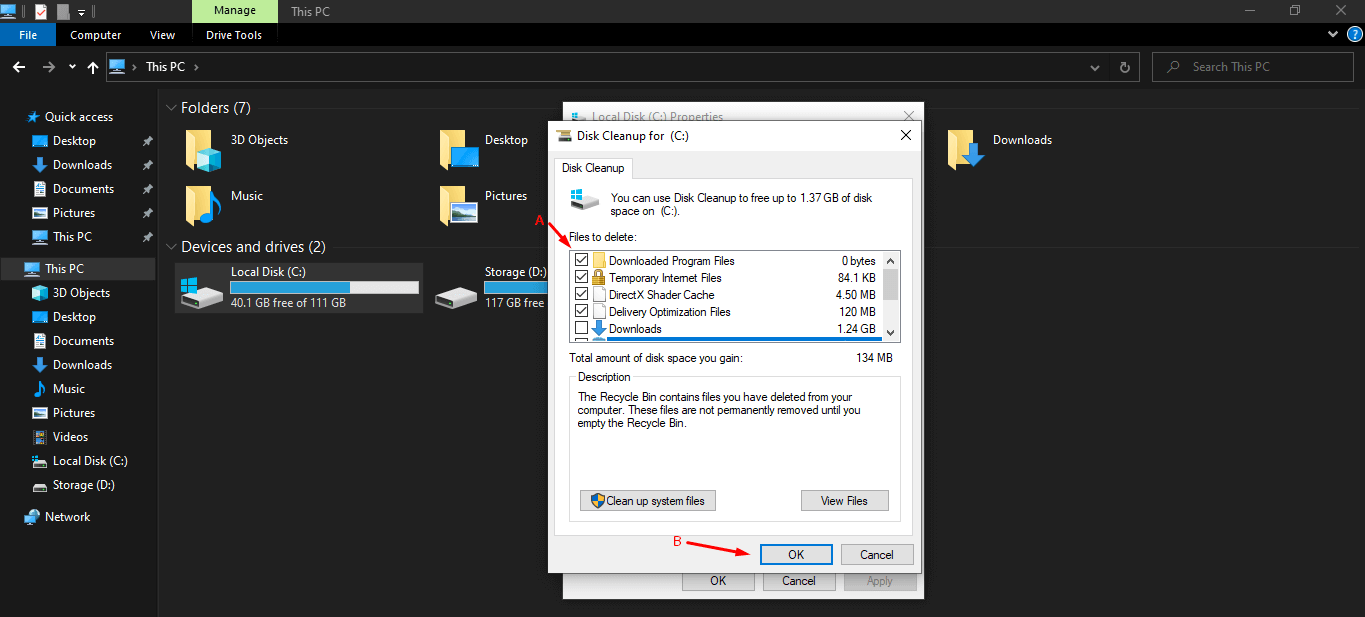
Step 5: Click on “Delete Files” to remove all selected files and folders. You cannot recover any data that been removed by the Disk Cleaner, and it is a permanent action.

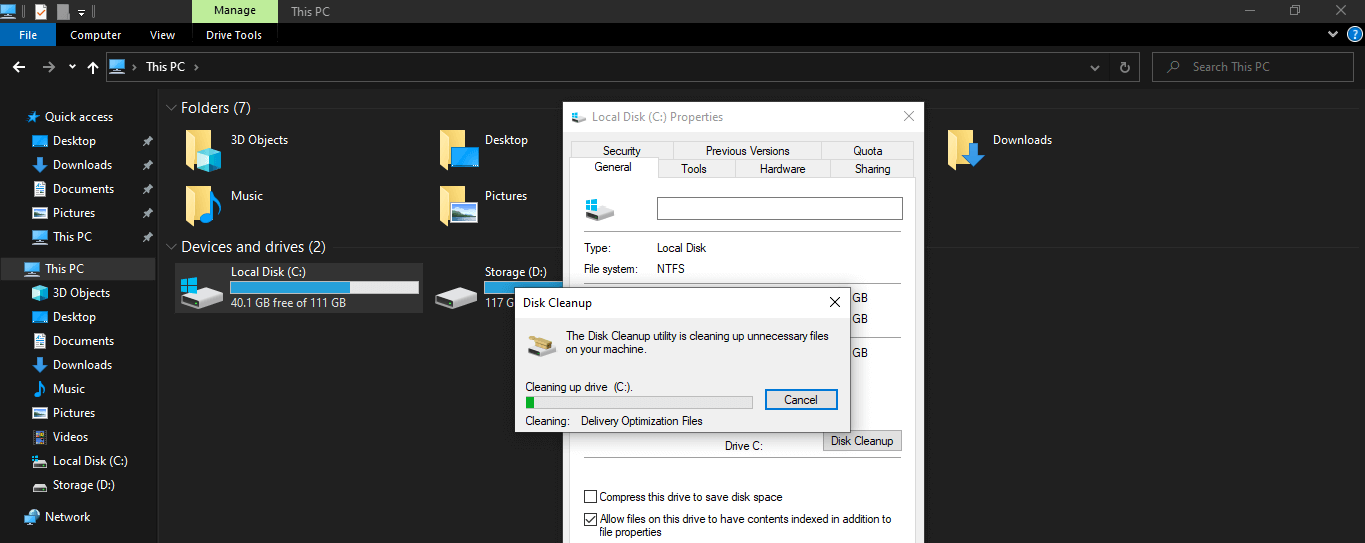
Step 6: Be patient for a few moments, and then the window closes automatically.
PC administrators can restart the computer to dump the previous session files. There’s a lot of ways to remove Windows.old, but using the inbuilt function makes it more comfortable, and Disk Cleaner is a handy tool.
3. CCleaner
Piriform’s CCleaner is a popular Windows cleaner that we have been using since 2012. Avast acquires Piriform, and they are promoting the product in many ways now. The Windows cleaner has removed the old installation folder from Windows 7, Windows 8.1 Pro, and Windows 10 machines many times. You can use the program to speed up the machine, and that’s the primary purpose of the solution.
Step 1: Download free version CCleaner ( http://www.ccleaner.com/ccleaner ) from the official website.
Step 2: Select the Windows.old from the “Windows” tab, and make sure to check “Applications” not to miss the option.
Step 3: Click on the “Analyze” button to know what’s cleaned up.
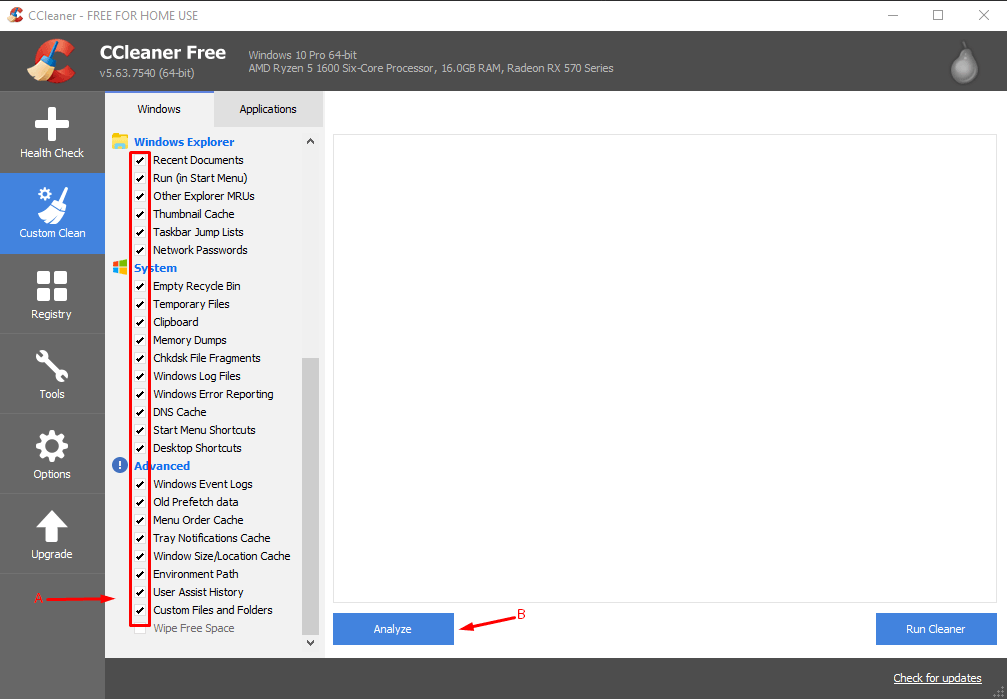
Step 4: Click on the “Run Cleaner” button to remove the files and folders from the system.

The cleaner program consumes less than 5 minutes, and your drive speed doesn’t matter in this case. Overall, you won’t have errors on the screen, and the cleaning process is on automation, and no further action is needed in this case. You can uninstall the program instantly after the work done because it’s not an effective solution for high-end computers.
Bottom Line
We have shown you three ways to delete the old Windows folder in Windows 10 without Access Denied error on the screen. We have tried and tested the feature on 7th edition, 8.1 Pro edition, and 10th edition, and it works flawlessly. Let us know what o you think about the solutions in the comment section below.