Microsoft is bagging millions of dollars each month on their first Official innovative product called Windows. The latest release is Windows 10, where they have launched several other Windows 10 based OS. Currently, the most recent variant is Windows 10 S. Doesn’t matter which version they launch because all of them have issues which occurred even in the previous releases.
In Windows, most of the users encounter with errors, which are sometimes easy to resolve but when it comes to those with no technical knowledge often have difficulties in addressing the ERRORS. The complex errors with several reasons behind the failure often cause users to approach nearby software expert.
So we are going to help you solve one of the complex issues, and we will help you solve it in the easiest way possible.
A Quick Solution For Windows 10 Disk Usage 100% Problem?
When you think about the ERRORS, there are several aspects you have to check and ensure that you are dealing with the right problem. We are going to show you the easiest way to solve the error, and you will not have to face the problem again.
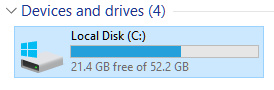
Win10 takes a lot of space for the operating system installation, and when you are running out of space in the “C,” you realize that the Win 10 is slowing down and also have the disk 100% usage problem. You can CCLEANER to remove Trash like unused Folders, Cache, Browser data, DLL’s and more. Erasing the trash can help you free up space up to 5GB.
So let’s begin.
Step 1: First of all, you need to check, if your DISK is full and if it is then remove large files to make some space.
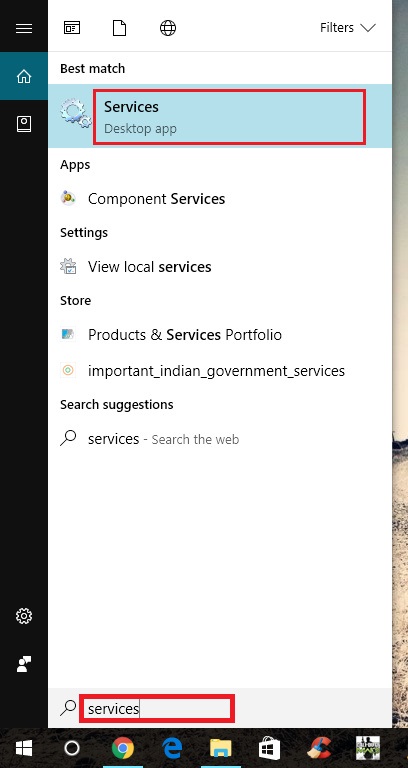
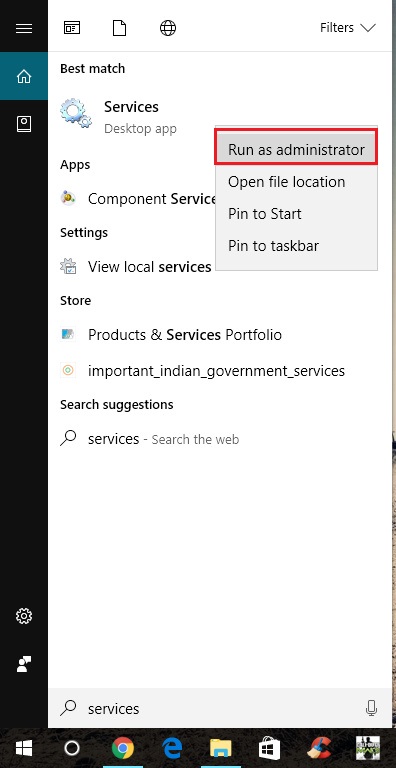
Step 2: Go to the search bar.
Step 3: Now type “Services” in the search bar.
Step 4: Make sure to run as Administrator. Right-click your mouse and “Run it as Administrator.
Step 5: A Windows will pop with several “Services List” running.
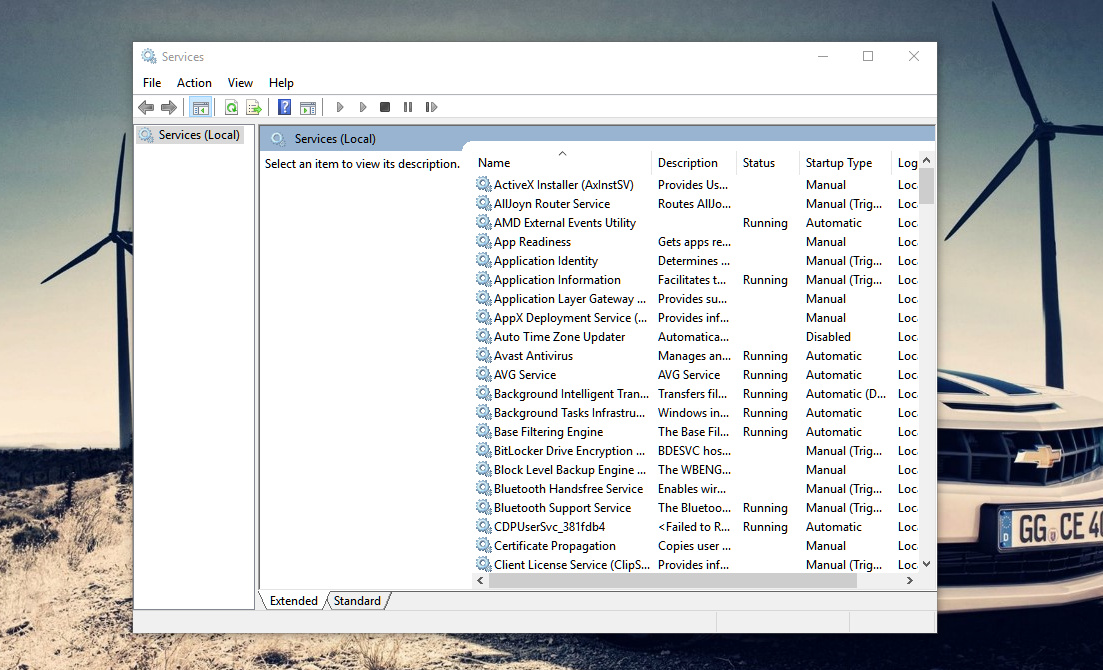
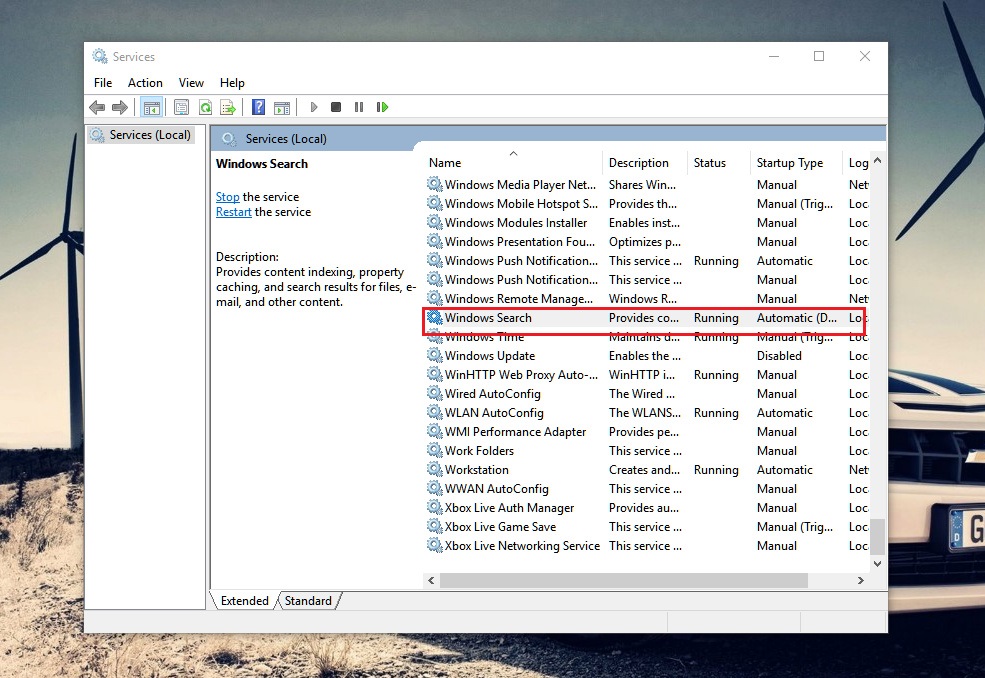
Step 6: A huge list will appear, which are related to all moving services. The Services includes Windows update to plugins. Now you have to scroll down and look for “Windows Search.” Make sure you are not selecting the wrong one, or you may end up causing more problem. We have to provide you the image, which is what you should see on your screen.
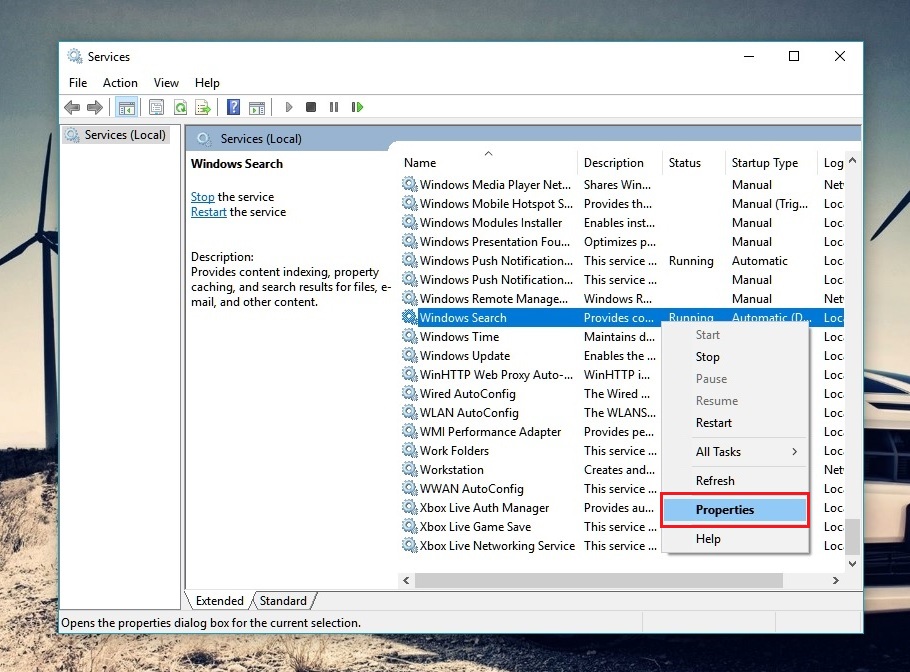
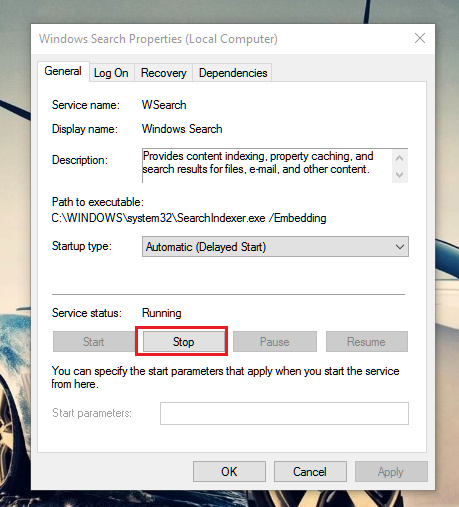
Step 7: Use your MOUSE and Right-click on it. You have to select “Properties.”
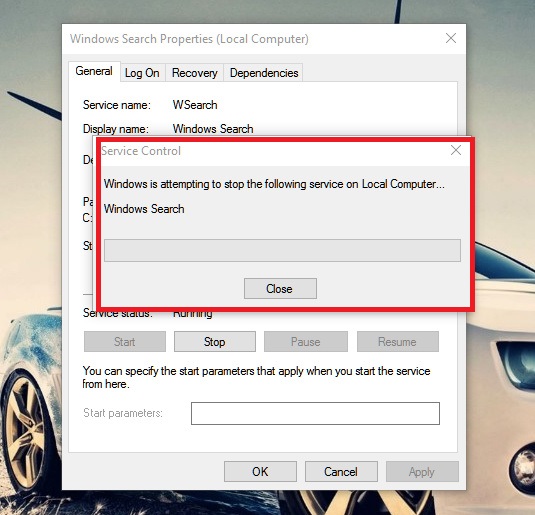
Step 8: As you can see there are several options in the “Properties,” you have to click once on the “STOP” and wait till the STOP button is grayed.
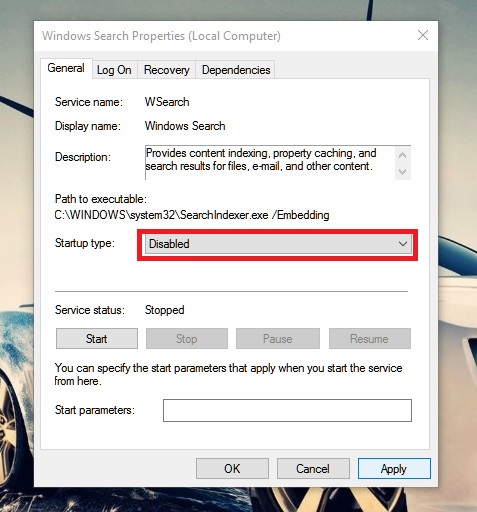
Step 9: Now you have to select “Automatic” to “Disabled.” If you are confused, then you can see the image for better understanding.
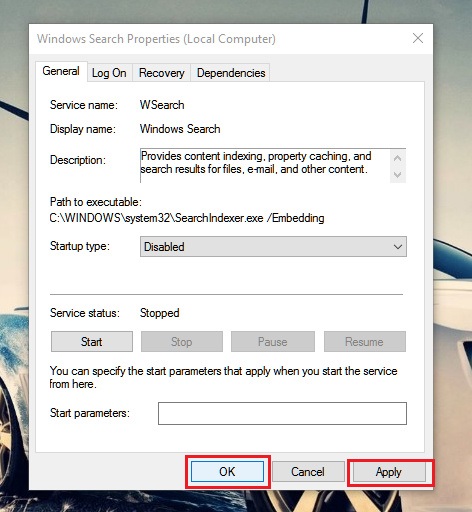
Step 10: First click on “Apply” and then “Okay.”
That’s it. It is that simple to get rid of the problem.
Precautions
- You have to delete large file size media or data. Sometimes it is also important for the Windows to have a free space to perform tasks. Win 10 continuously use your hard disk, and it reads and writes to run few programs smoothly. So make sure to maintain 5GB or more space in your hard drive, especially “C” or partition where you have installed Win 10.
- When you are doing it for the first time, and you have to no technical knowledge, then I would suggest you understand the proceure in both Reading and Images viewing we have provided.
- When things seem to go wrong, or you have messed up something then don’t click on APPLY or OKAY.
Conclusion
Disk usage 100% is mostly caused because of lack of free space but in few cases, it happens because of the hard disk failure. If the problem persists then i would recommend you to go for a engineer, who can help you resolve the hardware issue. We would like to know your opinions, so shoot them in the comments section down below.