Every Windows user has faced the “No Bootable Device Found” issue. I have suggested a few solutions to resolve the boot problems on the Windows 11 machine. Meanwhile, I recommend readers prepare a live USB drive to reinstall the operating system. You can’t solve broken system files. Reinstalling the OS is the only remaining option. Apply the solution suggested below, then consider installing Windows 11.
Contents
Remove Unnecessary Devices
We connect multiple devices to a Windows computer. The BIOS may consider one of the connected devices a primary bootable drive. I have mentioned the devices you should remove from the Windows 11 PC. Shut down the computer before you begin the process.
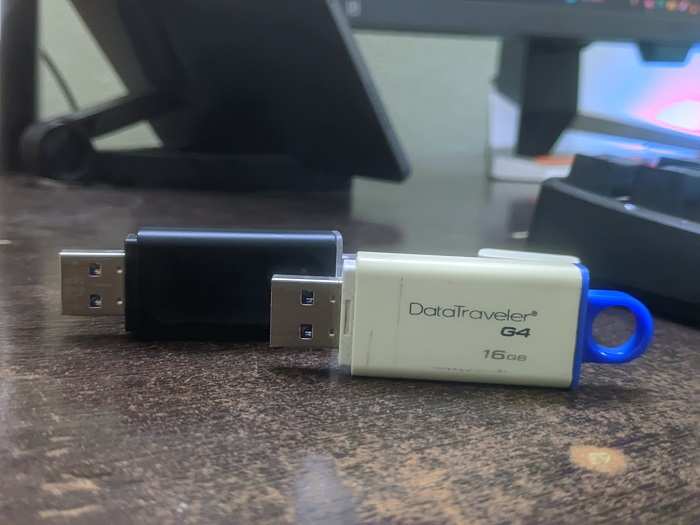
a. USB Drives
b. USB Flash Drive
c. External Storage Devices
d. Digital Audio Devices
e. Wireless Mouse or Keyboard
f. Dongles
The list keeps going on till the end.
You can leave the wired keyboard and mouse connected to the PC. Remove the rest of the removable components and restart the machine.
Clean Internal Components
Dust and grime are the numbers arch-enemy of electronic components. I always recommend that readers clean their laptops once a year. You can clean the desktop every three months for a longer life span. I have shared a few points you should note while cleaning electronic gadgets.
a. Shut down the Windows 11 PC and remove all plugs.
b. Buy a microfiber cloth from a dollar store to remove the tough stains from the hard drive.
c. Use an air blower to remove the dust without touching the internal components.
Refrain yourself from using water substances and sharp objects. You can meet a certified technician to clean the desktop or laptop.
Set Boot Order in BIOS
The computer searches for the bootable Windows drive after turning on the PC. Set the boot priority in the BIOS manually. The process may seem intimidating since the user interface differs from motherboard manufacturer to manufacturer.
BIOS Key: F1, F2, F8, F11, F12, ESC, and DEL.
I have suggested a few BIOS keys above.
1. Turn off the Windows 11 PC.
2. Press the button, then press the BIOS key till the user interface appears on the screen.
3. Select “BOOT” from the top menu.
4. Select your hard drive or SSD using the arrow keys.
5. Use the + or – keys to move the Windows drive to the top position.
6. Select the “Saving Options” from the top menu.
7. Select the “Save and exit” option.
The motherboard will read the top drive and load the Windows OS. You can watch YouTube tutorials to set the boot priority.
Run Full System Scan
Windows doesn’t have an impenetrable wall. Millions of virus pieces infect the operating system across the world. Run a full system scan because a virus or malware could be causing the problem. You can use Windows Defender or some third-party anti-virus system.
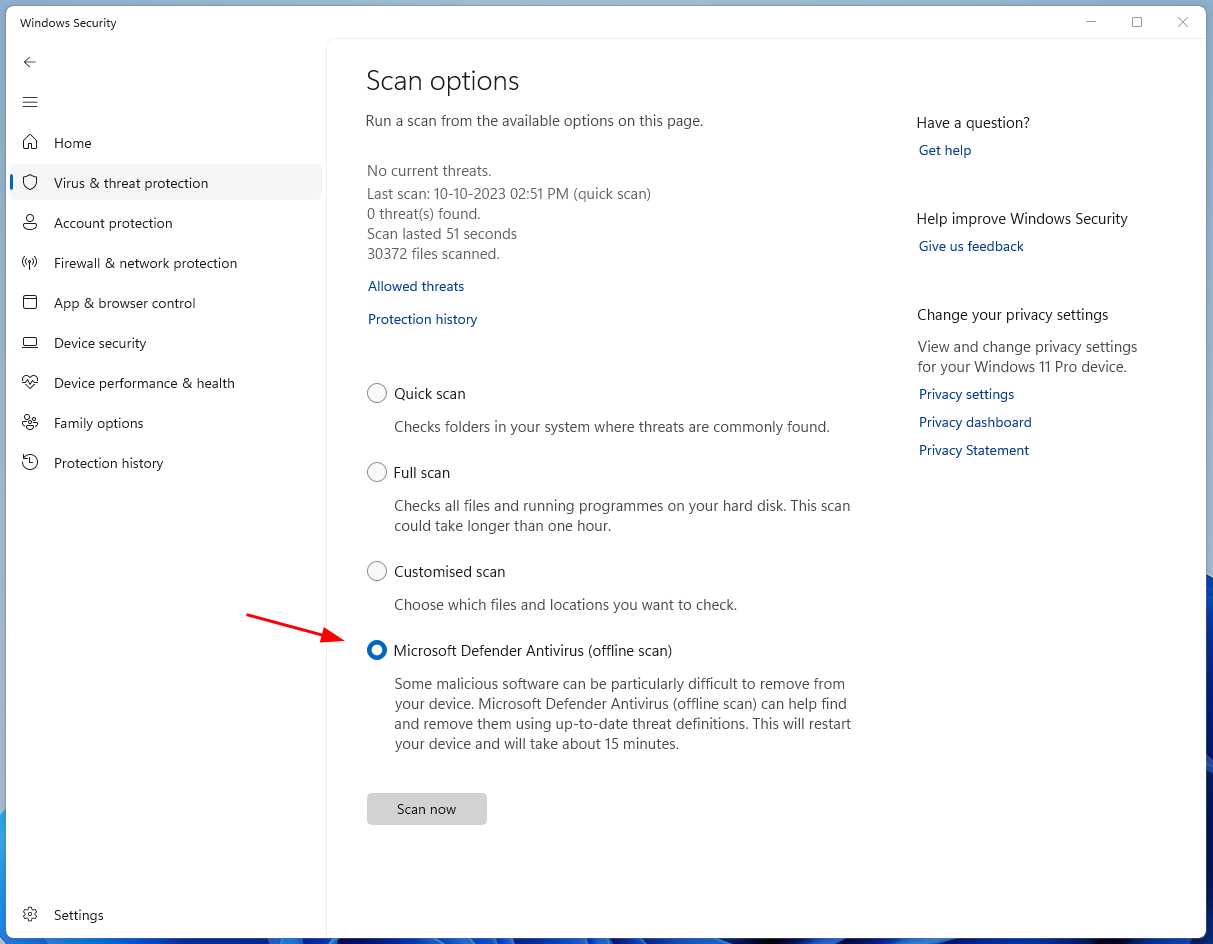
1. Launch Windows Security from the search bar.
2. Click on the “Virus & threat protection” option.
3. Click the “Scan options” button.
4. Choose the “Microsoft Defender” option, then click the “Scan now” button.
Windows will restart and the defender will scan the system from the background. The threat protection scanning takes less than twenty minutes on newer models.
Run CHKDSK For Hard Drive Errors
Mechanical hard drives have many bad sectors. You can’t prevent the hard disc damage since it will fail somewhere down the line. Let me show you how to fix the bad sectors on Windows.
1. Open Command Prompt as administrator from the start menu.
2. Type “CHKDSK” in the CMD, then press the “Enter” key.
3. Leave the Windows machine for a few moments.
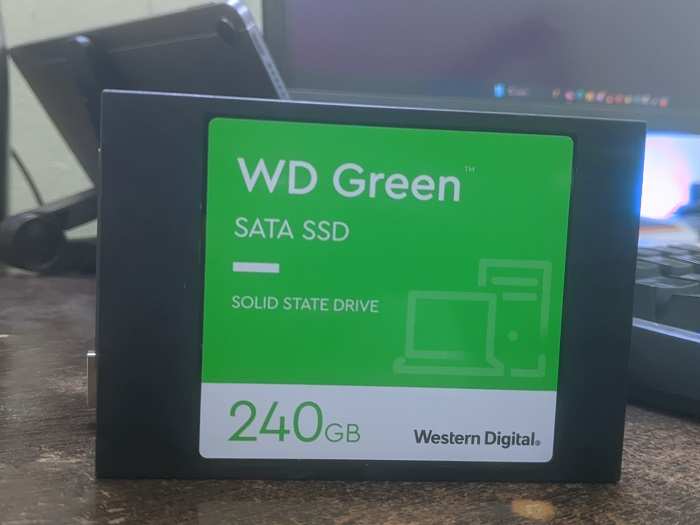
I request readers to leave the machine idle till the process finishes. Pick up an affordable SSD from the store and prevent such issues.
Check Windows Files Integrity
Many elements destroy the Windows system files. Microsoft has added a tool to recognize damaged files. Let me show you how to scan and fix the damaged system files.
1. Open Command Prompt as administrator from the start menu.
2. Type the “SFC/scannow” in the Command Prompt.
3. Press the Enter key.
4. Leave the CMD for a few minutes.
Windows Resource Protection will find the corrupted files and repair them. Reinstall the operating system if the built-in tool couldn’t fix them.
Use Startup Tool
The startup repair is an advanced tool available in the recovery mode. Let me show you how to navigate to the user interface on Windows 11.
1. Open the “Settings” from the start menu.
2. Find “Recovery” from the search bar.
3. Click on the “Restart now” beside Advanced Startup.
4. Click the “Troubleshoot” in the recovery mode.
5. Select “Troubleshoot” in Advanced Options.
6. Click the “Startup Repair” option.
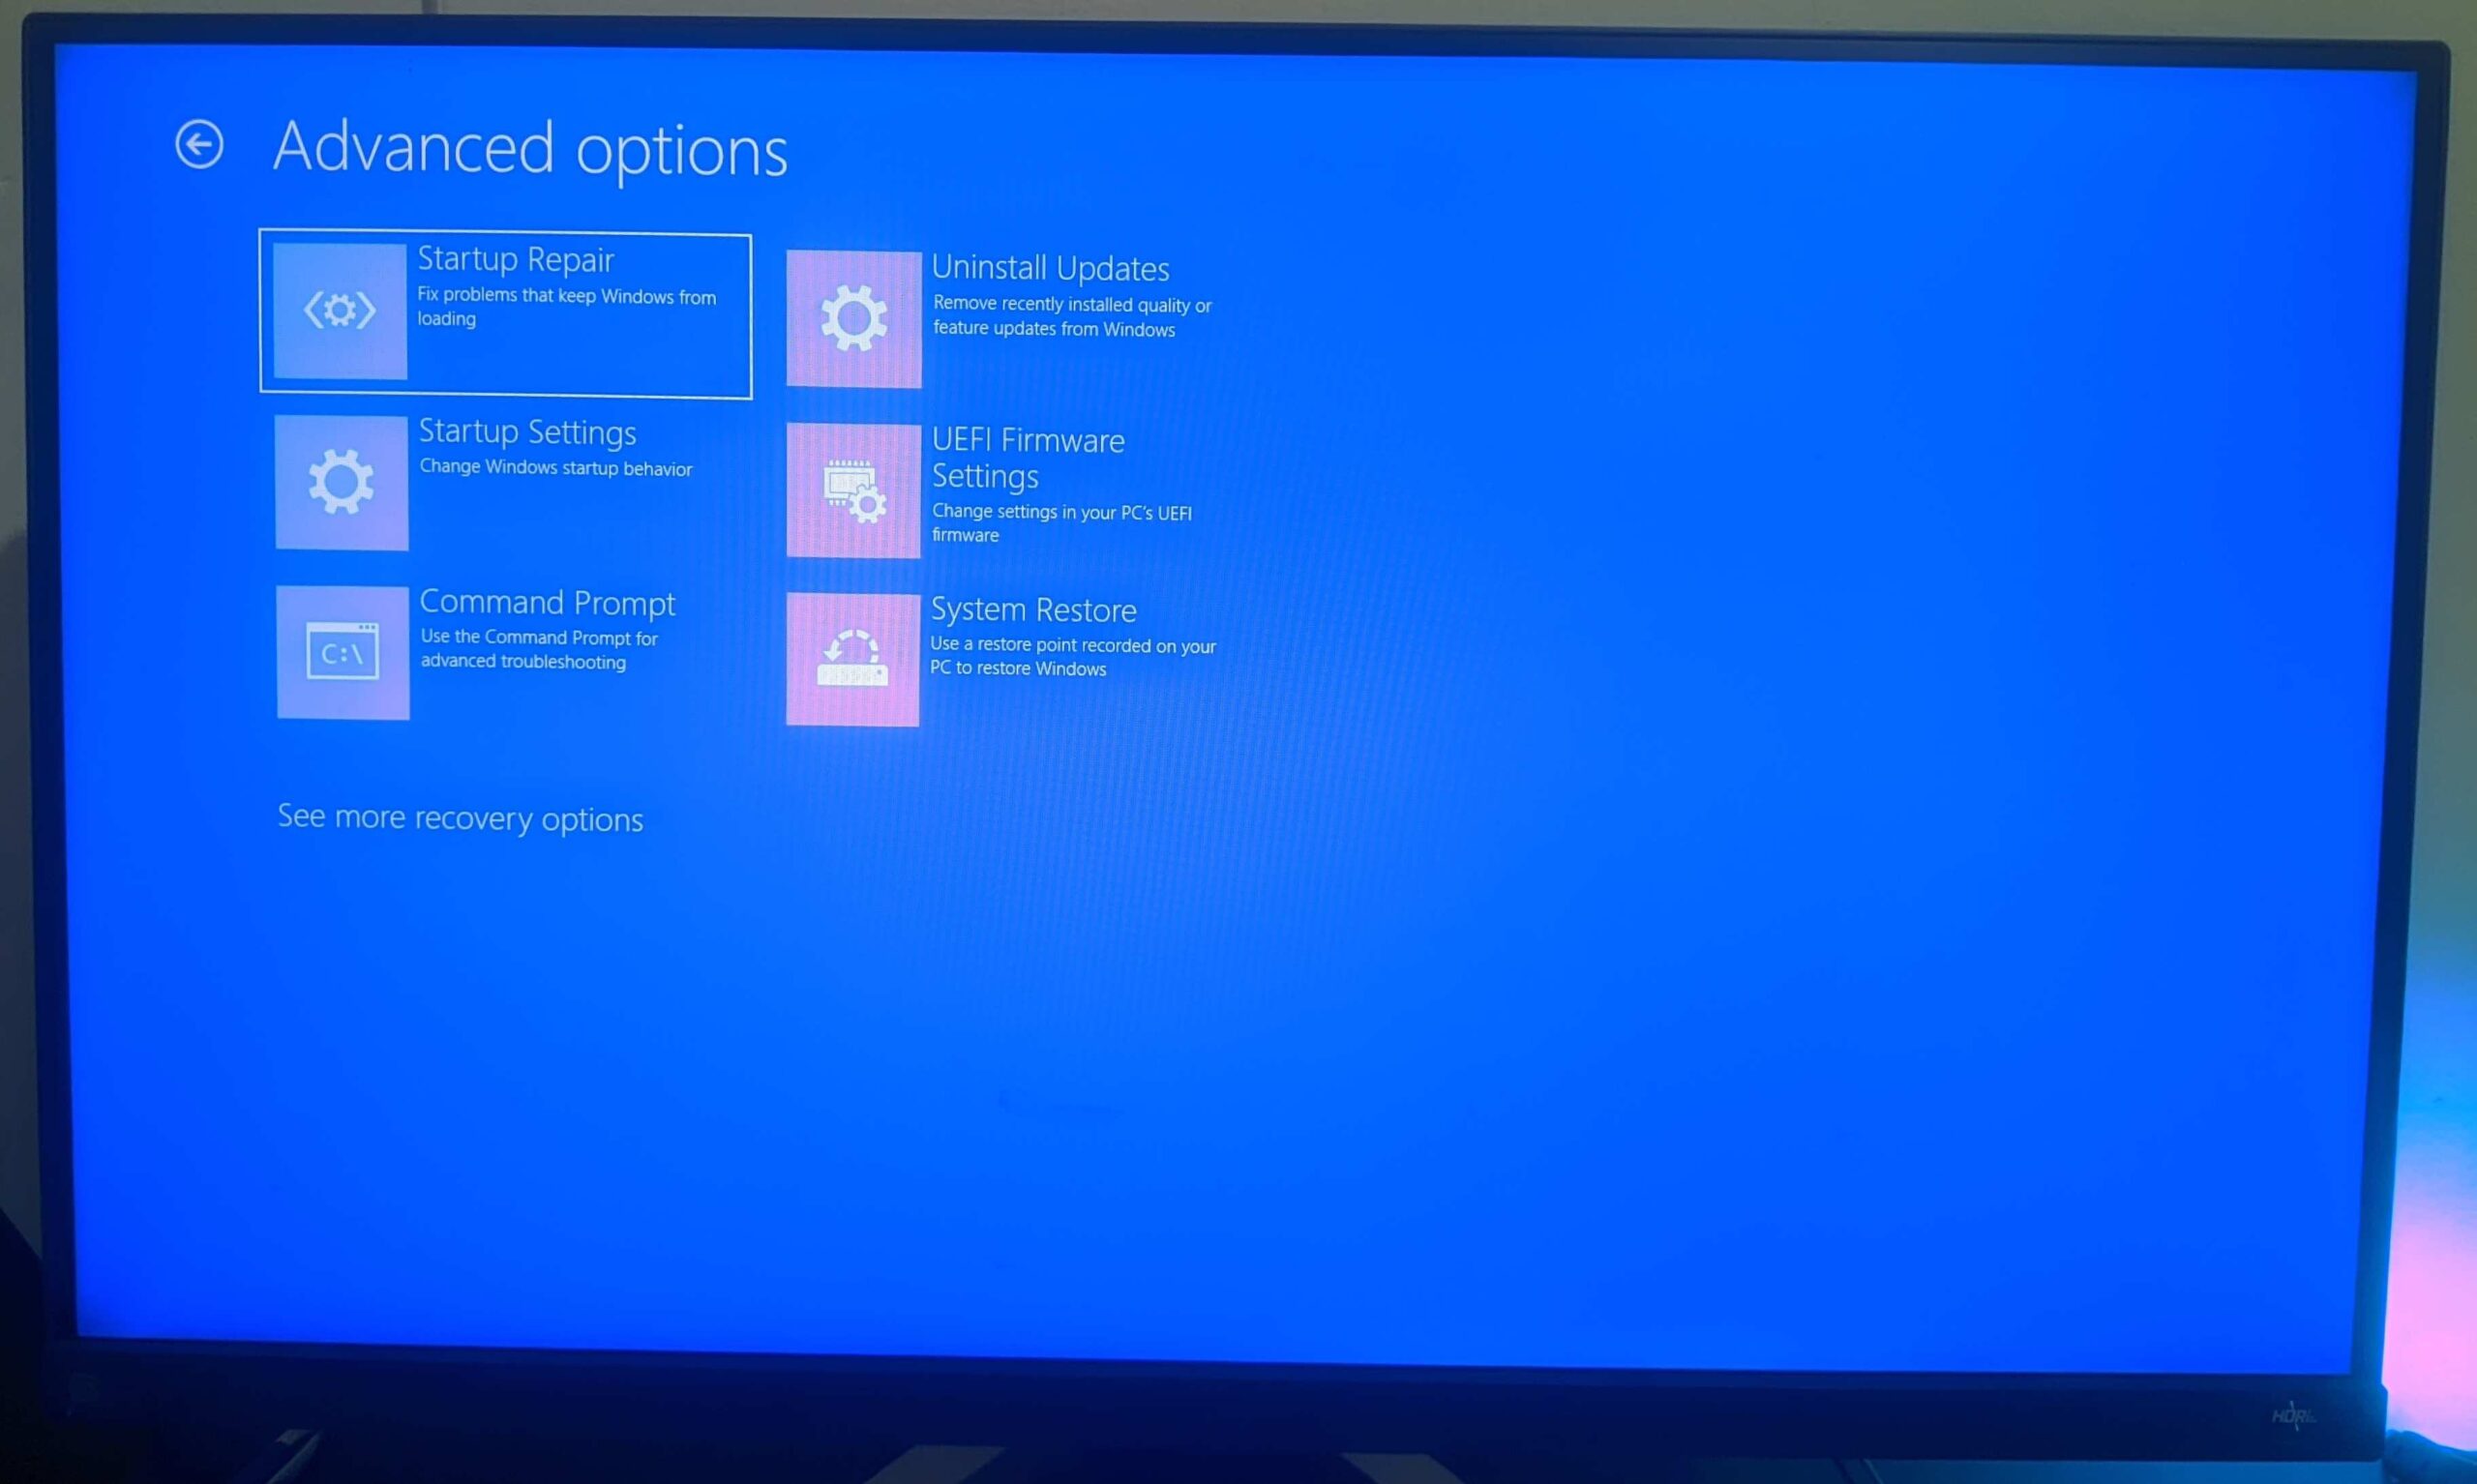
Leave the computer idle for a few minutes until the login screen appears on the screen.
Conclusion
Reinstalling Windows 11 solves the “No Bootable Device” error. I recommend everyone replace the mechanical hard drive with Solid State Drive. You can find many affordable SSDs in the market from reputed manufacturers.