The “Installer information on the recovery server is damaged” error prevents the macOS from installing the operating system. There is a problem with the system files in the computer that interrupts the software reinstallation. We have prepared a guide for beginners to counter the “Installer information on the recovery server is damaged” problem.
Contents
Shut Down Mac
Millions of Mac owners put the machine into sleep mode. The hardware and software need shut-eye time for optimal performance. Shut down your Mac for half an hour.
1. Click the Apple logo on the top left corner.
2. Click the “Shut down” option from the drop-down menu.
3. Click the “Shut down” button from the pop-up window.
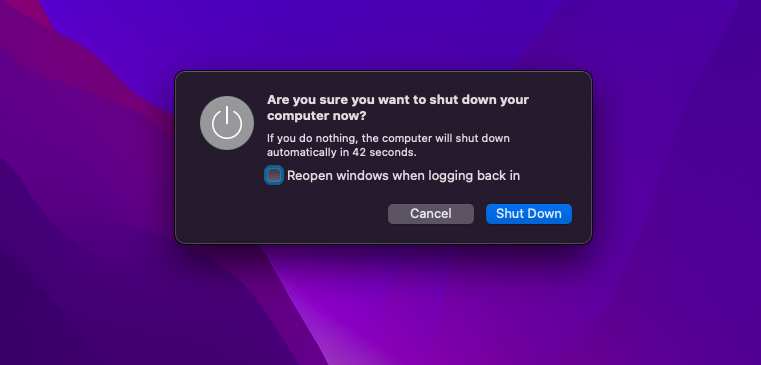
4. Leave the Mac alone.
I implore readers to shut down the Mac once in two days for a hassle-free experience.
Correct Time & Date
An incorrect clock can cause the “Installer information on the recovery server is damaged” error. The date on the secure connection certificate and your computer’s do not match. Go to the Mac settings and synchronize the timings.
1. Click the Apple logo on the top left corner.
2. Click the “System Settings” or “System Preferences” option from the drop-down menu.
3. Click on the “General” if you are in Ventura or Sonoma.
4. Click the “Date & Time” option.
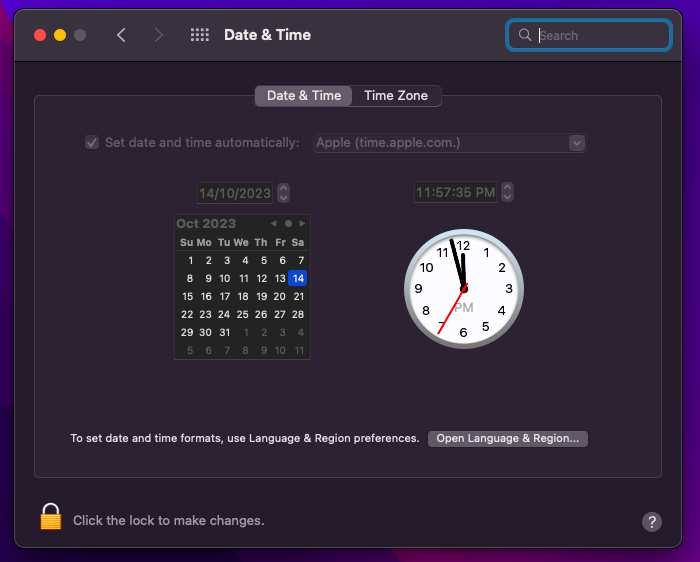
5. Check the mark “Set time and date automatically” option.
6. Check the mark “Set time zone automatically using your current location” option.
The Mac will automatically set the clock information.
Reinstall macOS From Recovery Mode
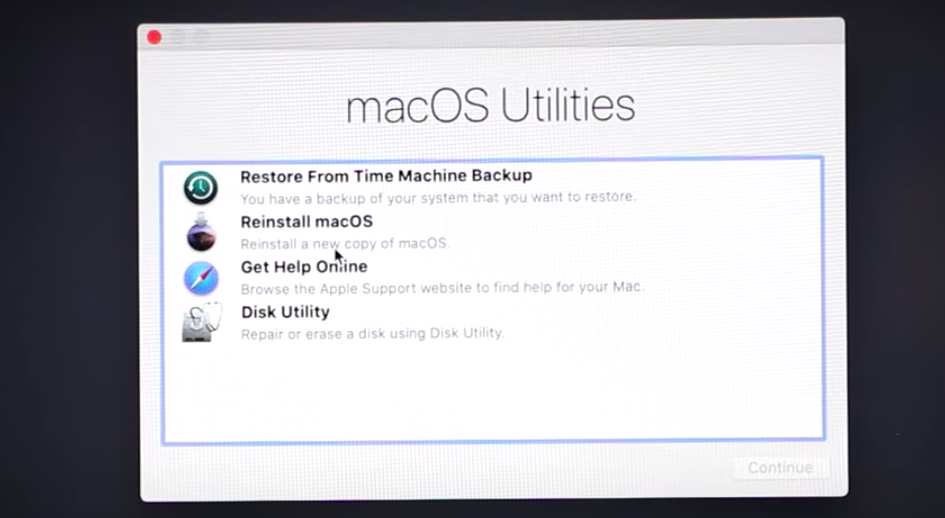
You can fix the “Installer information on the recovery server is damaged” error from Recovery Mode. Let me show you how to boot the Apple computer on Intel-based and Silicon-based Macs.
Intel-Based Mac:
I request the readers to go through the tutorial twice and then apply them.
1. Restart your computer.
2. Press and hold the following keys.
Use the (Command + R) to load the Recovery Mode.
Use the (Option + Command + R) to start the macOS Recovery. You can reinstall and upgrade a compatible macOS version.
Use the (Option + Shift + Command + R) to start the macOS Recovery over the wireless internet.
3. Enter the lock screen password.
4. Select one volume to reinstall the macOS.
5. Choose an administrator account, then enter the password for confirmation. You can move on if the system doesn’t ask for the admin information.
Leave the computer alone for a few minutes with the charger turned on.
Apple Silicon Mac:
1. Click the Apple logo on the top left corner.
2. Click the “Shut down” option from the drop-down menu.
3. Click the “Shut down” button from the pop-up window.
Give a minute for the MacBook or Mac to turn off completely.
4. Press & hold the “Power” button for a few seconds.
5. Release the “Power” button when the system volume and Options button appear on the screen.
6. Select the target volume, then click the “Next” button.
7. Choose the administrator account, then click the “Continue” button.
8. Enter the system password, then click the “Continue” button.
Leave the Mac alone for a few minutes, and it will finish reinstalling the macOS.
One More Solution
You should format the drive to install macOS. Delete all volumes and create new partitions. Create a local backup using an external or removable flash drive. You can find 128 GB removable storage from online shopping sites.
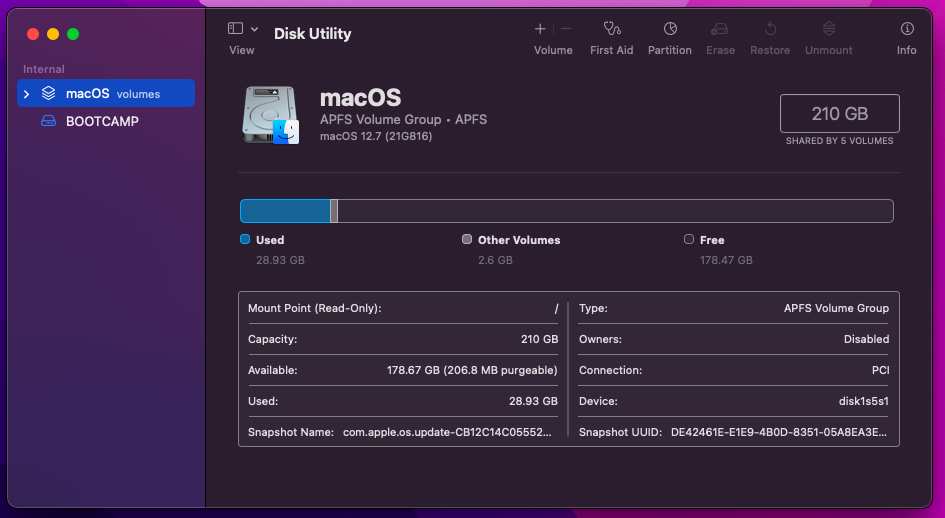
Note: Create a bootable live USB drive to install macOS from the flash drive.
1. Go to the macOS Recovery by following the above tutorial.
2. Click the “Disk Utility” option.
3. Select the macOS installed drive.
4. Click the “Erase” button from the top menu.
5. Select the “MacOS Extended (Journaled)” option.
6. Click the “Erase” button.
Give a few moments for the macOS to format the drive and write new system files. Install the operating system on a formatted SSD or HDD.
Bottom Line
You can seek assistance from the Apple service center to fix the “Installer information on the recovery server is damaged” error. You can reinstall the macOS operating system from a live USB flash drive. There are many YouTube tutorials out there teaching you how to create a live USB and install macOS. Let us know how you solved the problems in the comment section below.
