Nothing is perfect, and Microsoft Windows 10 is no exception. Virtual Private Network has become one of the biggest solutions for many gadgets users to secure their connection from anonymous hackers, and privacy invaders.
You can download an any VPN Windows program, and start using the services effectively, but VPN comes with few rare errors as well.
Contents
One of the most common errors is VPN ERROR 809 on Windows 10
Microsoft Windows runs plenty of programs, resources, background apps, services, and networking applications that interfere with the Virtual Private Network causing the error on your Windows 10 PC. We are going to help you identify the problem, and solve it immediately without in-depth knowledge of the OS.
1. Find “XBOX Live Networking Services” and Disable
It might come as a surprise, but if you are a PC XBOX user, then you may face problems with it. You don’t have to be an avid gamer because you only need one game that has multiplayer capabilities in it, then it is more than enough to trigger the VPN error.
XBOX live networking service helps the games to create a connection between servers, and the computer, then it uses a special communication line to keep you protected from outside interference like game hackers.
The Virtual Private Network program will create a new communication line over the existing connection, which triggers the VPN error because XBOX live networking service is protecting you.
Now, it’s time to disable it.
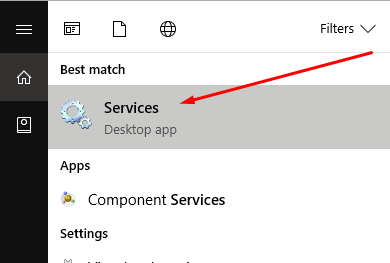
Step 1: Type “services” in the search bar, or Cortana.
Step 2: A Window will pop-up on your screen, and you have to scroll down to the end until you find “XBOX live networking service.”
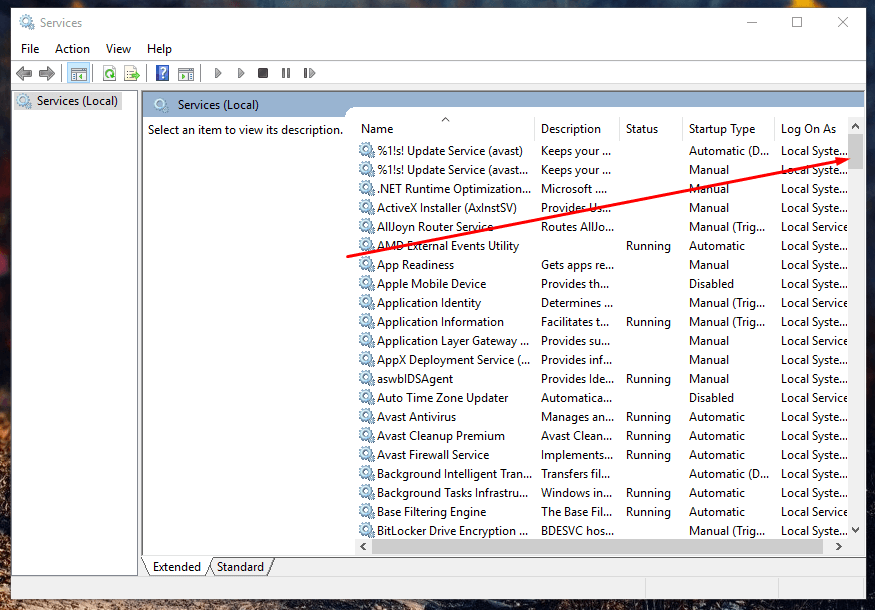
Step 3: Right-click your mouse > select properties > click on startup type to disabled > click on Apply > click on OK.
In most cases, this is the cause of the VPN error because XBOX is blocking the connection to protect you.
2. Enable Ports in Your Router
Windows firewall and WIFI router come with basic to advanced security options to keep the connection protected from a hacker, and online invaders.
The Windows firewall and WIFI router block TCP 1723 port, IKEv2 port, UDP port 500, 4500, and L2TP Port. You have to enable all ports we have listed above, then double check if the VPN error has solved, and then you have to disable each port one-by-one to find the culprit.
Unfortunately, you have to disable all ports one-by-one to close unnecessary ports, or else, you are risking the security of your connection.
3. Add a value to the Windows Registry
If your MX located behind a NAT, and you get the VPN error while establishing the connection, then you can apply the “AssumeUDPEncapsulationContextOnSendRule” to a DWORD value in the Windows registry.
The Windows OS has security options to keep the invaders away. Thus it blocks it, and so you have to add this rule to create security associations for your computer client and VPN’s server.
Step 1: Type “Regedit” in the Windows search bar, or in Cortana.

Step 2: The regedit window might look a little complicated, but we will guide you through it.
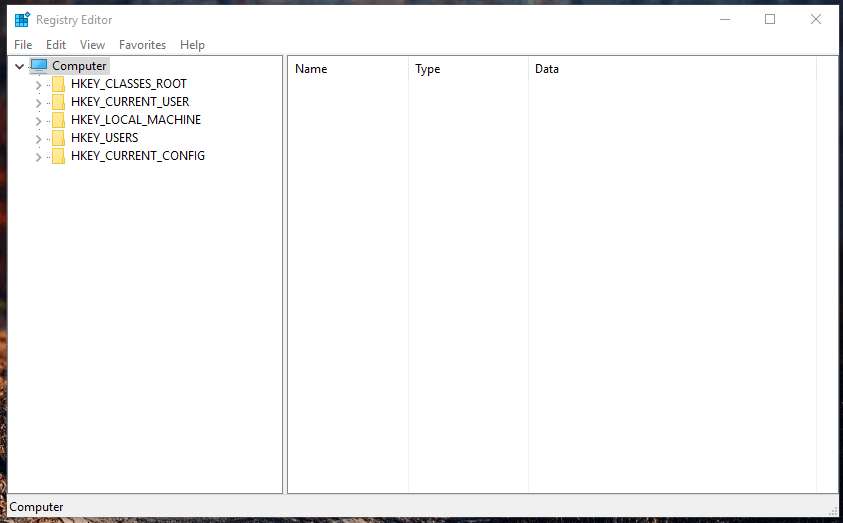
Step 3: Now, you have to reach “HKEY_LOCAL_MACHINE/SYSTEM/CurrentControlSet/Services/PolicyAgent.”

Step 4: Select the “PolicyAgent” folder, and right-click mouse, then highlight on “NEW,” and then click on “DWORD (32-BIT) Value” or “DWORD (64-BIT) Value.” You can choose either 32-BIT or 64-BIT, and it’s your call.

Step 5: Now, open the new DWORD, and modify the value to “2” and then click on “OK.” Right-click mouse to modify the DWORD value.
By now, VPN error problem should have solved.
4. Re-install, or Update VPN One More Time
I have gone through the forums where many Windows users were facing the same problem, and many of them have solved the problem by reinstalling it.
1: Uninstall the VPN program from your PC, and restart it.
2: Make sure to run the program as administrator, and go through the steps.
And,
It would be a good habit to update your program because the old version may no longer be compatible with the PAP connections. Update your Windows VPN programs.
Conclusion
You can also double check PAP settings to ensure that the VPN is not getting blocked because of the misconfiguration. Let us know how you have solved the VPN error 809 on Windows 10 in the comment section below.