Once you upgrade from Windows 8.1 to Windows 10 or install from a fresh ISO image, Windows 10 will start to track your activities and this is enabled by default and you need to manually change the it that is tell or change the settings to not track anything.
Note : If you are using Enterprise version, there is an option to disable every possible trackers and loggers.
Here we will tell you on how to do that in details with pics for every steps, but before that
What is a Keylogger in Windows 10 ?
Its simply a surveillance software that is used to track all your activities in a particular PC or laptop including each key stroke that you do on your keyboard and some advanced loggers or trackers logs entire things that you do in your session.
This software is most probably used in a business environment to make sure that employees are using their PC or laptop only for job related jobs.
But don’t worry Win10 don’t tracks your entire session and sends that data for product improvements.
A simple solution for this can be use an older version of Windows and by this we mean Win8.1 nothing older than this because its risky to use too much older version because of some ransomware attacks.
Disable Windows 10 data logging or tracking full guide
Step 1 : Hit the Windows icon on your keyboard or select that Windows onscreen icon like the one shown below
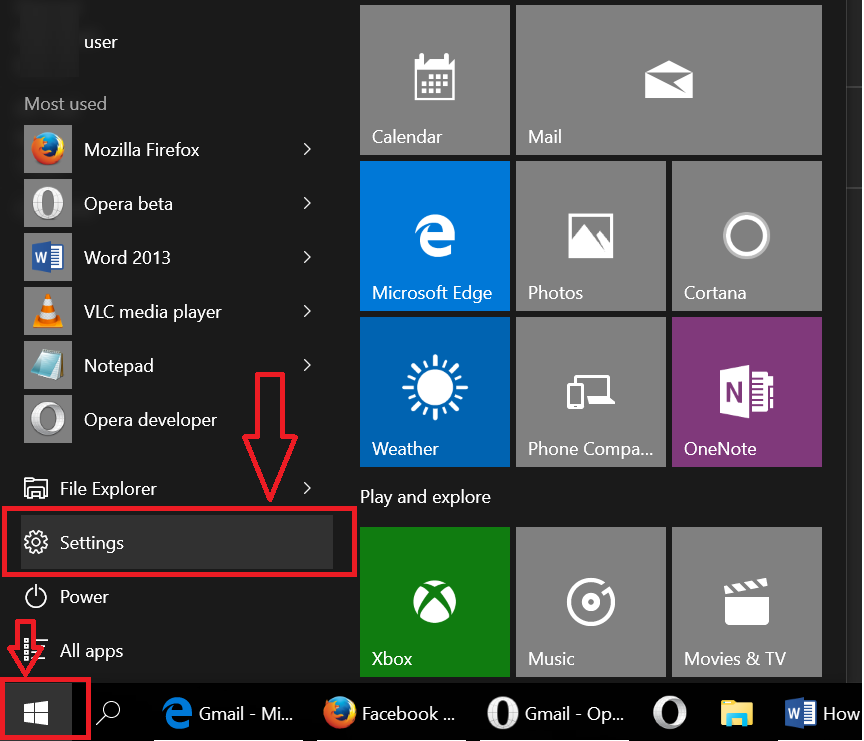
Step 2 : Select the “Settings” from that menu
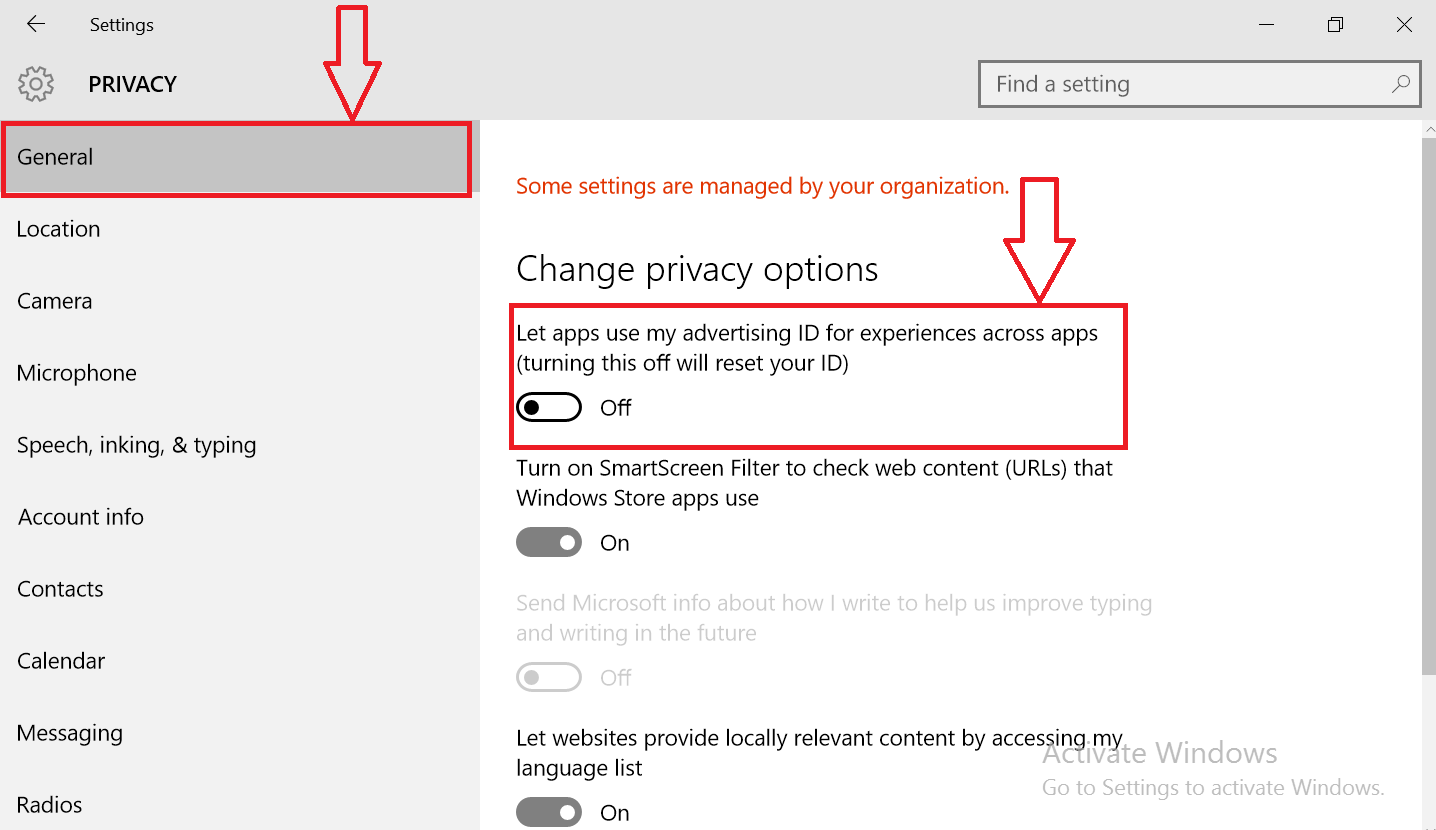
Step 3 : From next screen select the “Privacy” option, one with PadLock

Step 4 : Turn off the advertising ID under Change privacy option as most of us not a marketer or anything like that
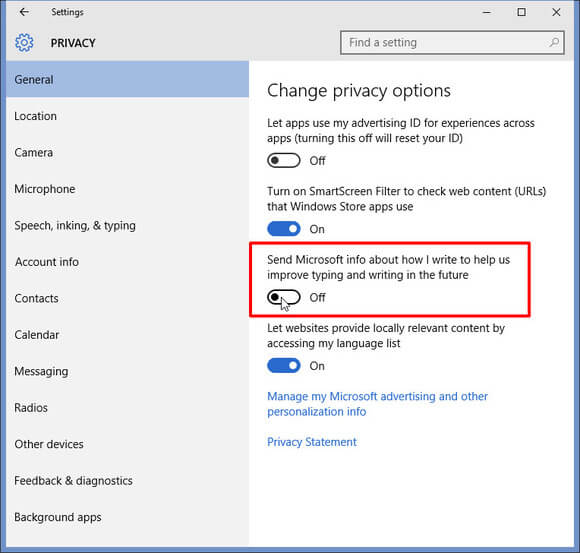
Step 5 : Also turn off this “Send Microsoft Information on how I write to help us improve typing and writing in the future.”
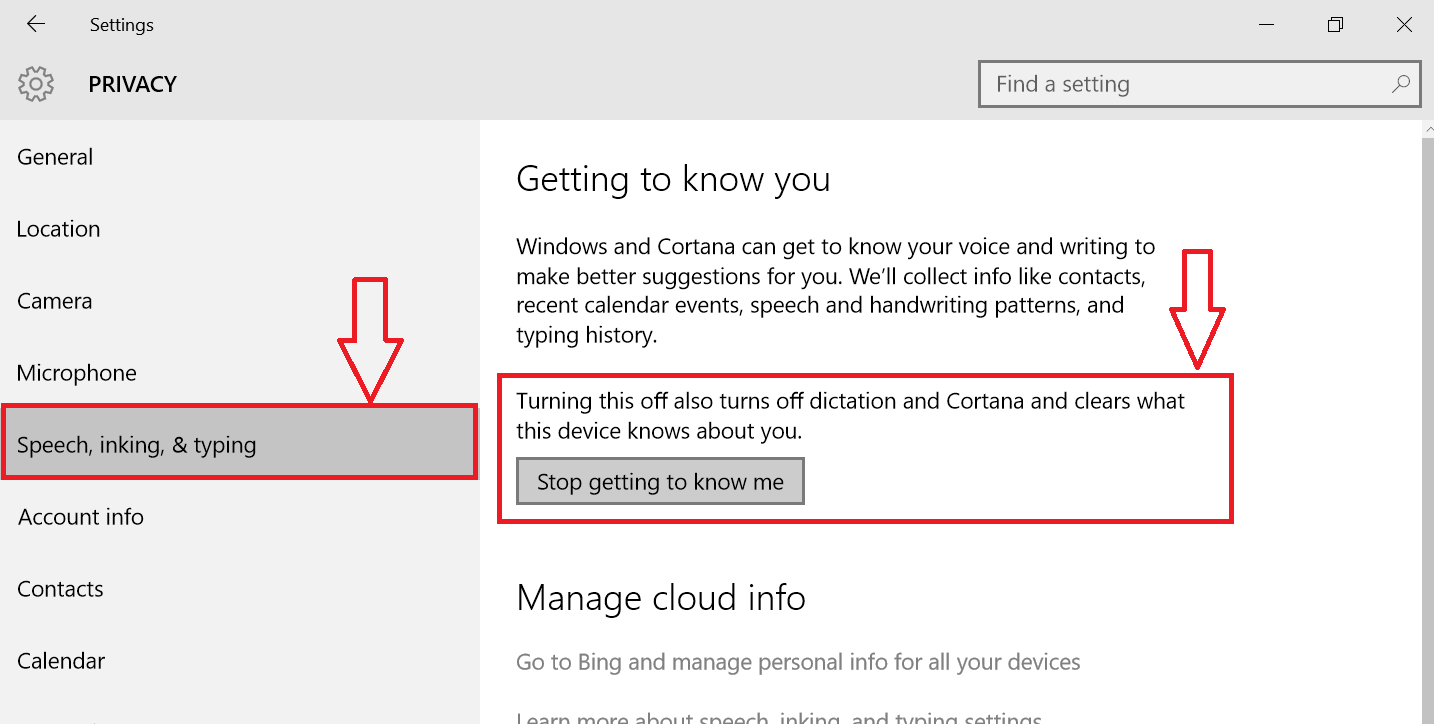
Step 6 : Now move to “Speech, inking and typing” and tap this “Stop getting to me”, a small popup will come and in that hit “Turn off”
Note : Cortana will not work after switching this off, so if you are a Cortana lover then drop this step and proceed with the ones below
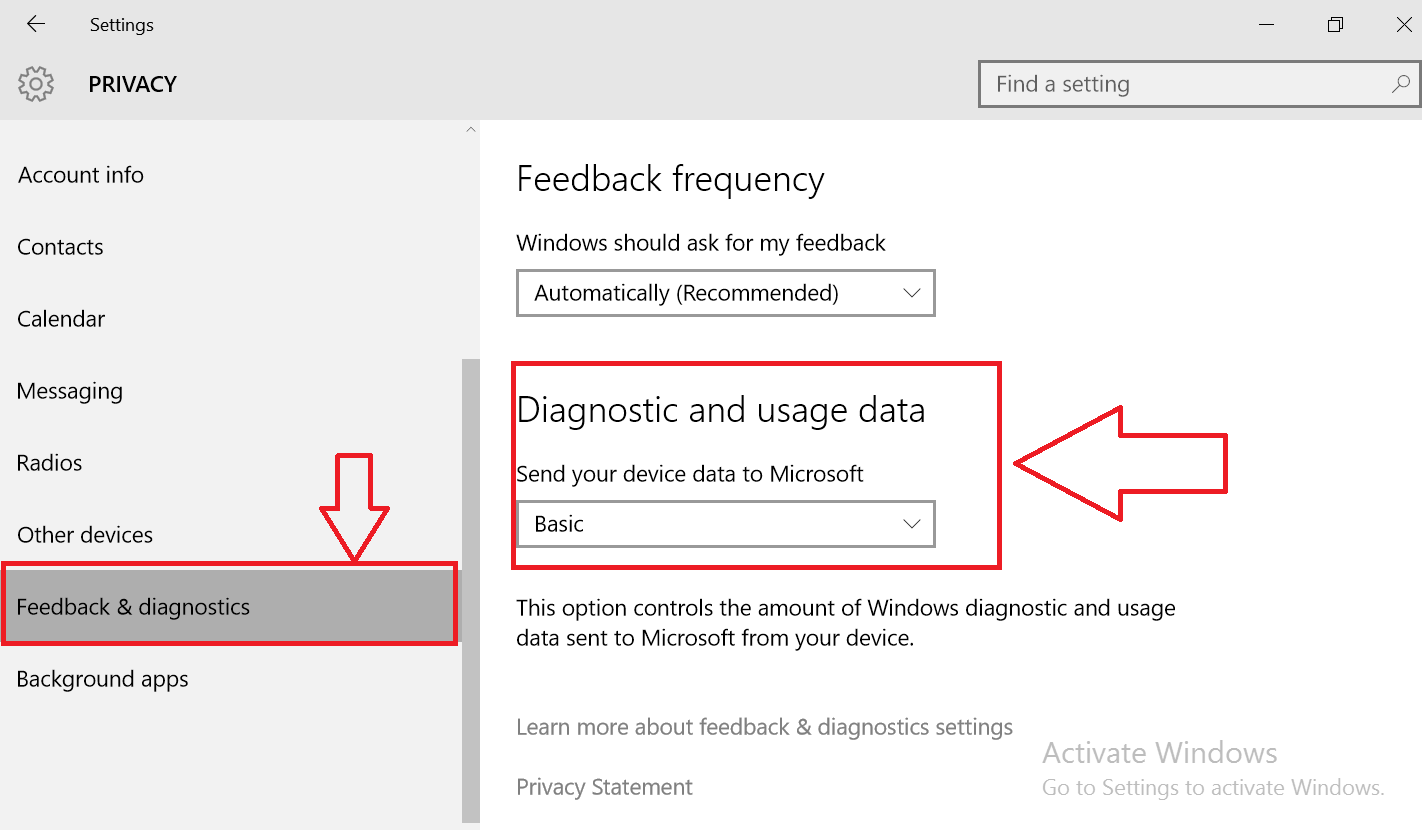
Step 7 : Now move to “Feedback & diagnostics” tab from the side bar and select “Basic” from the drop down menu under “ Send your device data to Microsoft” for more clarification see the pic below
You also need to turn off this setting named, Diagnostics Tracking Service to be on the safer side.
So what is this service ?
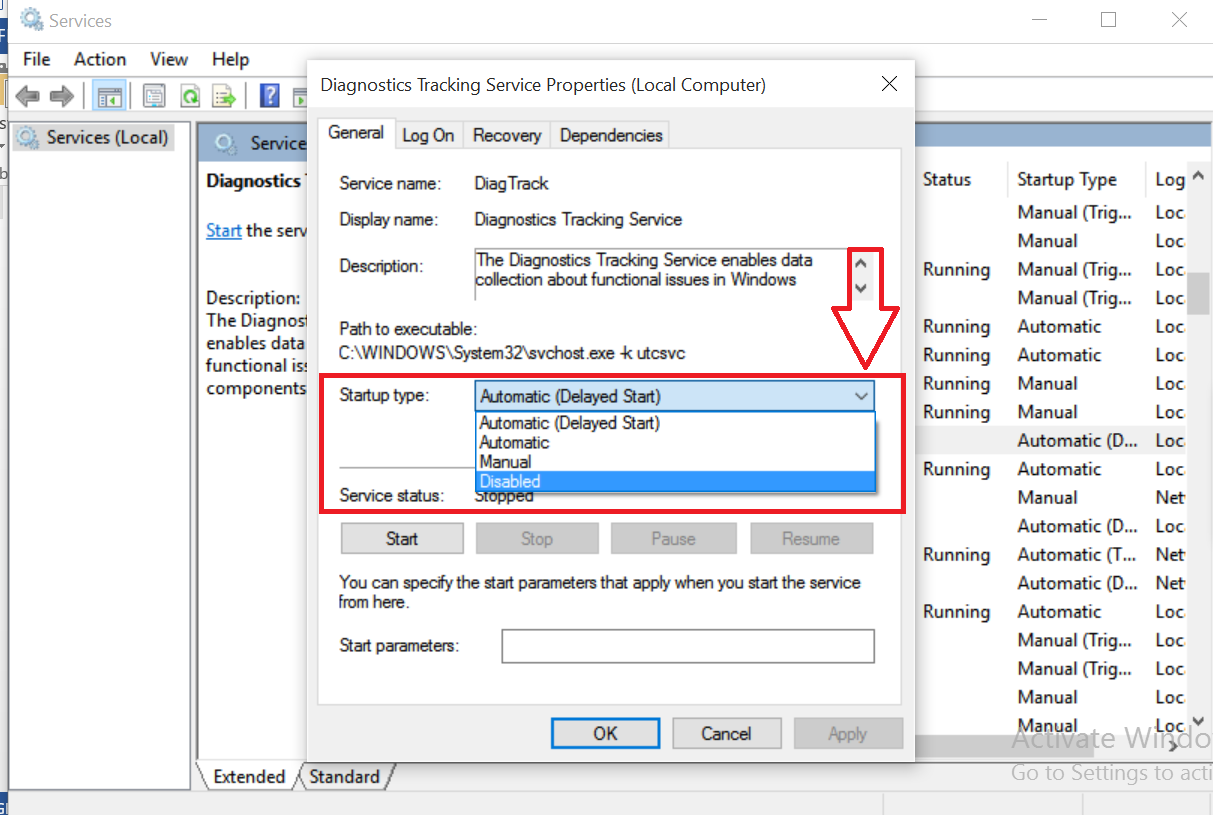
The Diagnostics Tracking Service enables data collection about functional issues in Windows components.
Here are the steps that you can follow to also fix this issue
In the search bar located in taskbar enter this “services” and select the “Services” desktop app
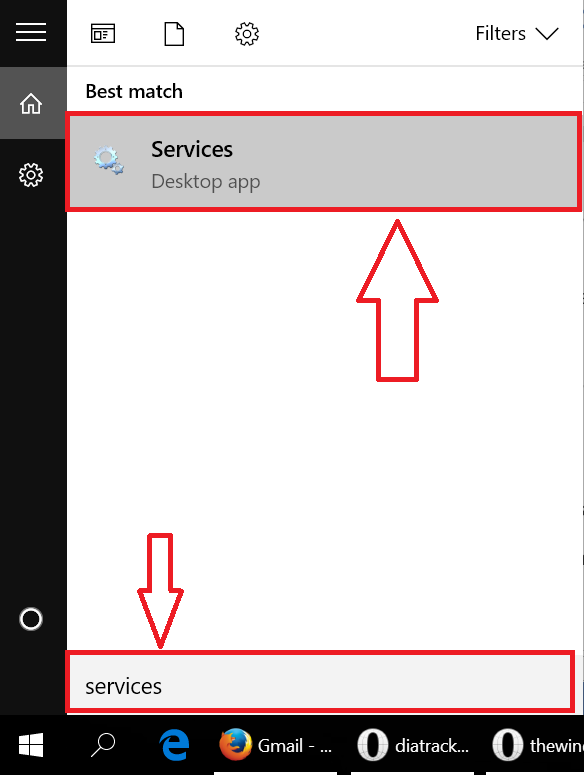
A new window will popup like the one shown below
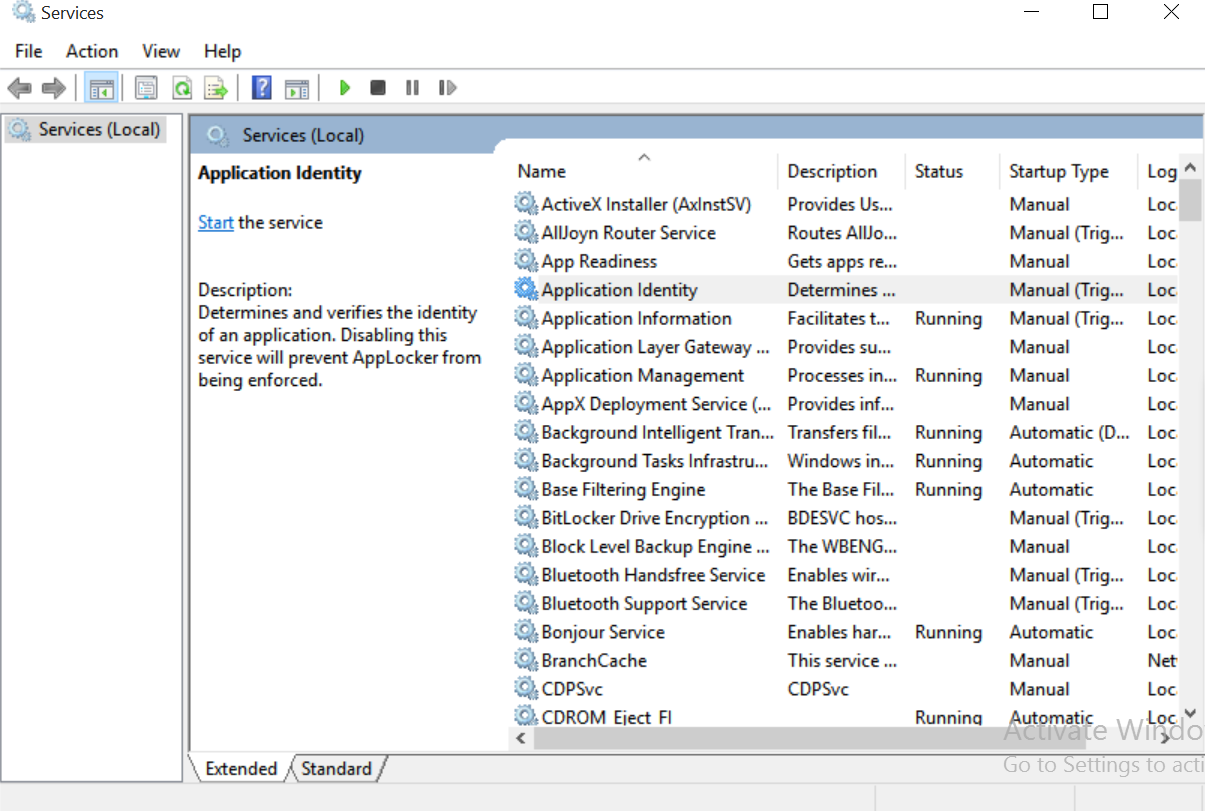
Tap letter ‘d’ on your keyboard several times till you find “Diagnostics Tracking Service”
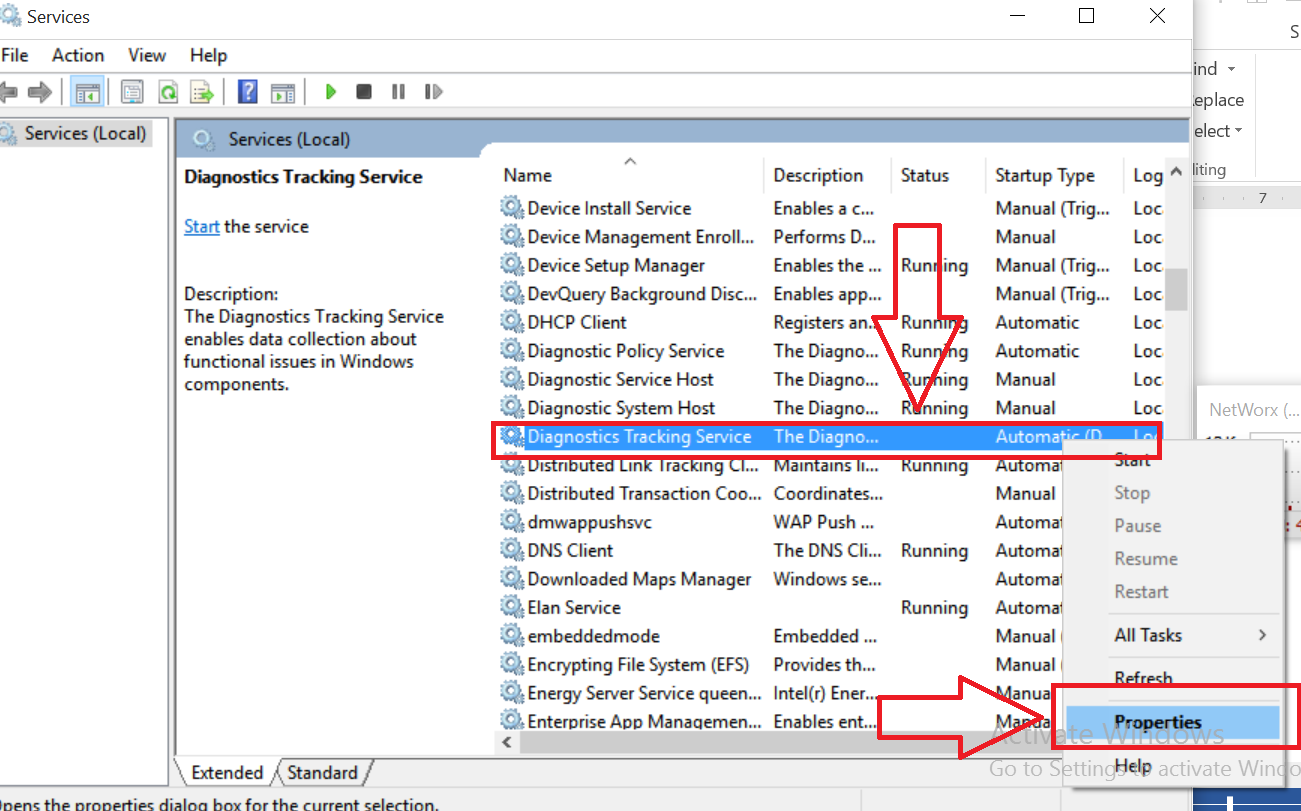
Right click on that and select “Properties”
From the drop down menu, choose “Disabled” and hit OK button.
Note : If you are using Windows10 Creators update make sure you turn this Diagnostics tracking services off when you install the creators update, else you may not be able to find this in the services section as per our experience.
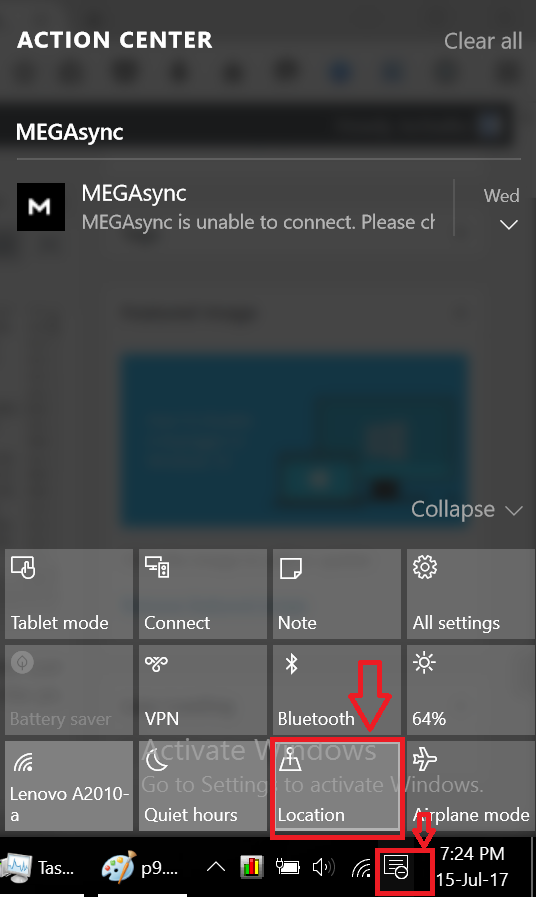
You can also turn off the location services quickly from the notification or actioncenter, just tap the button written with “Location”, it will be quickly turned off and see the pic below
Note : Once you reinstall Windows 10 fresh copy you may need to repeat all the above steps.
Also there are many free software that can help to accomplish this task.
To you can also keep an eye on the data tracker to see if the system eats a lot of data.
Also if you like to protect your privacy while browsing online then you can choose any of the VPN providers out there and like Win10 OS VPN services are also free to use with limited locations to choose from.


Greetings TECHWIBE, well done article. Do you have same for Office 365 and/or Google?
I’ve been battling the tracking and private data mining since the PC/Cell Phones deep-dive in 2008, when the Operating Systems became as bad as malware.
If I may, I’d like to add a change to the ‘Diagnostics Tracking Service’ section. It won’t be there as described. It was renamed ‘Connected User Experiences and Telemetry’ in ‘Services’, please update for your readers.
Regards,
GA