Due to their consistent layout across several systems, PDF files are commonly used for document sharing. However, large files can be challenging to mail due to size limitations and slow upload times. Windows 11 provides built-in tools and features that allow you to compress PDF files and efficiently send them via mail. Compressing and emailing these files on Windows 11 is a straightforward process that allows you to reduce file size for easy sharing. Discover the comprehensive and well-structured handbook that will unravel the intricate procedure of condensing and dispatching a PDF document through electronic mail. This informative guide will empower you with the knowledge to streamline the transmission and conservation of data, guaranteeing optimal efficiency throughout the entire process.
Contents
Section 1: Understanding PDF Compression In Windows 11 PC Laptop Surface PRO
The practice of shrinking a file without sacrificing its quality or information is known as PDF compression. Compressed files are more manageable to mail and upload, making them ideal for sharing large documents. Windows 11 offers various methods to compress files effectively.
Section 2: Windows 11 PDF File Compression
Method 1: Using the Windows 11 Print Feature
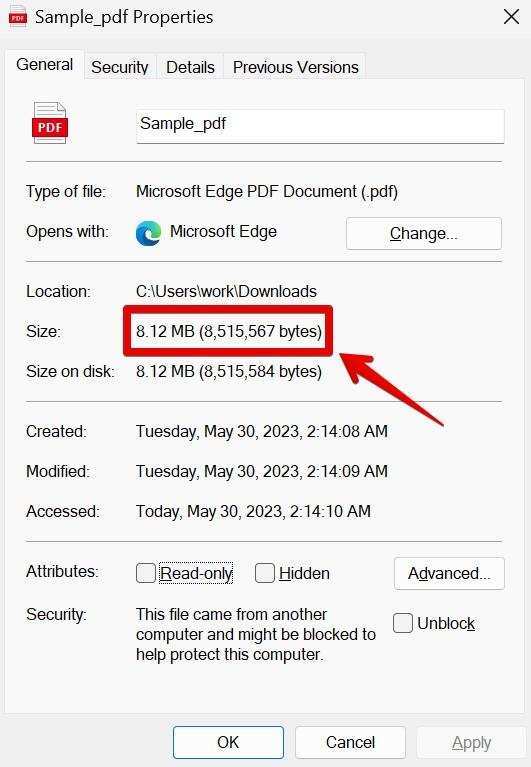
Step 1: Open the file you wish to compress using the default PDF viewer on Windows 11.
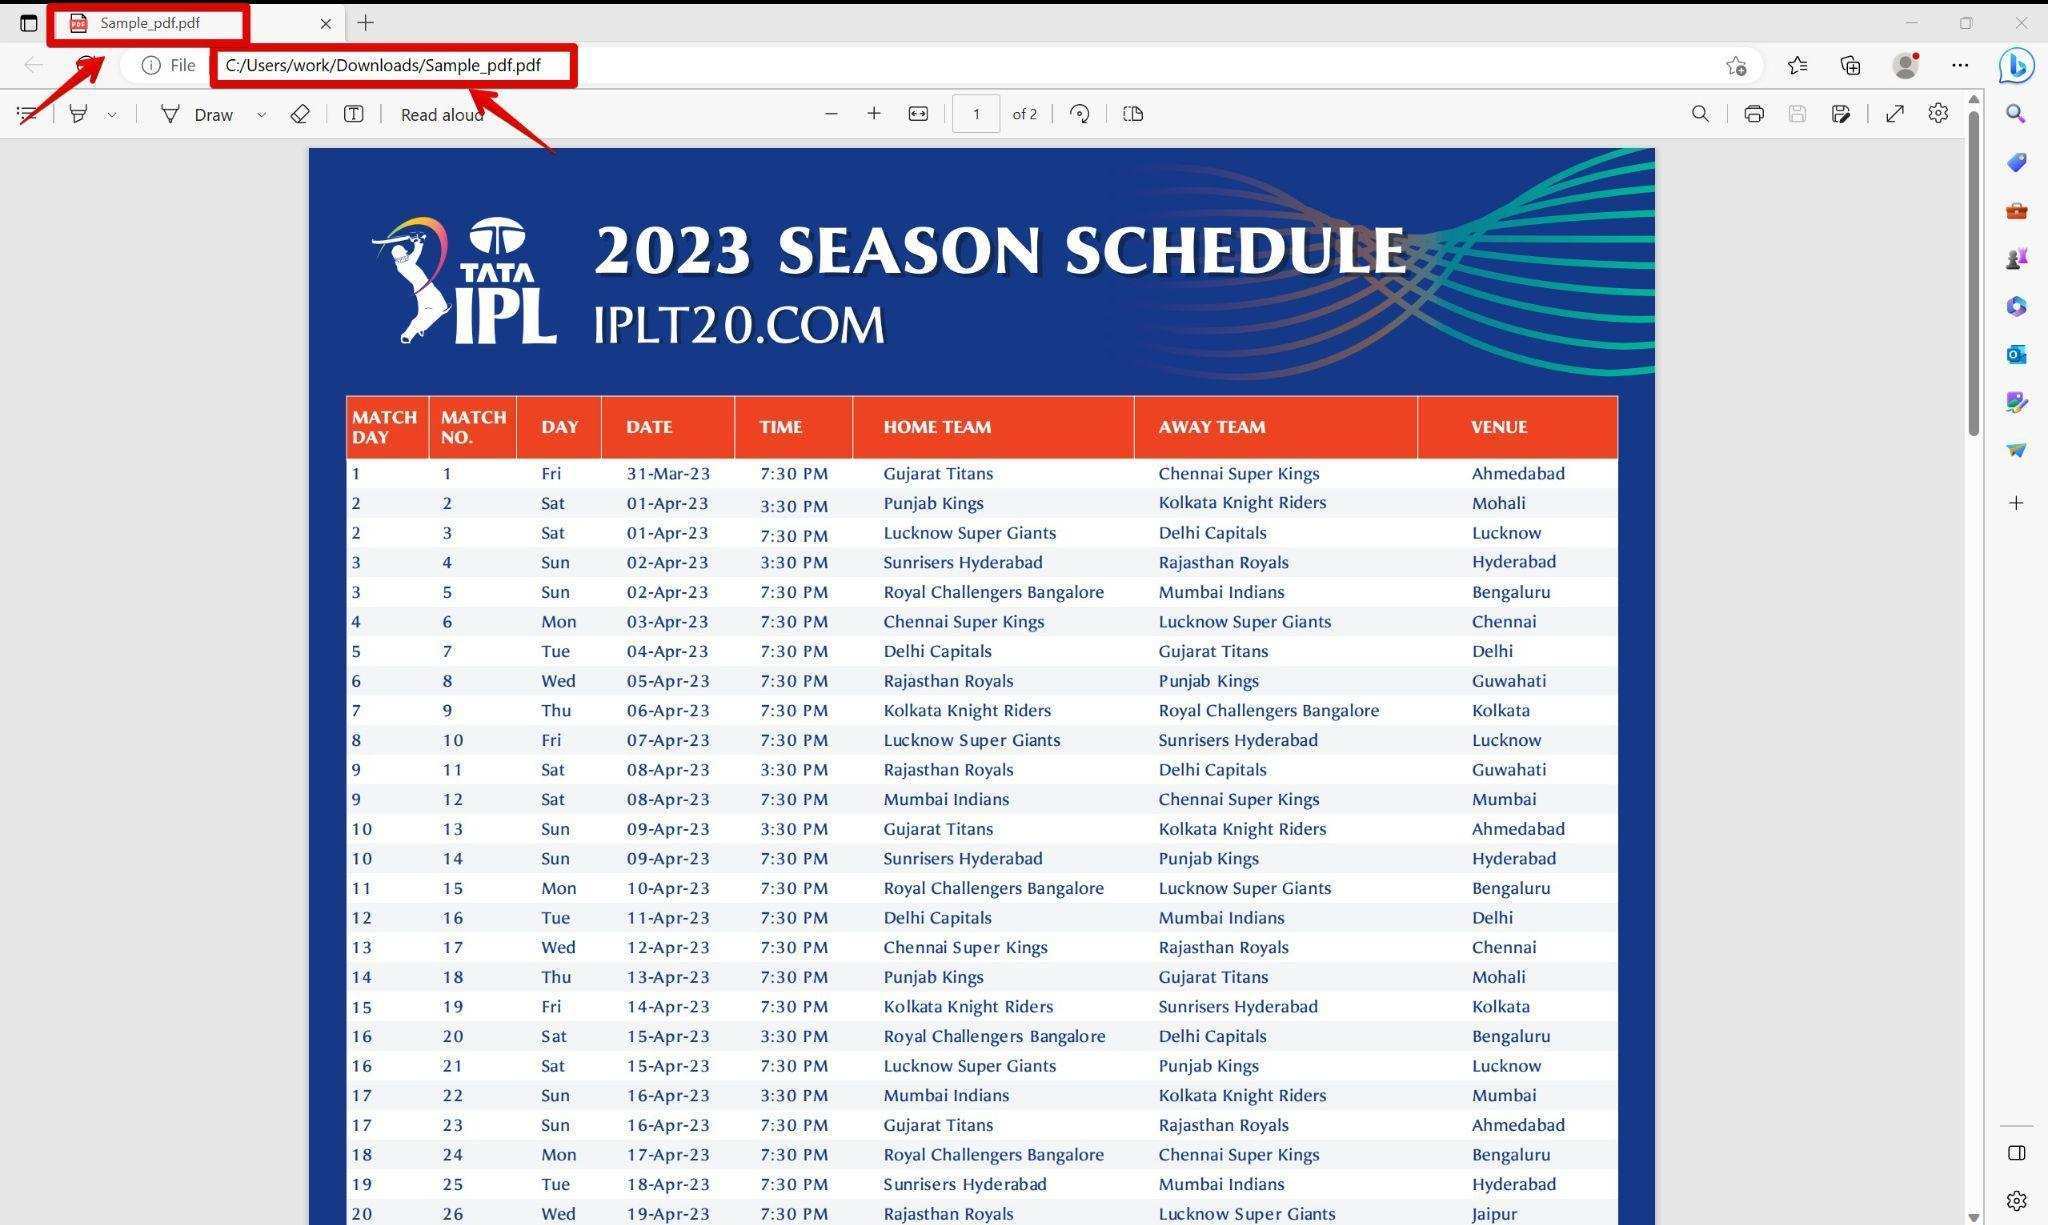
Step 2: Commence the printing process by leveraging the Ctrl+P keyboard combination or alternatively, select the Print option situated in the application’s menu.
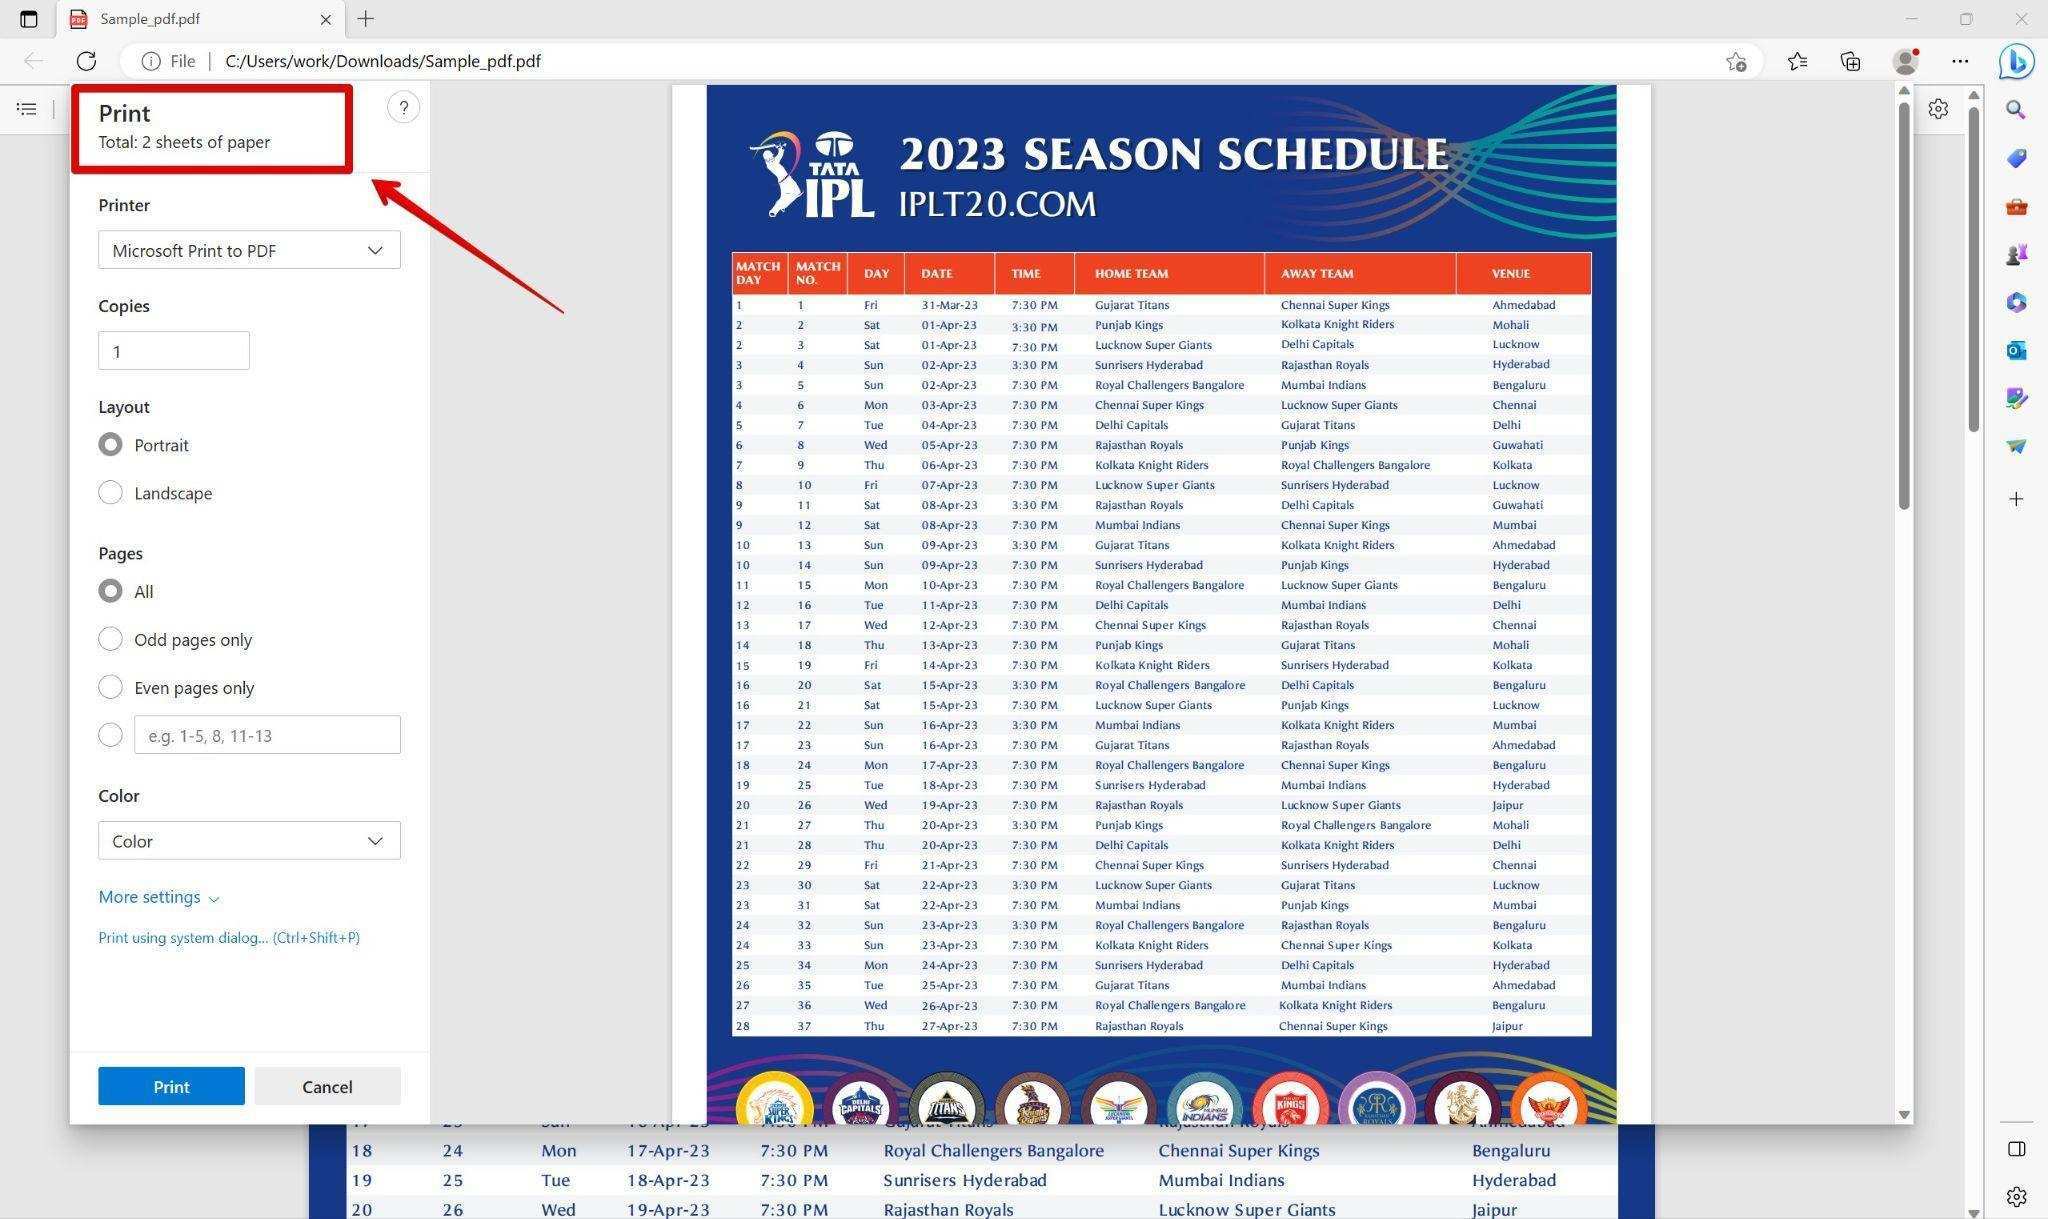
Step 3: Within the Print dialog box, carefully designate “Microsoft Print” as your preferred printer of choice.
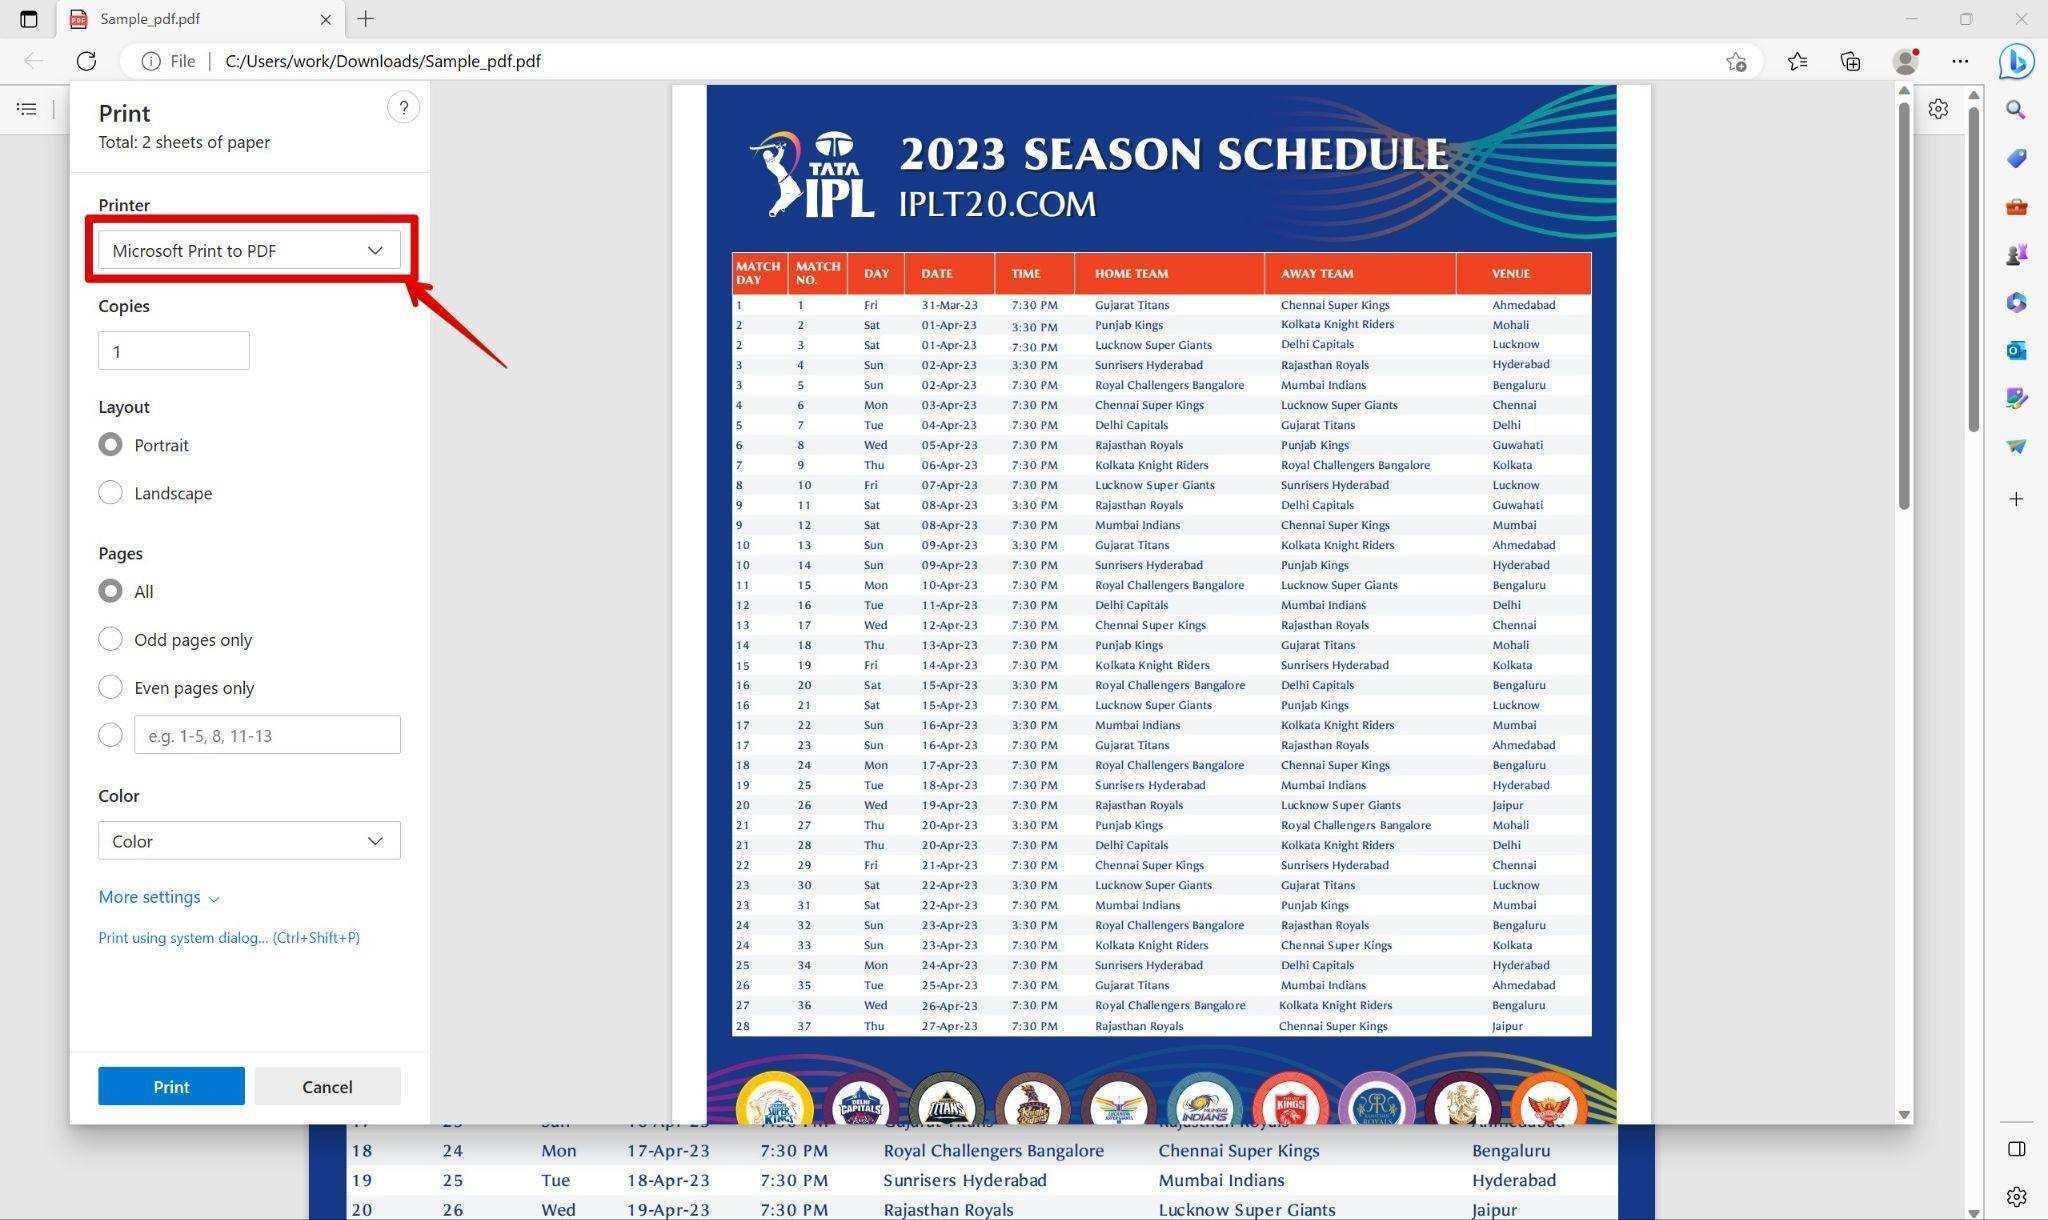
Step 4: To access the “Save Print Output As” dialog box, click on the Print button.
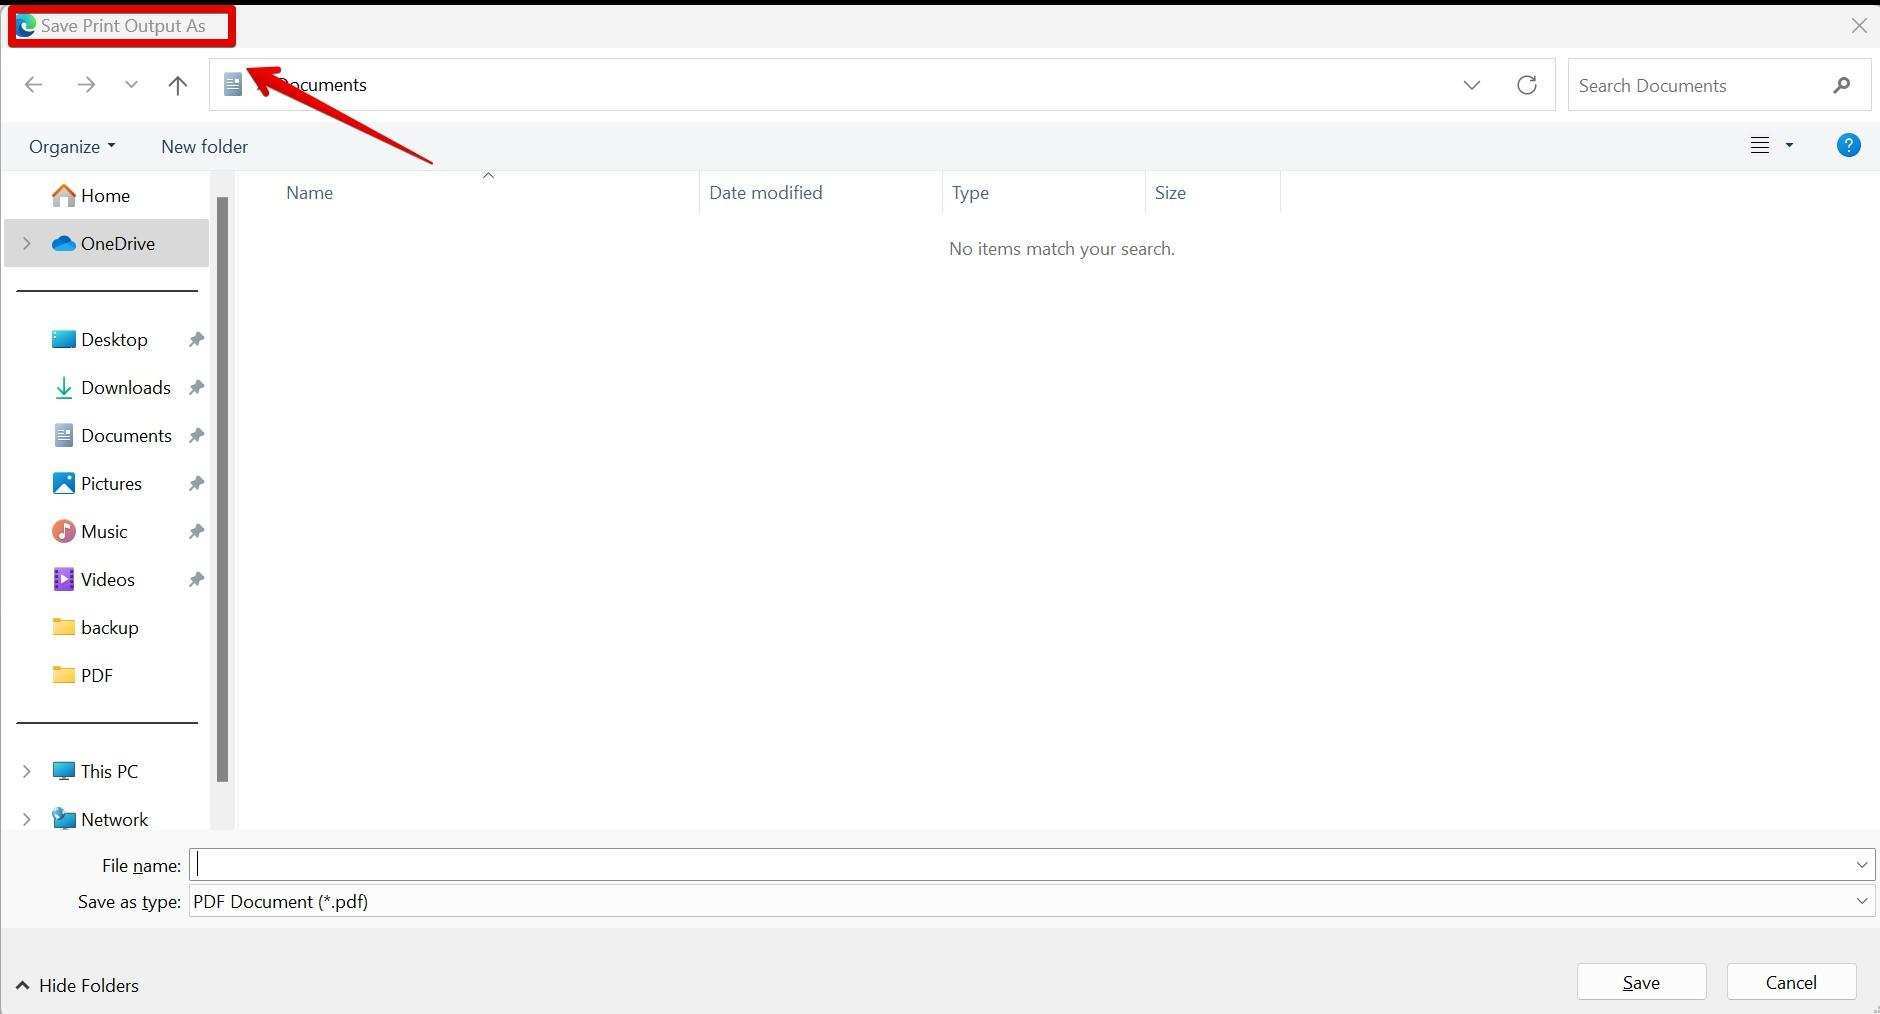
Step 5: Select a destination to save the compressed file and then proceed by clicking the Save button.
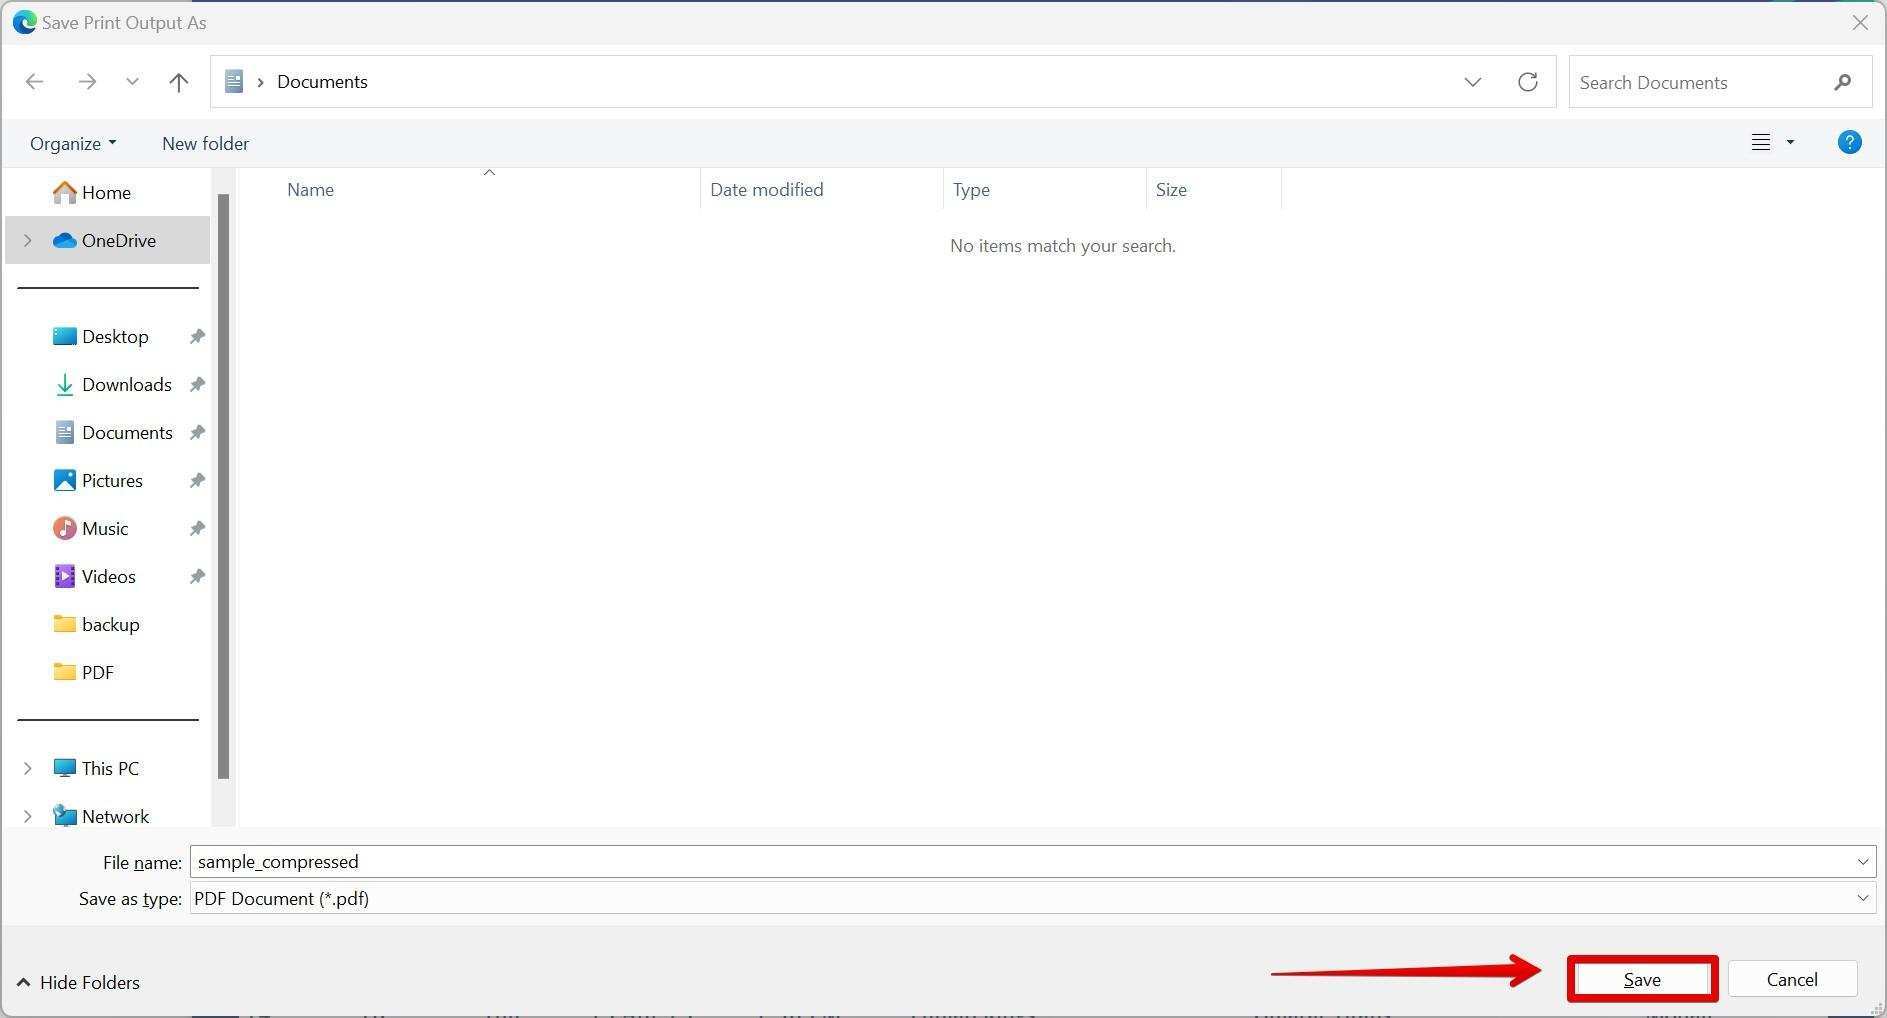
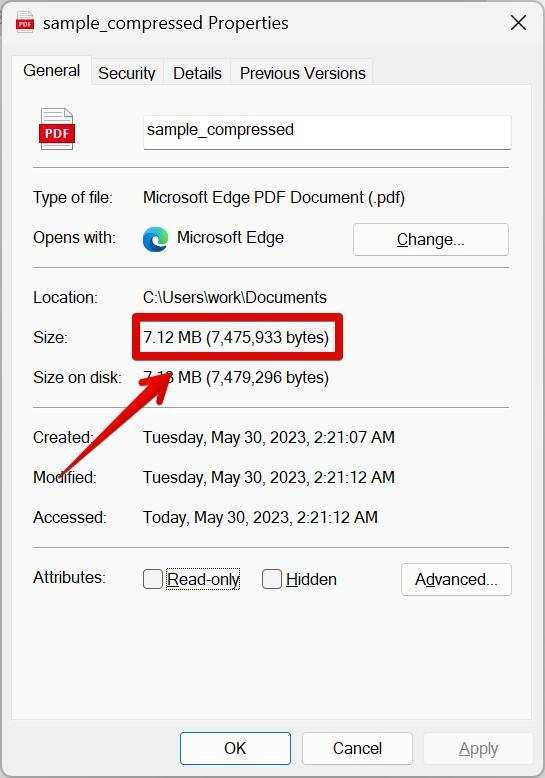
Step 6: The file will be converted and saved with a smaller size, effectively compressing it for mail.
Method 2: Using Third-Party PDF Compression Tools
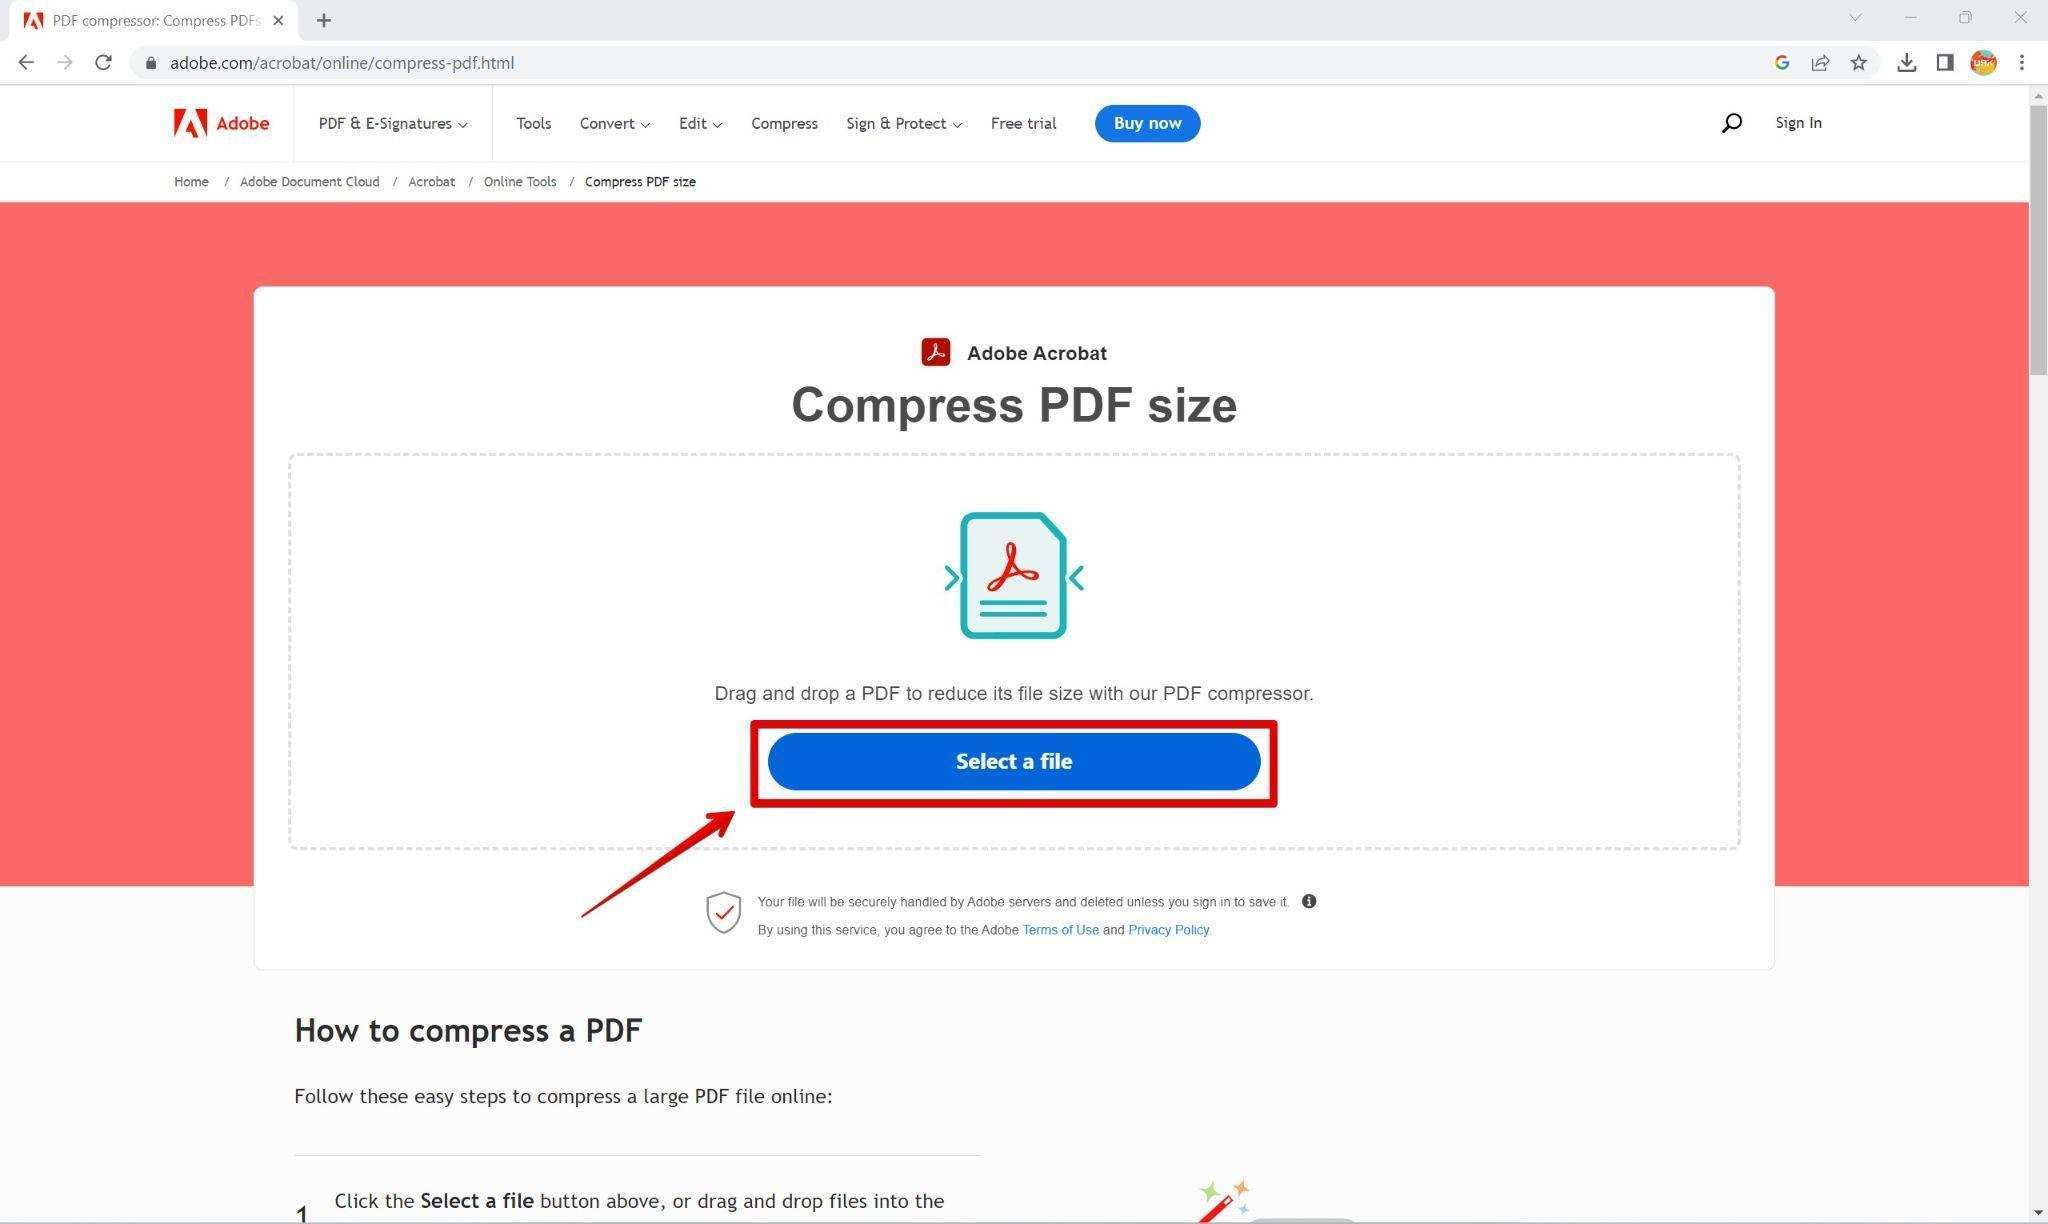
Step 1: Search for a reliable third-party PDF compression tool such as Adobe on your Windows 11 computer on any browser.

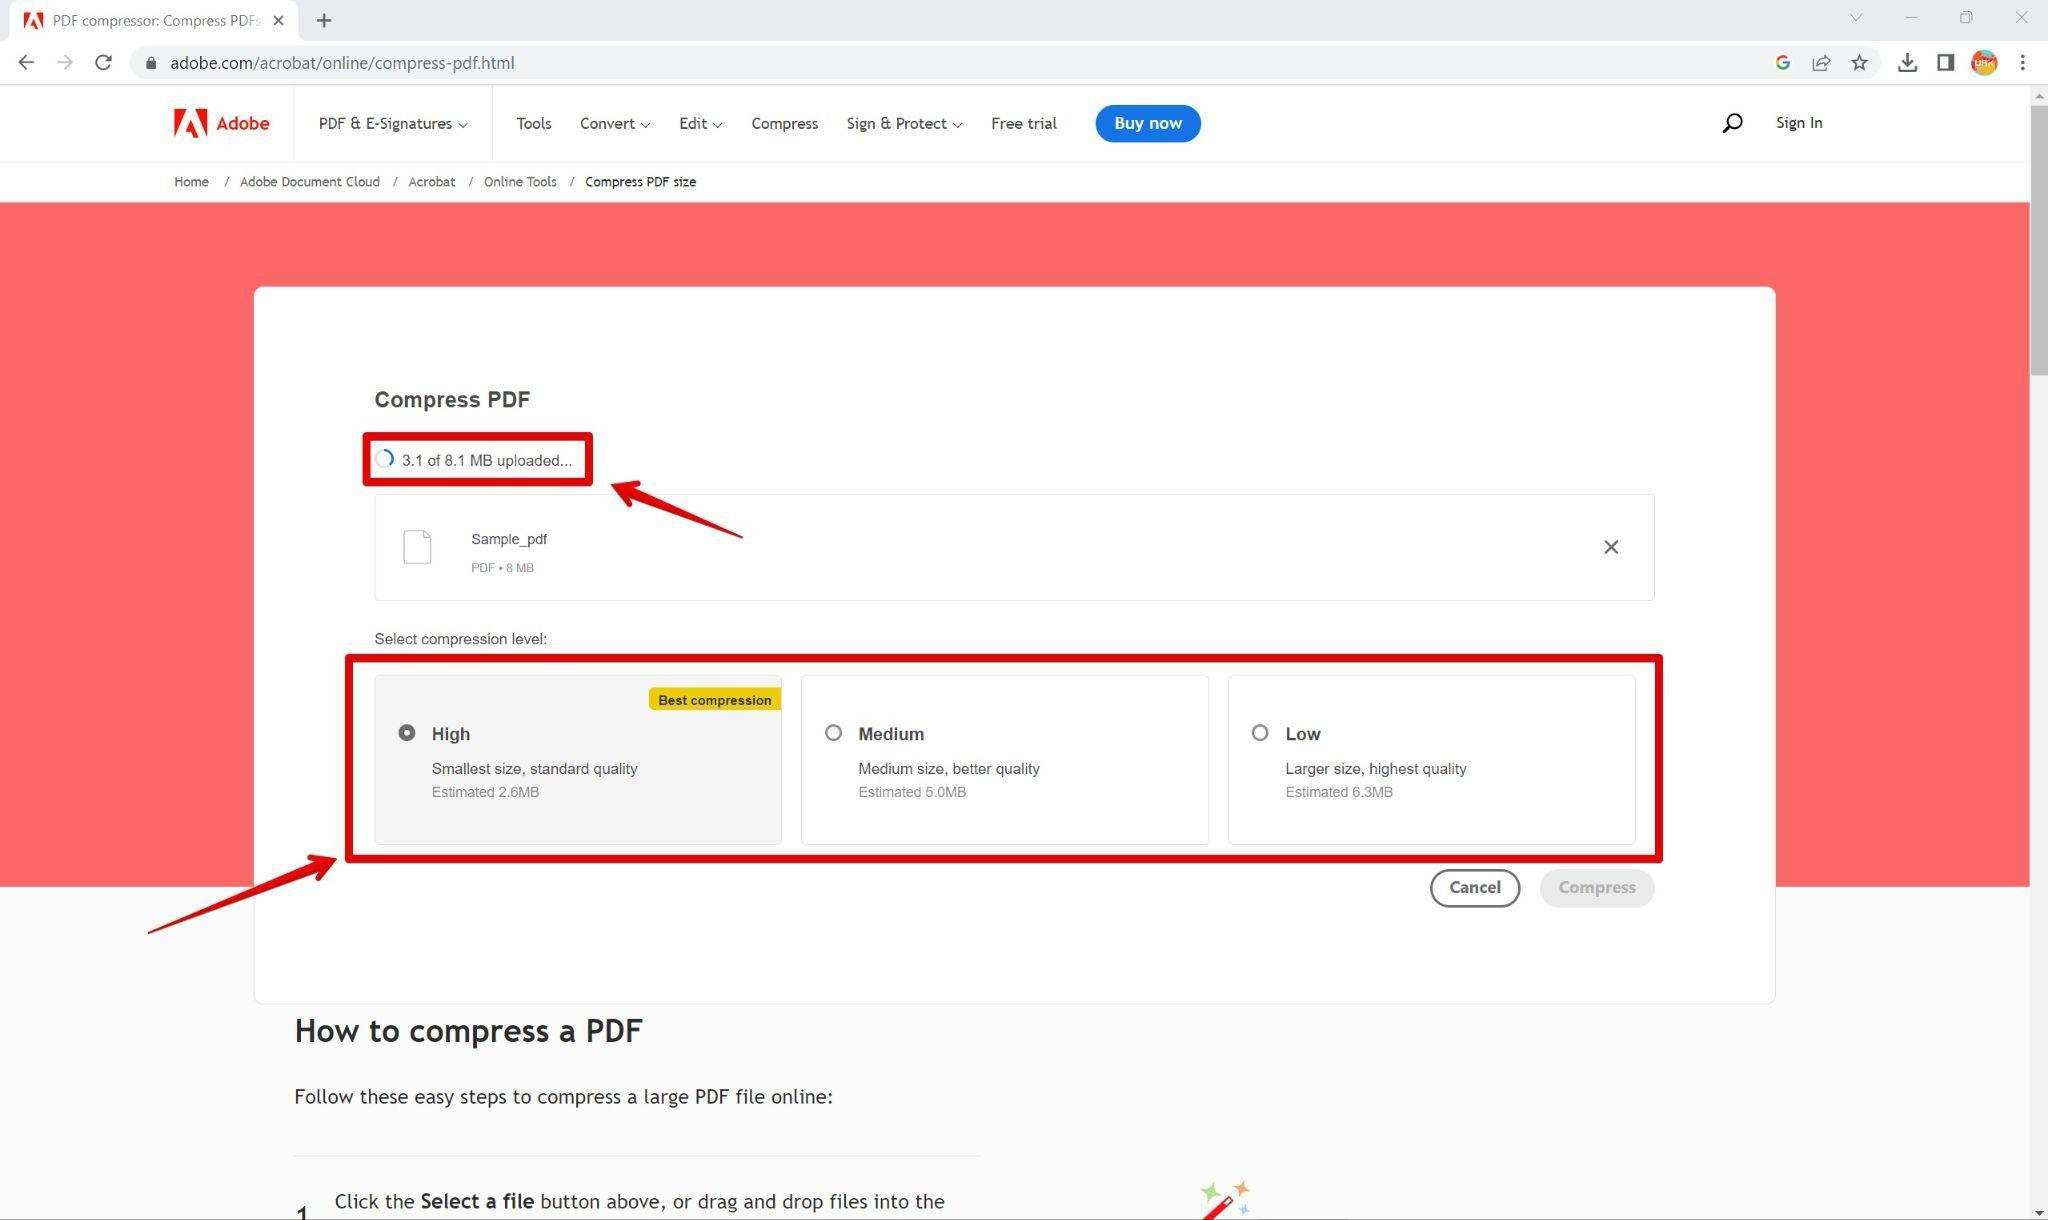
Step 2: For this tutorial we choose Adobe, initiate the deployment of a cutting-edge PDF compression utility. Once launched, carefully select the desired file that you intend to compress.
Step 3: Choose the compression settings or optimization options the tool provides.
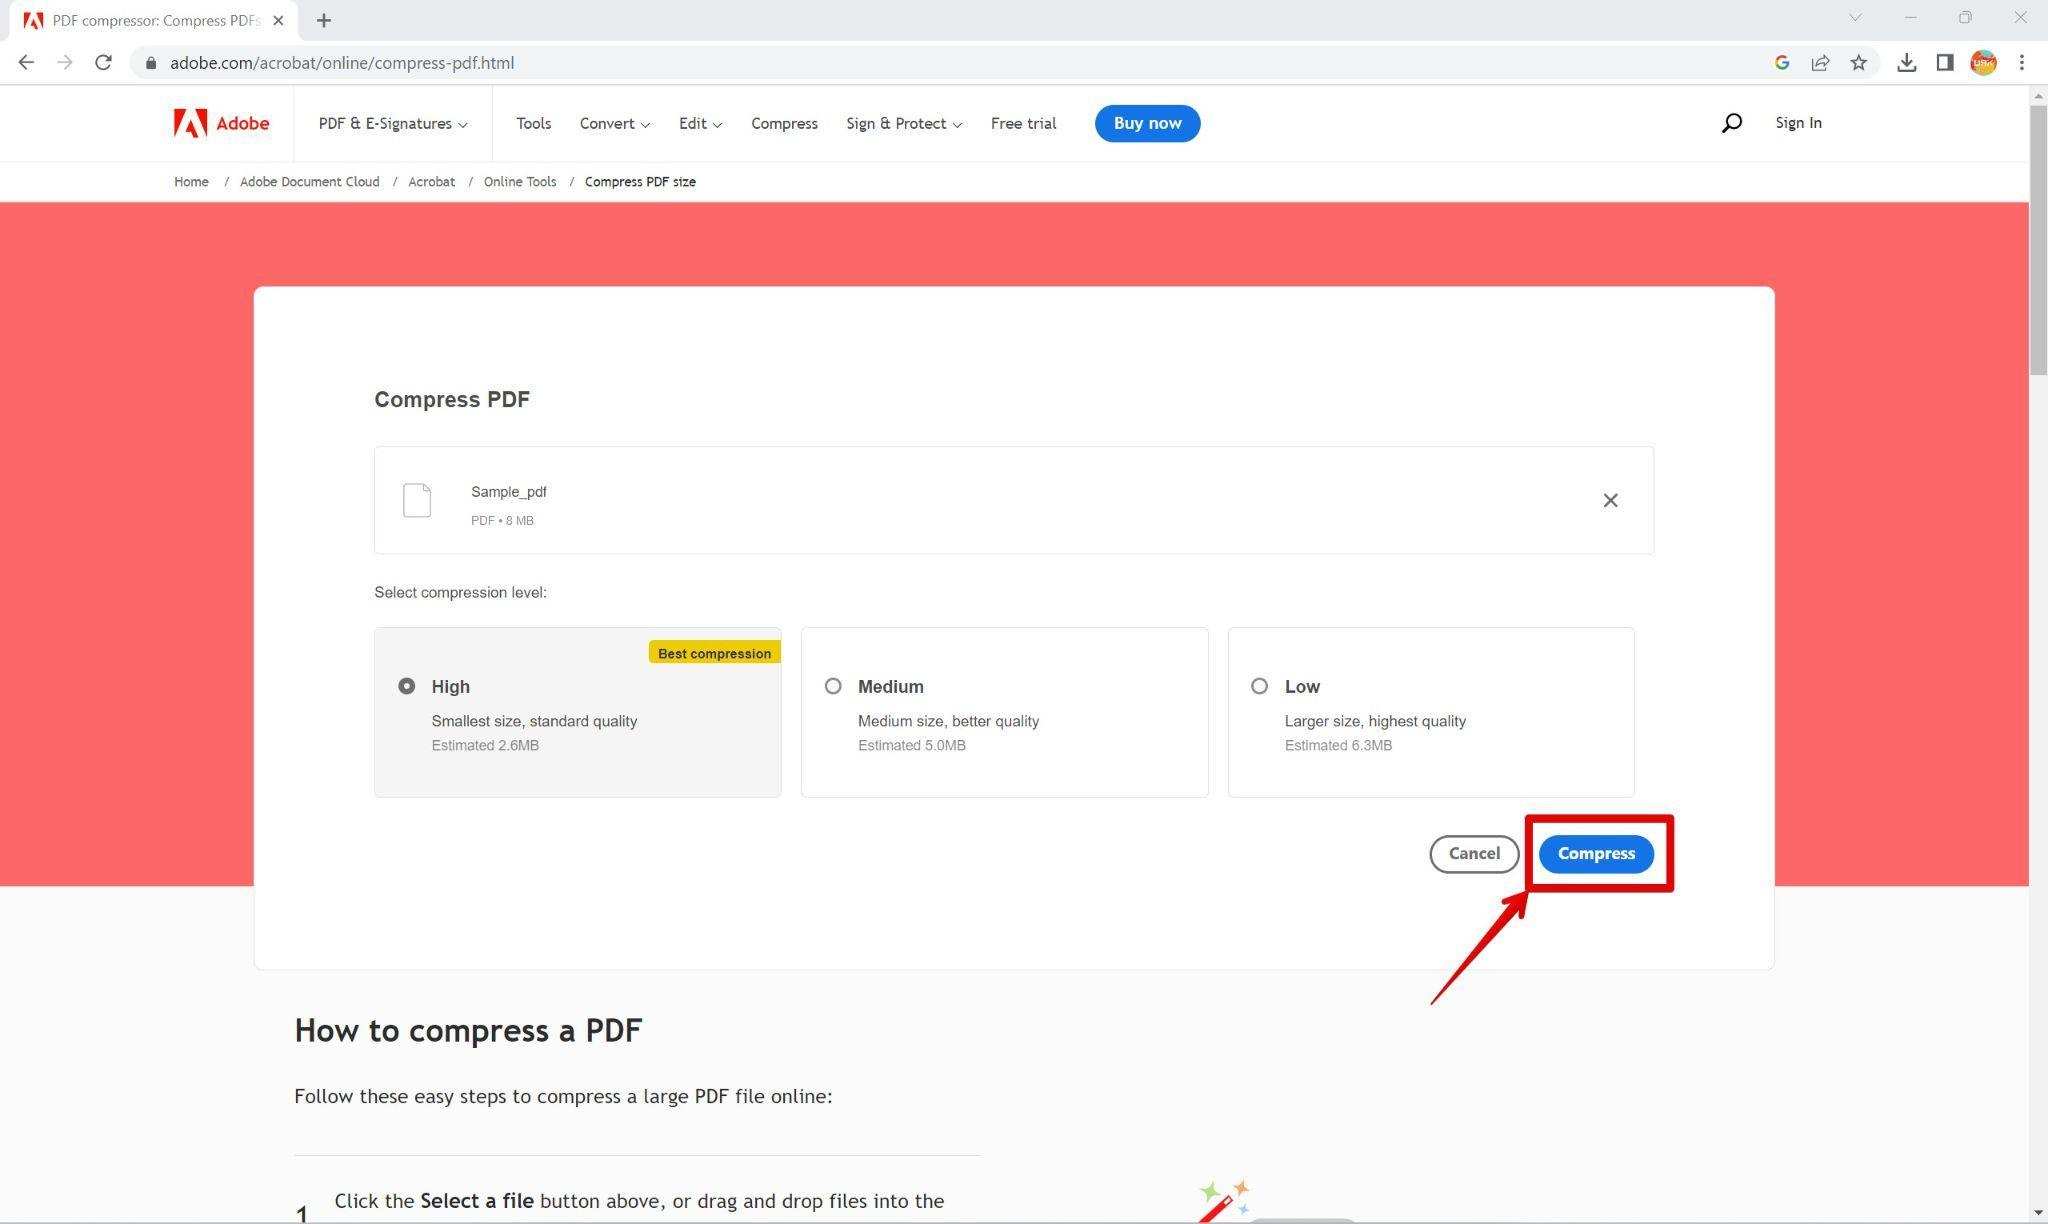
Step 4: Start the compression process, and the tool will generate a compressed PDF file version.
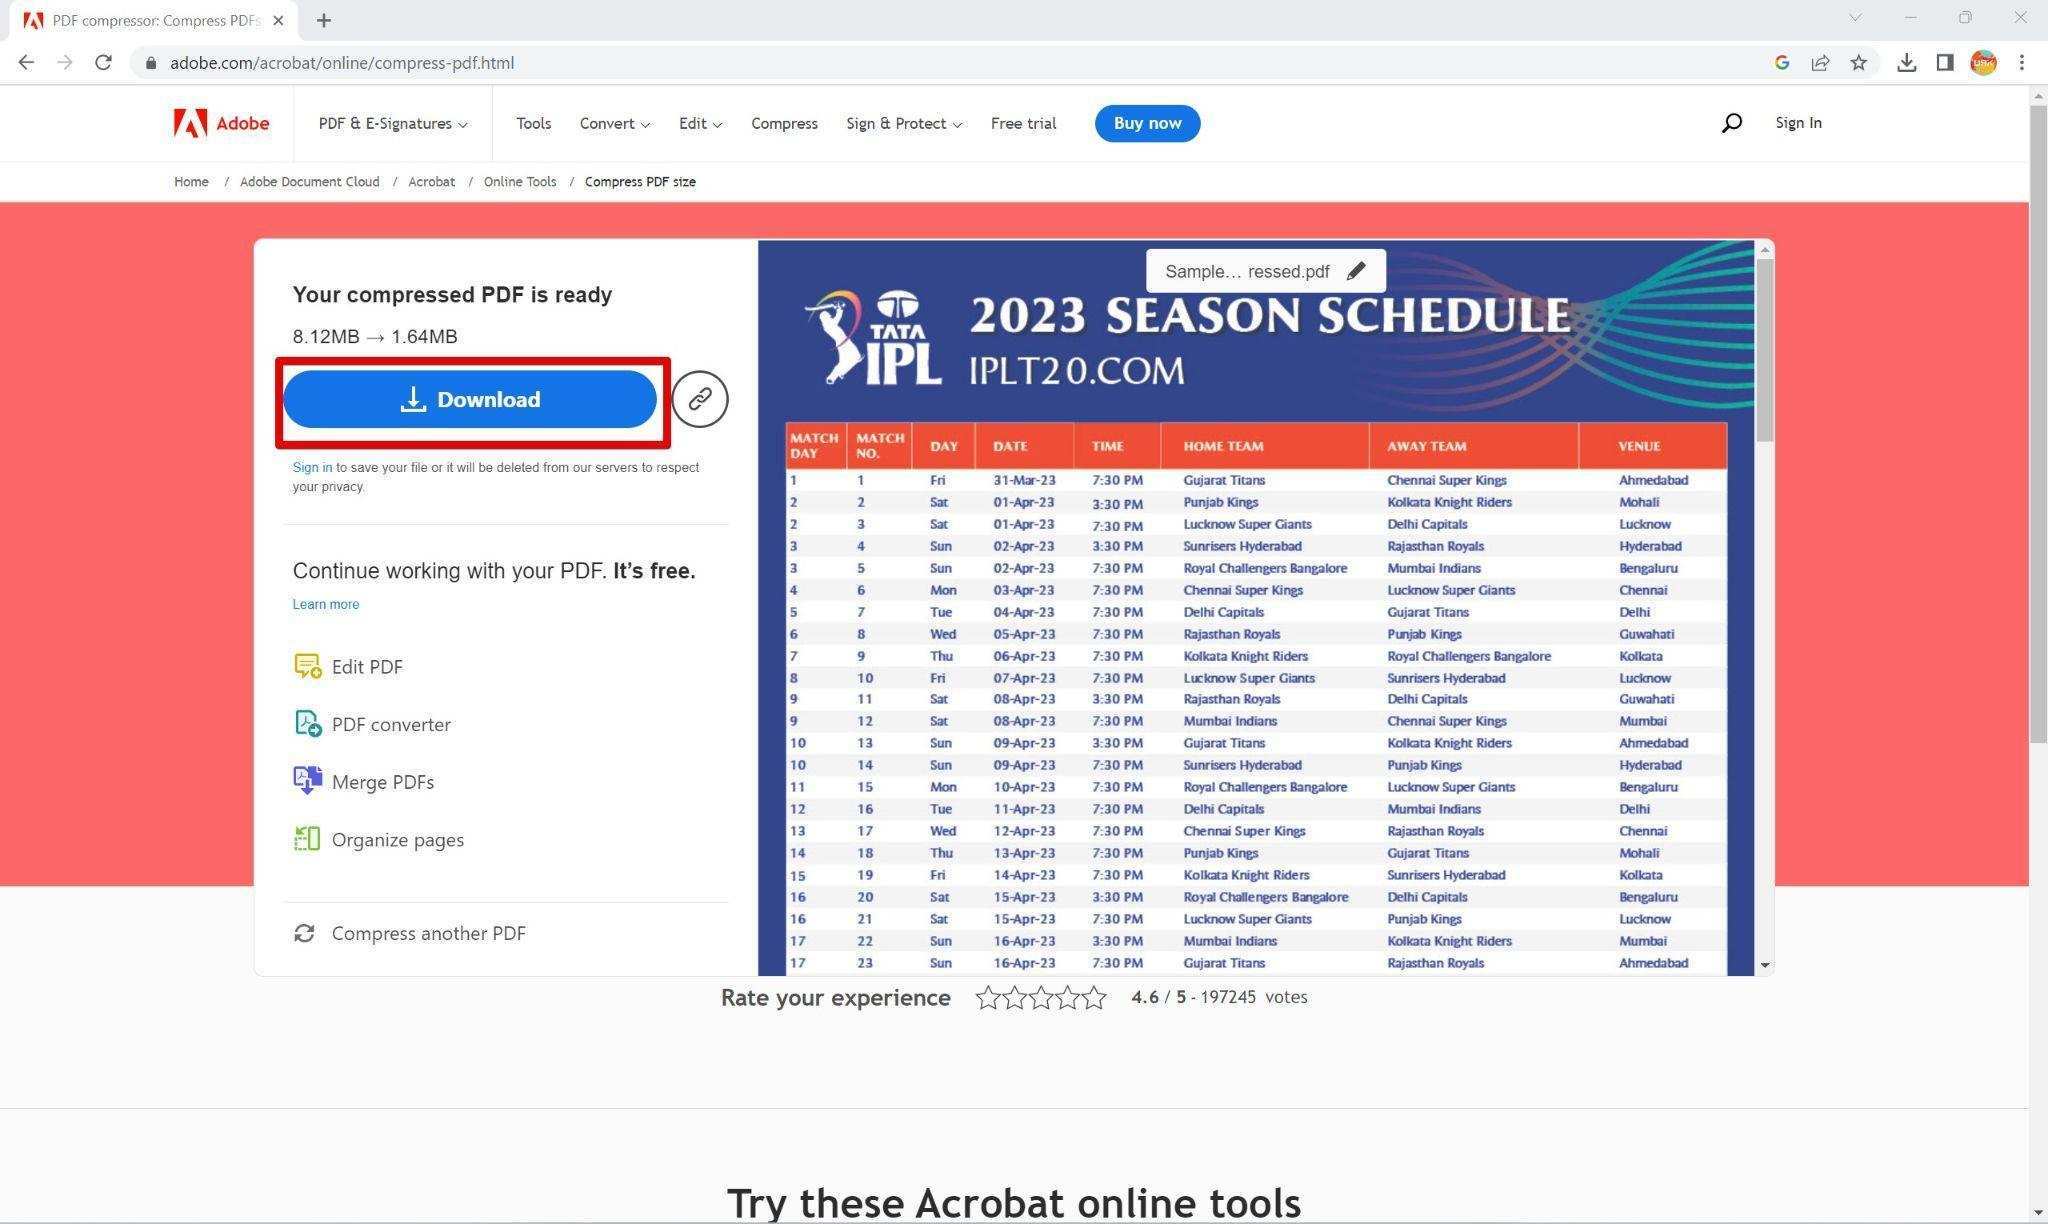
Step 5: Save the compressed file to a location of your choice.
Section 3: Emailing a Compressed PDF (approx. 350 words)
Now that you have compressed your file, you can send it via email. Follow these steps to mail a compressed on Windows 11:
Step 1: Open Your Email Client: Launch your preferred mail client or webmail service, such as Microsoft Outlook, Windows Mail, or Gmail, and log in to your email account.
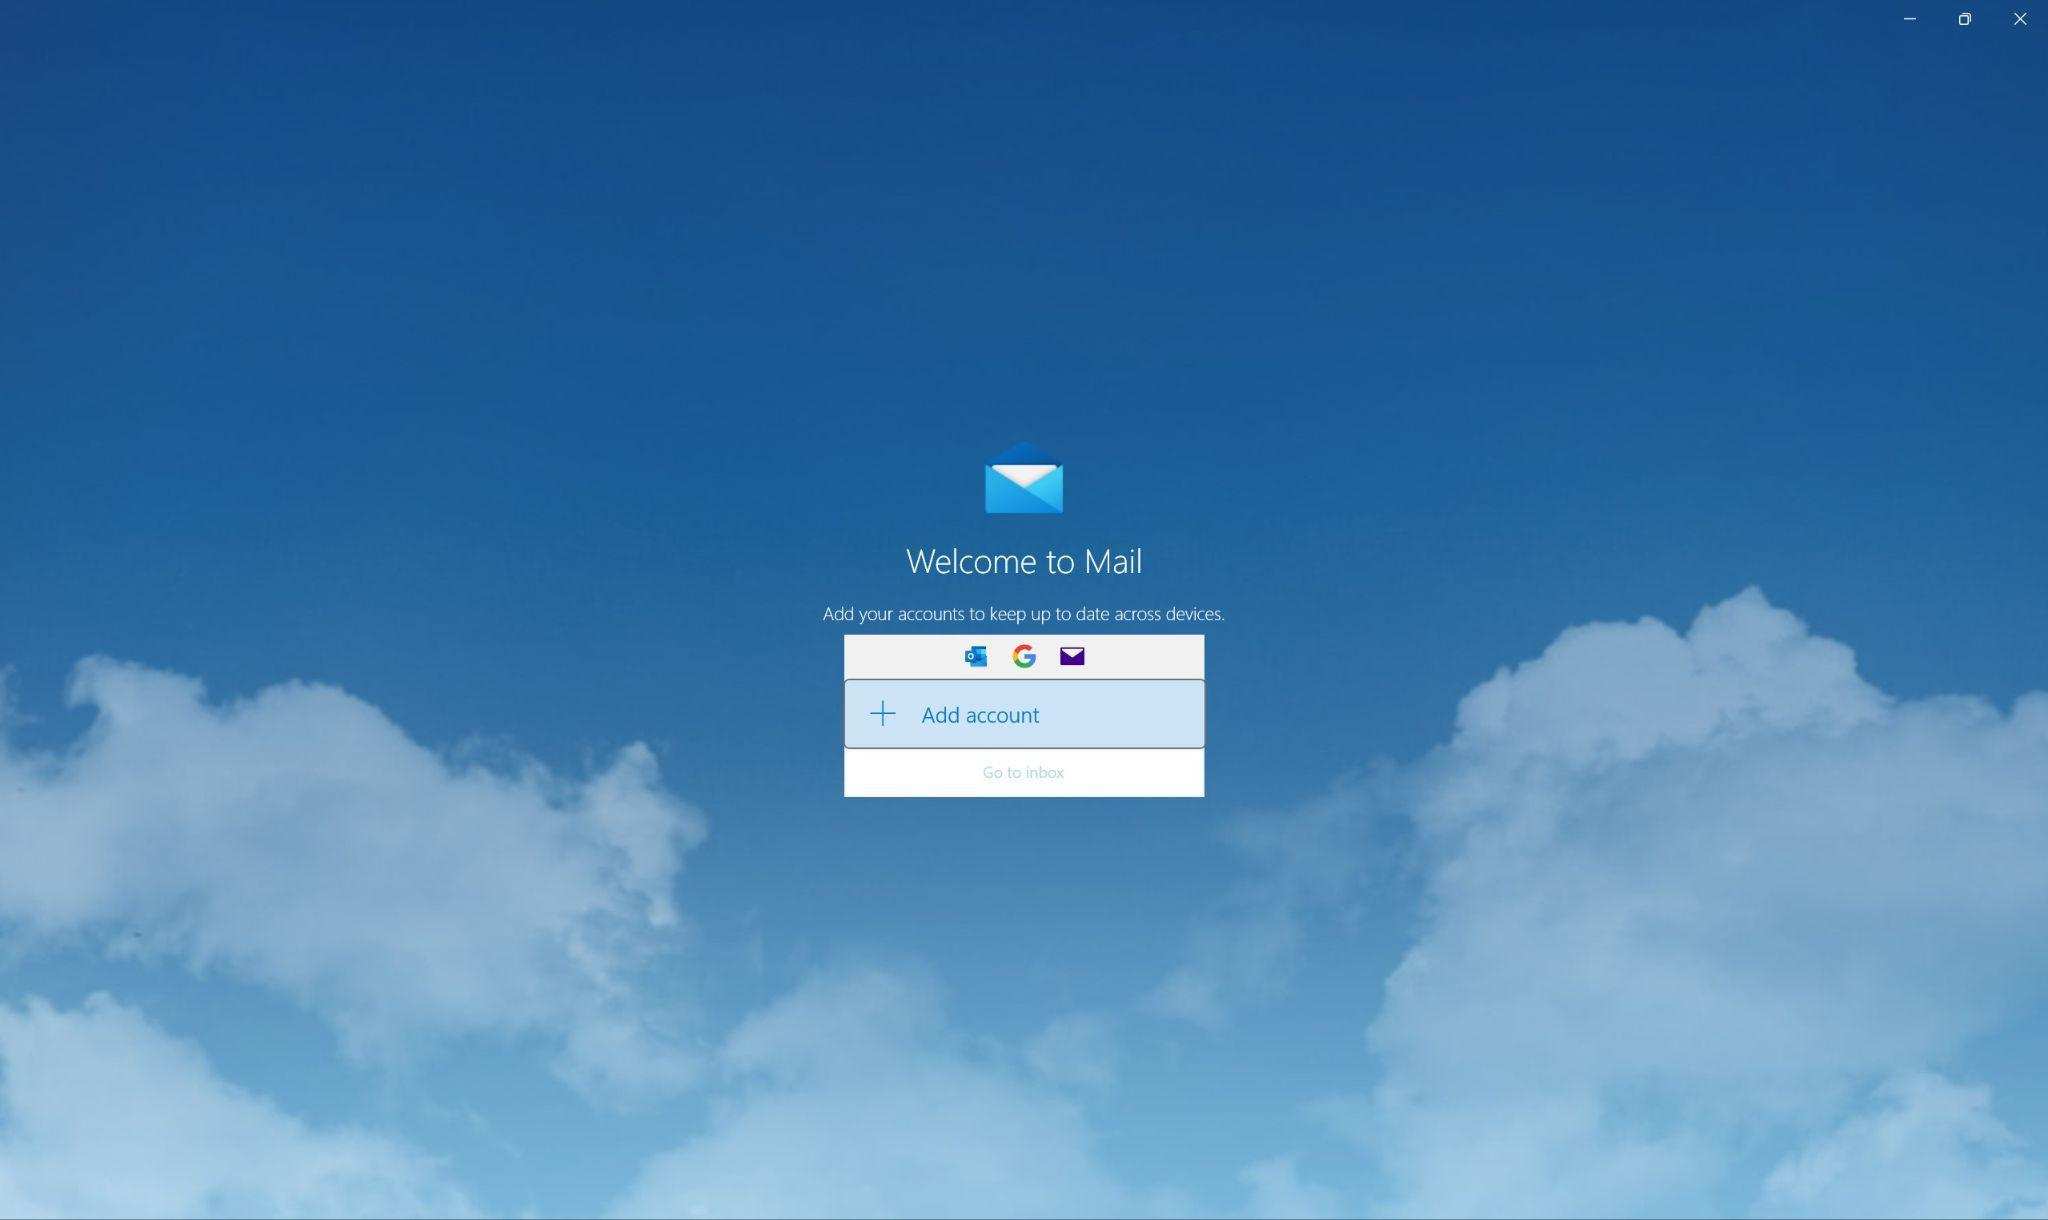
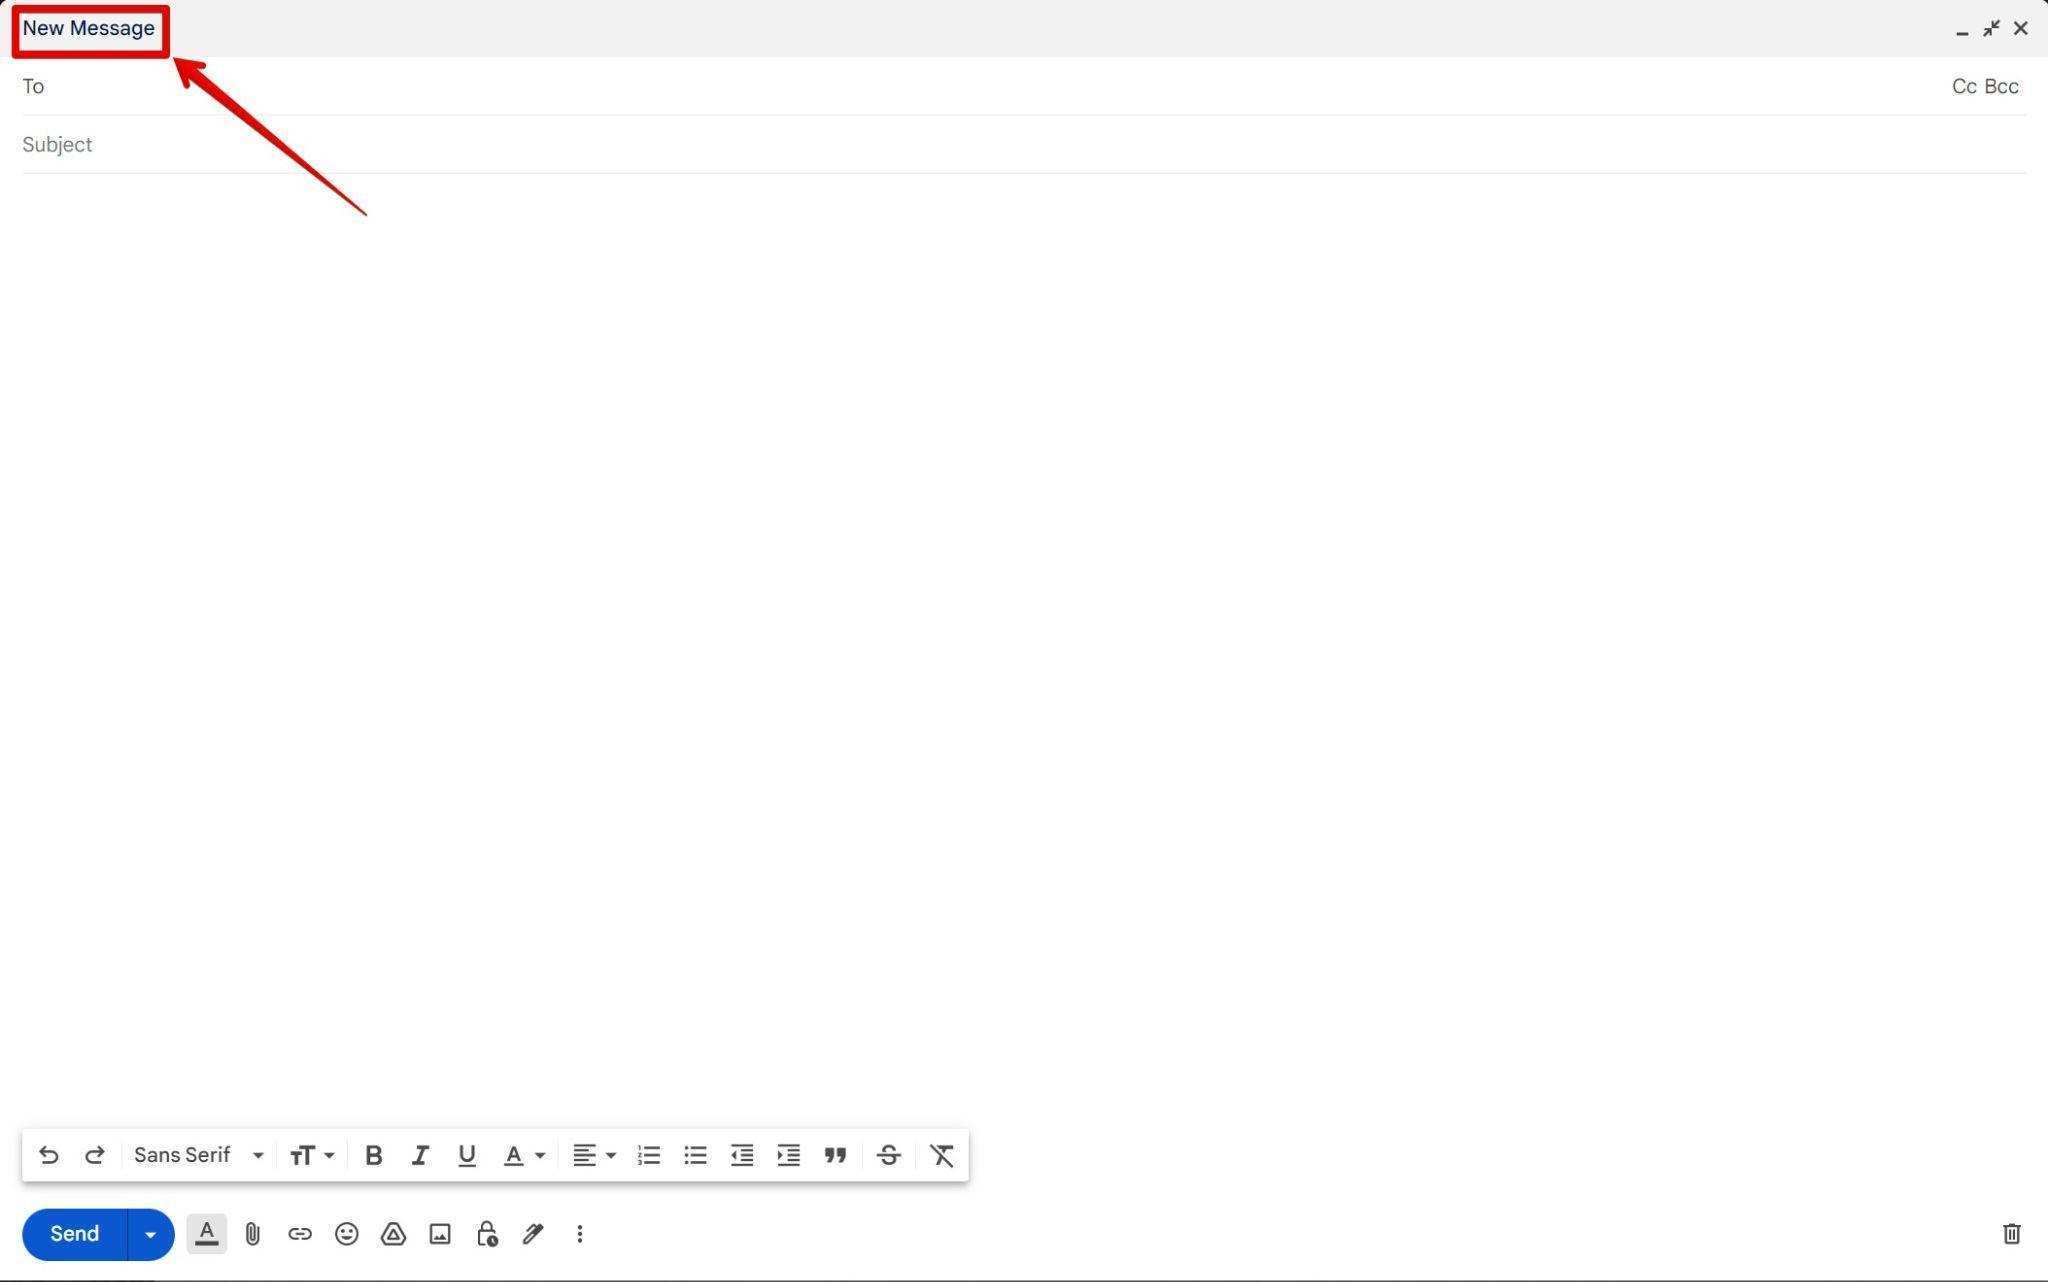
Step 2: To initiate the creation of a new email message, select either the “Compose” or “New Email” button.
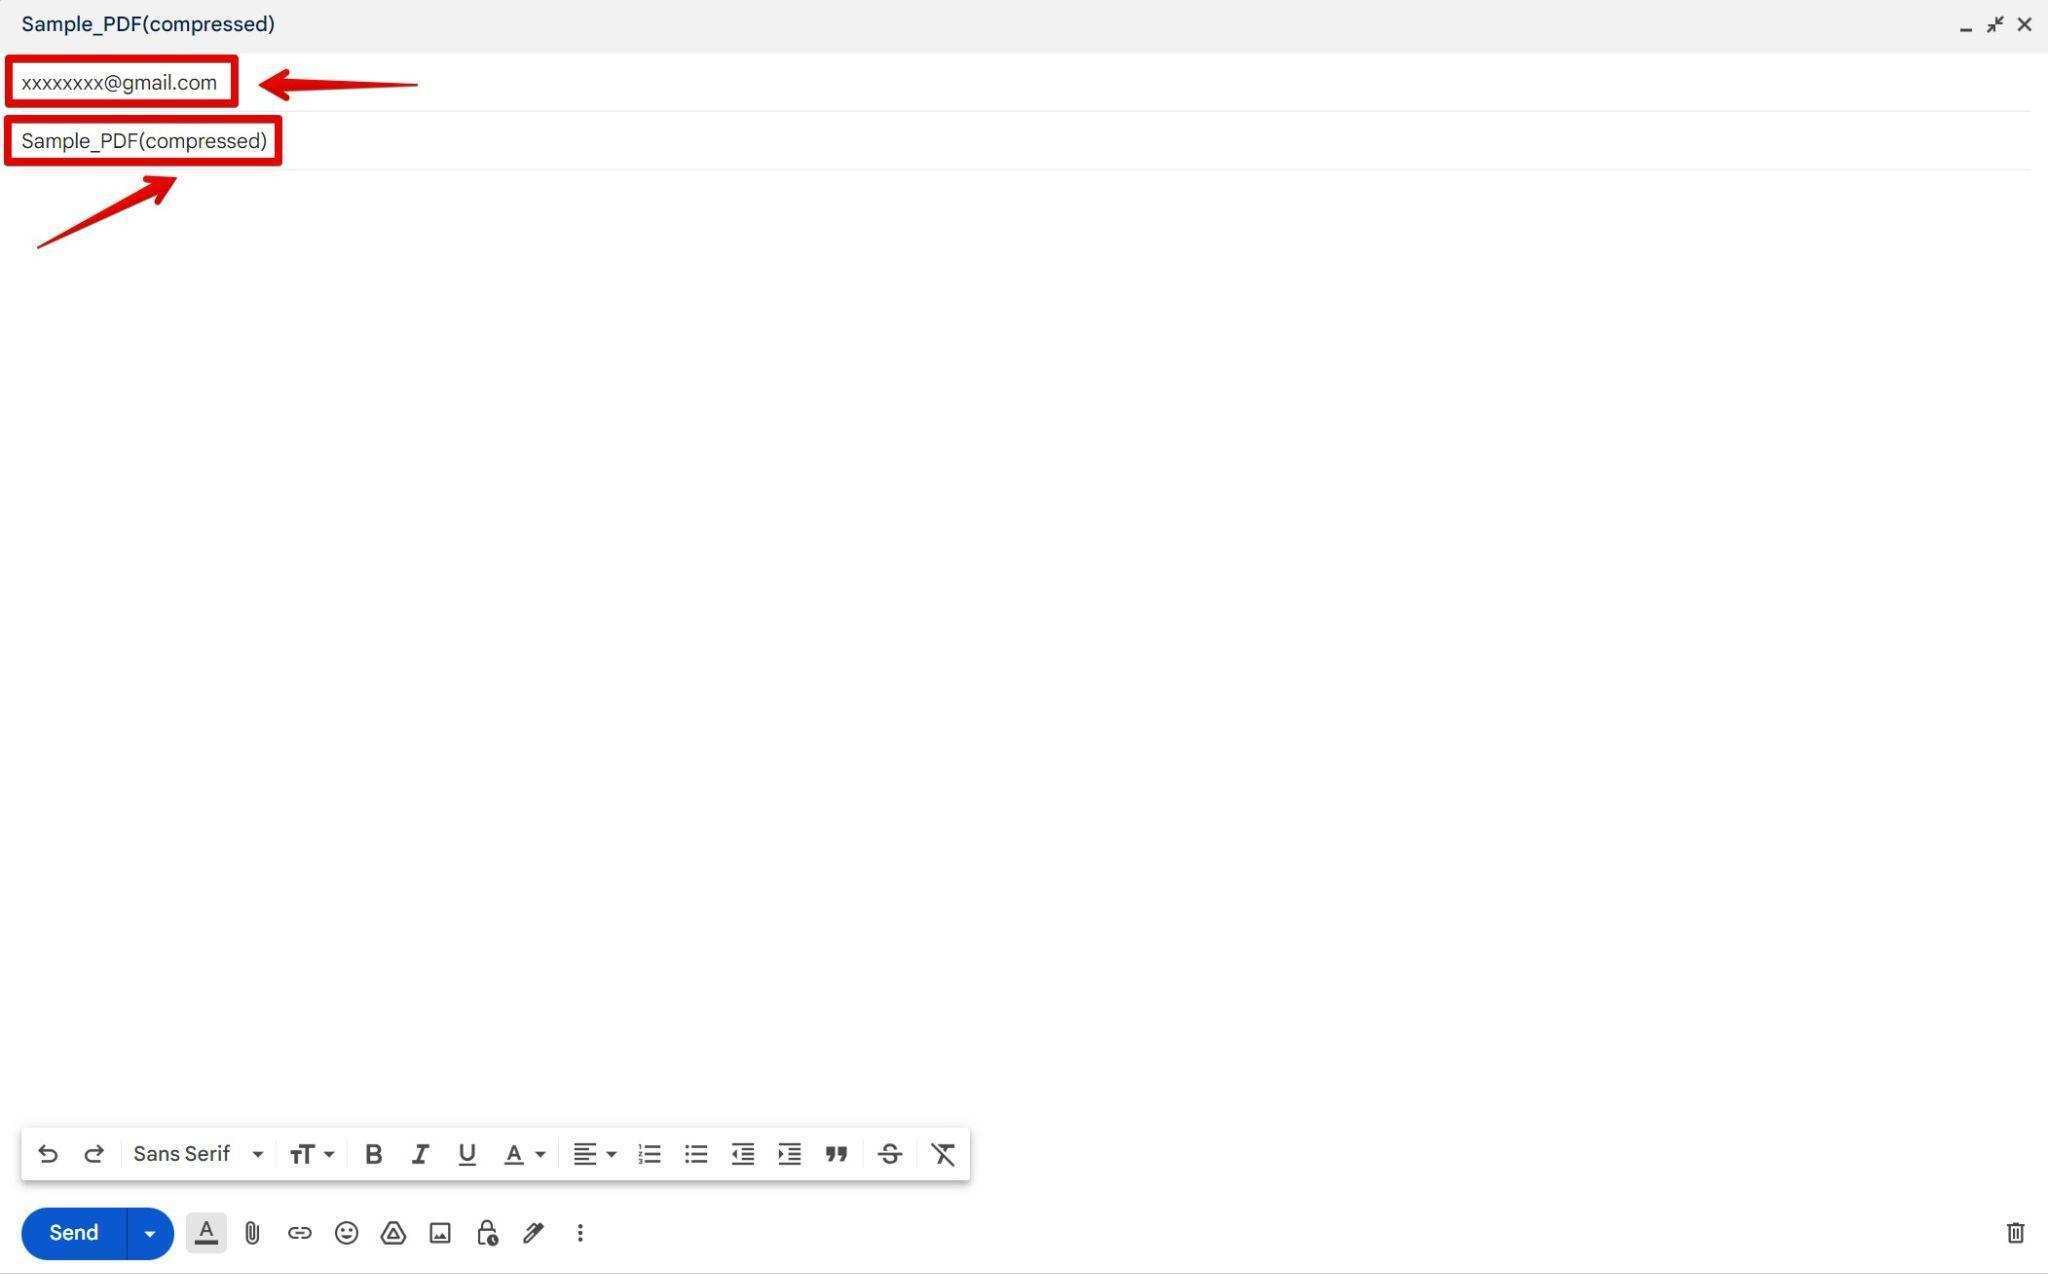
Step 3: To provide the recipient’s information, input their email address in the “To” field. Moreover, you hold the liberty to incorporate a captivating email subject line, which serves as a succinct synopsis of the email’s essence. This valuable feature grants you the opportunity to offer a concise portrayal of the email’s contents, enhancing the recipient’s understanding and piquing their curiosity.
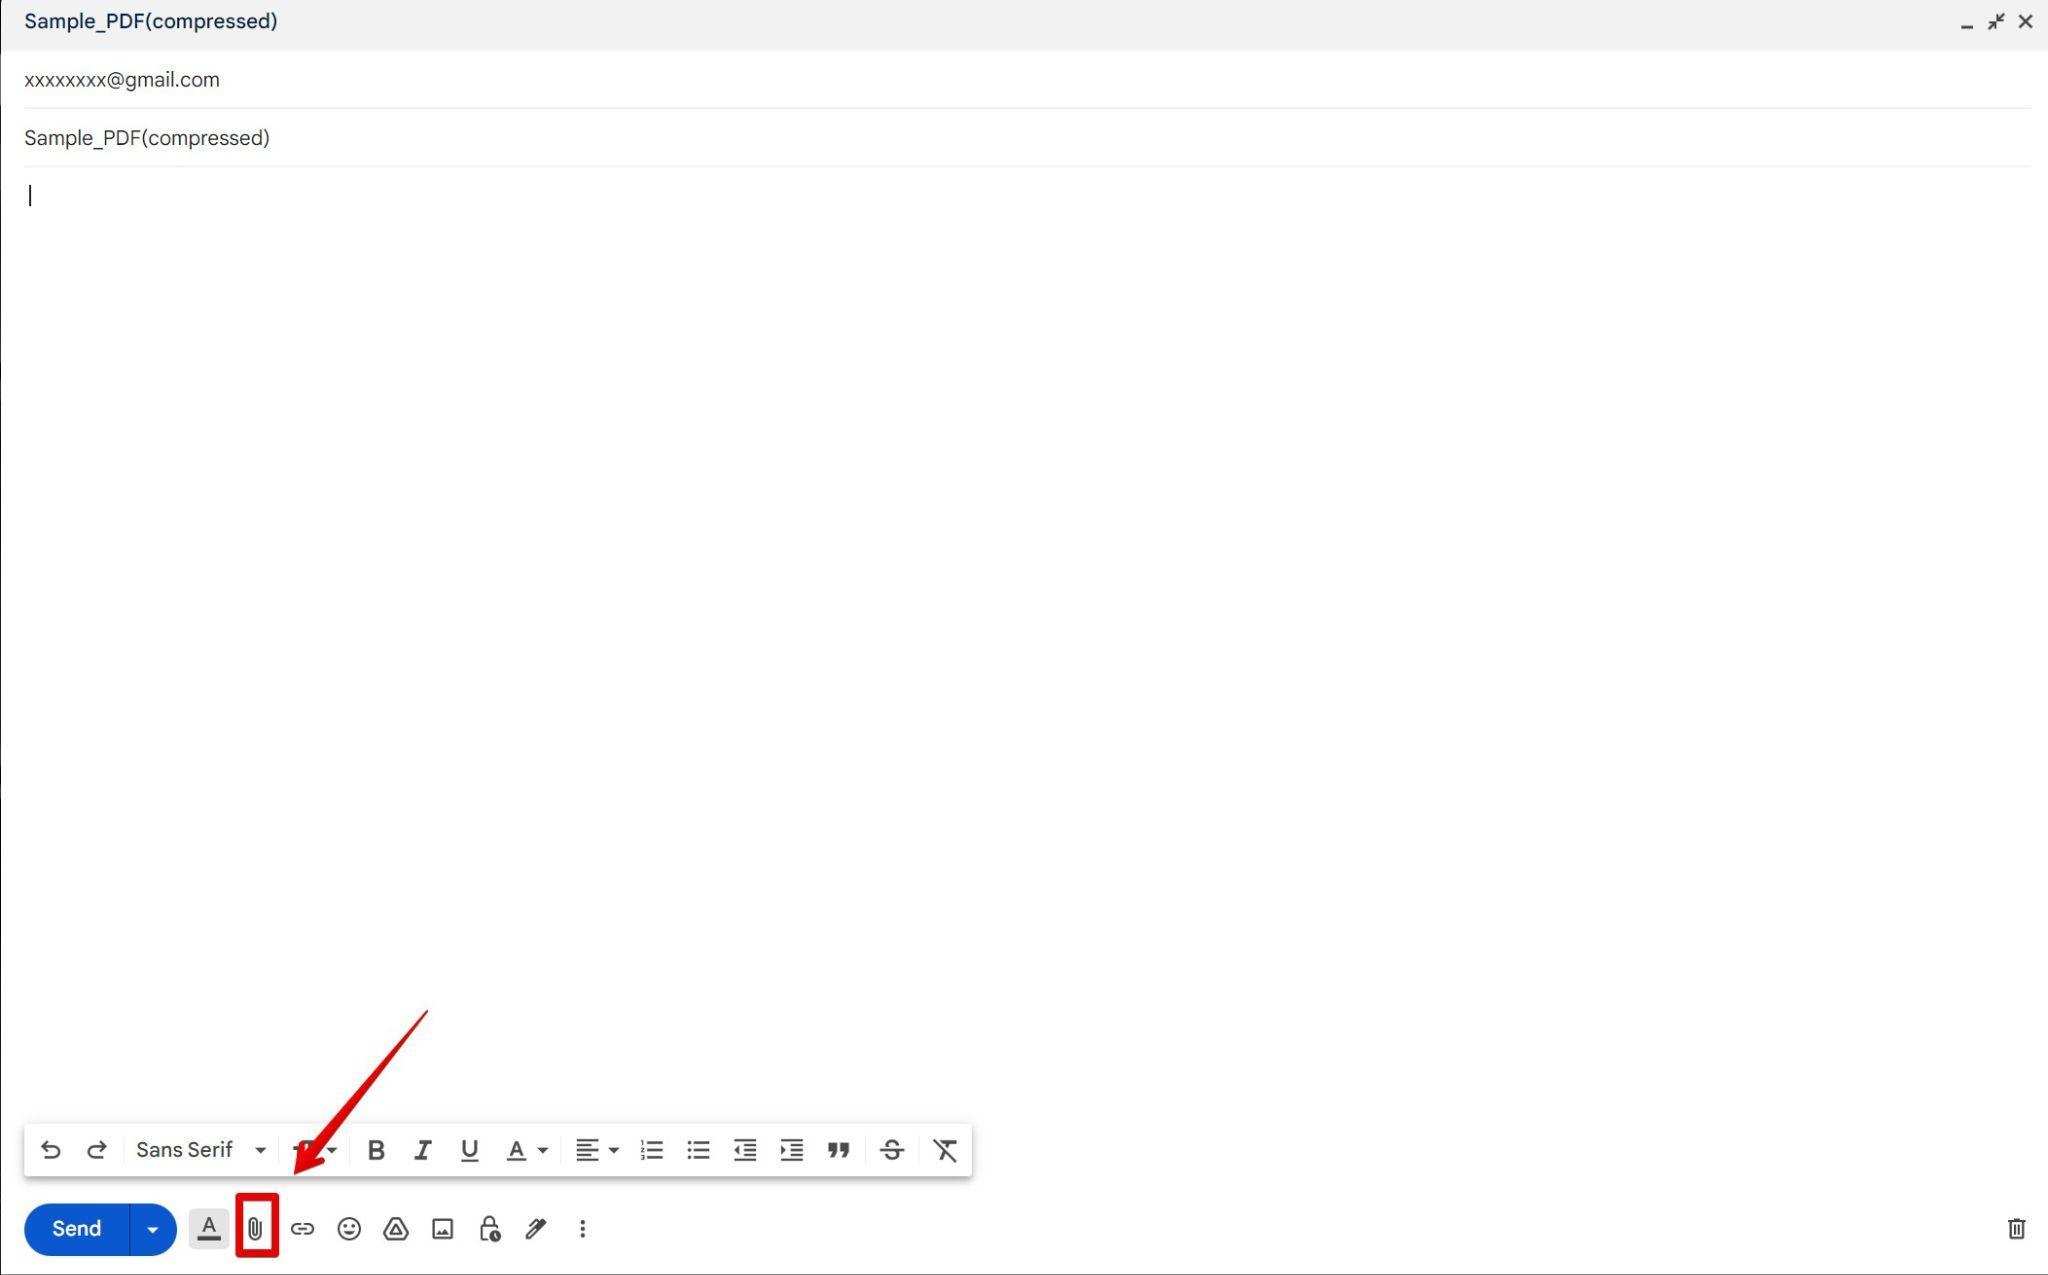
Step 4: Attach the Compressed file: Look for an attachment button, typically represented by a paperclip icon, and click on it. Upon selecting the option, a window of file browser will appear.
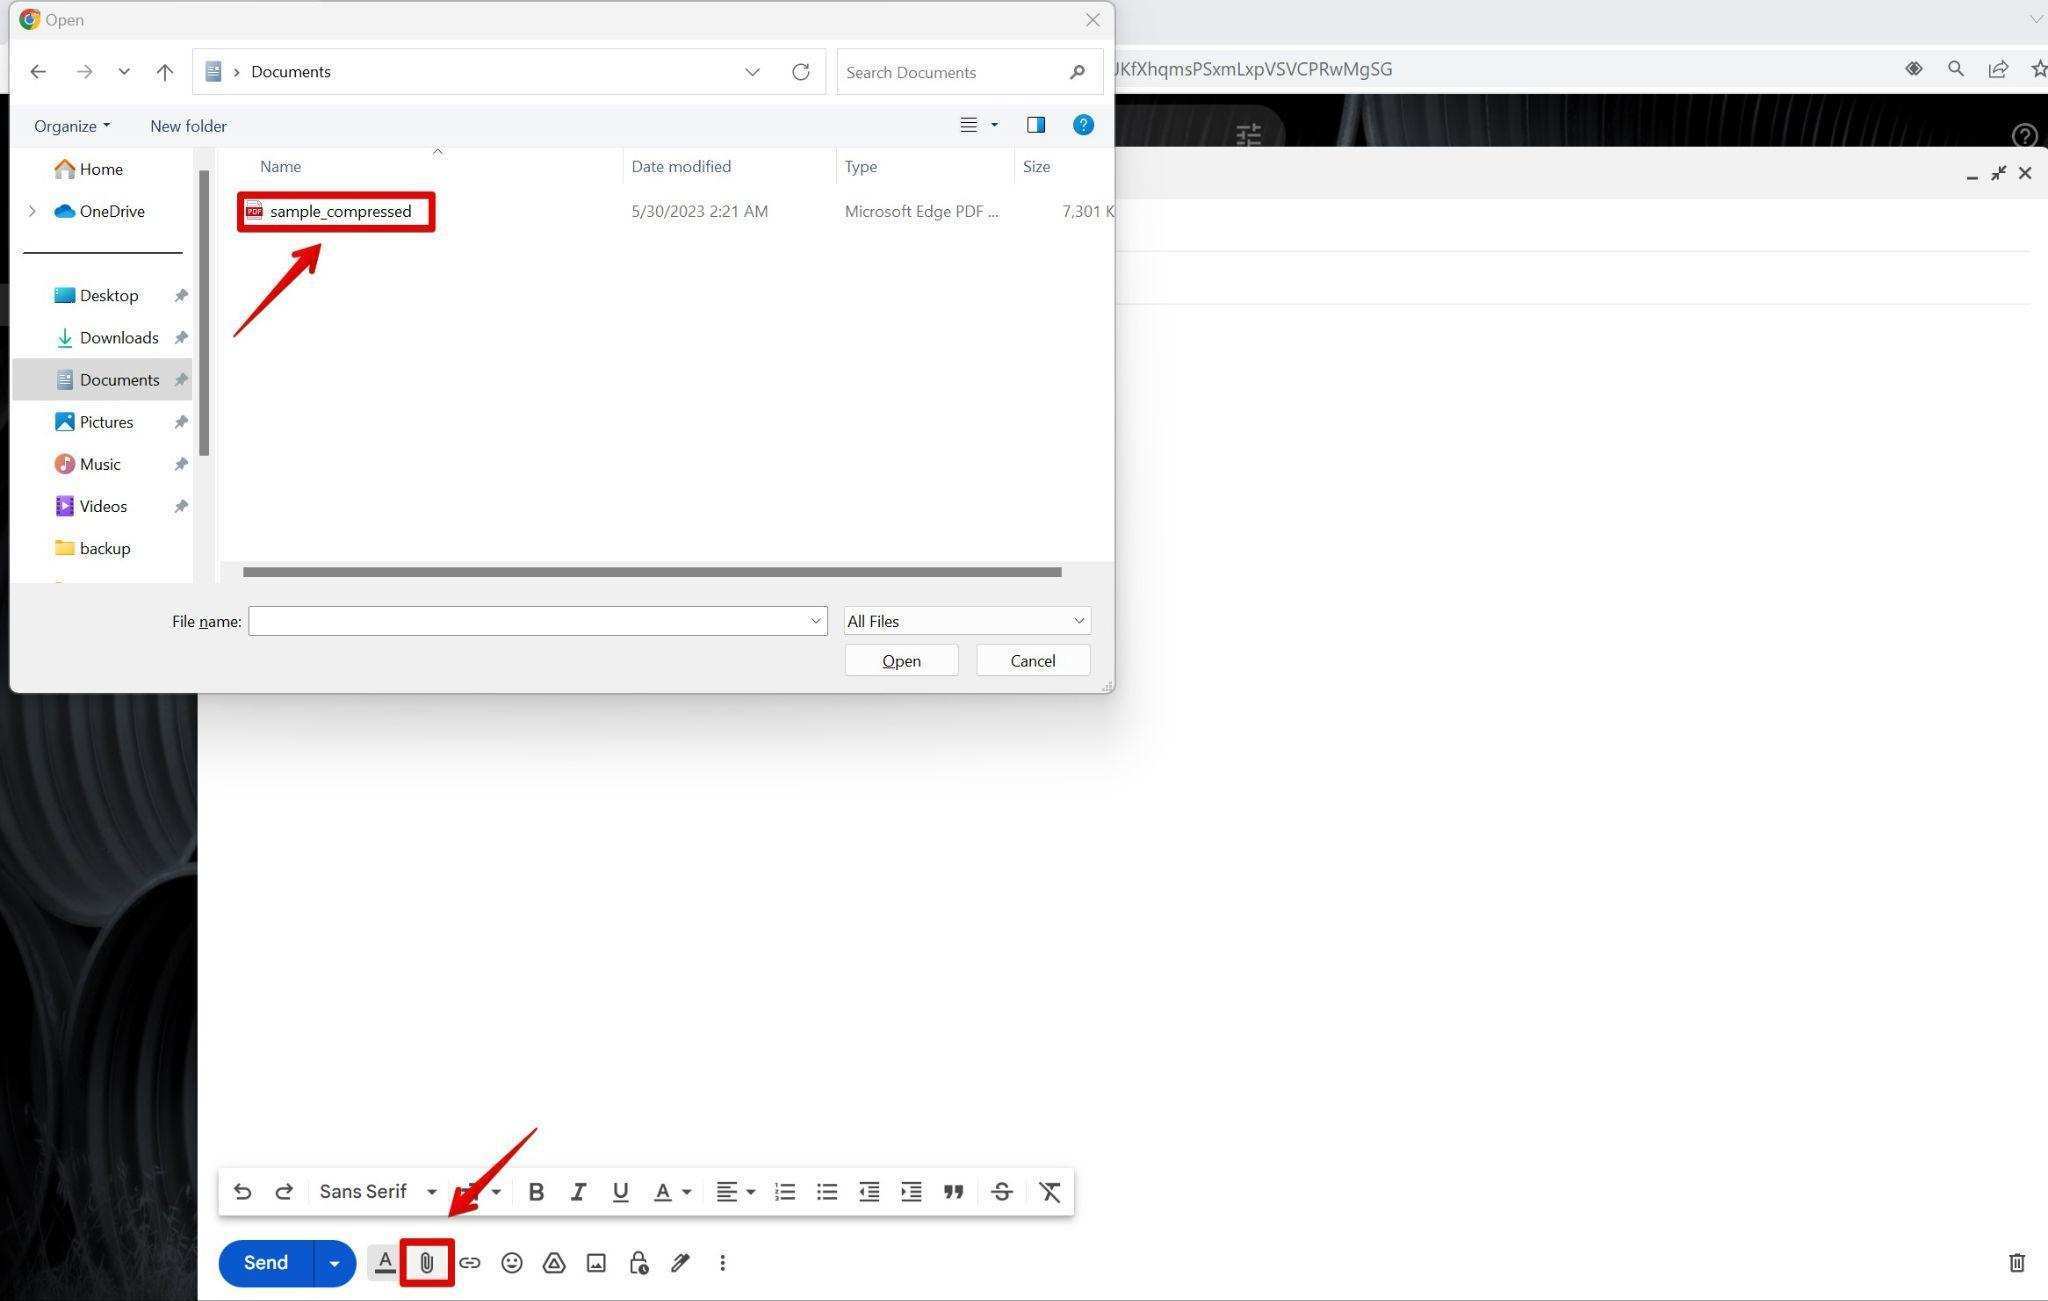
Step 5: Find and choose the compressed file by navigating to your saved folder. To attach the file, click the “Open” or “Attach” to your email. This will successfully attach the PDF file to your email.
Step 6: Compose the Email Message: Write a brief message in the body of the email, providing any necessary context or instructions for the recipient.
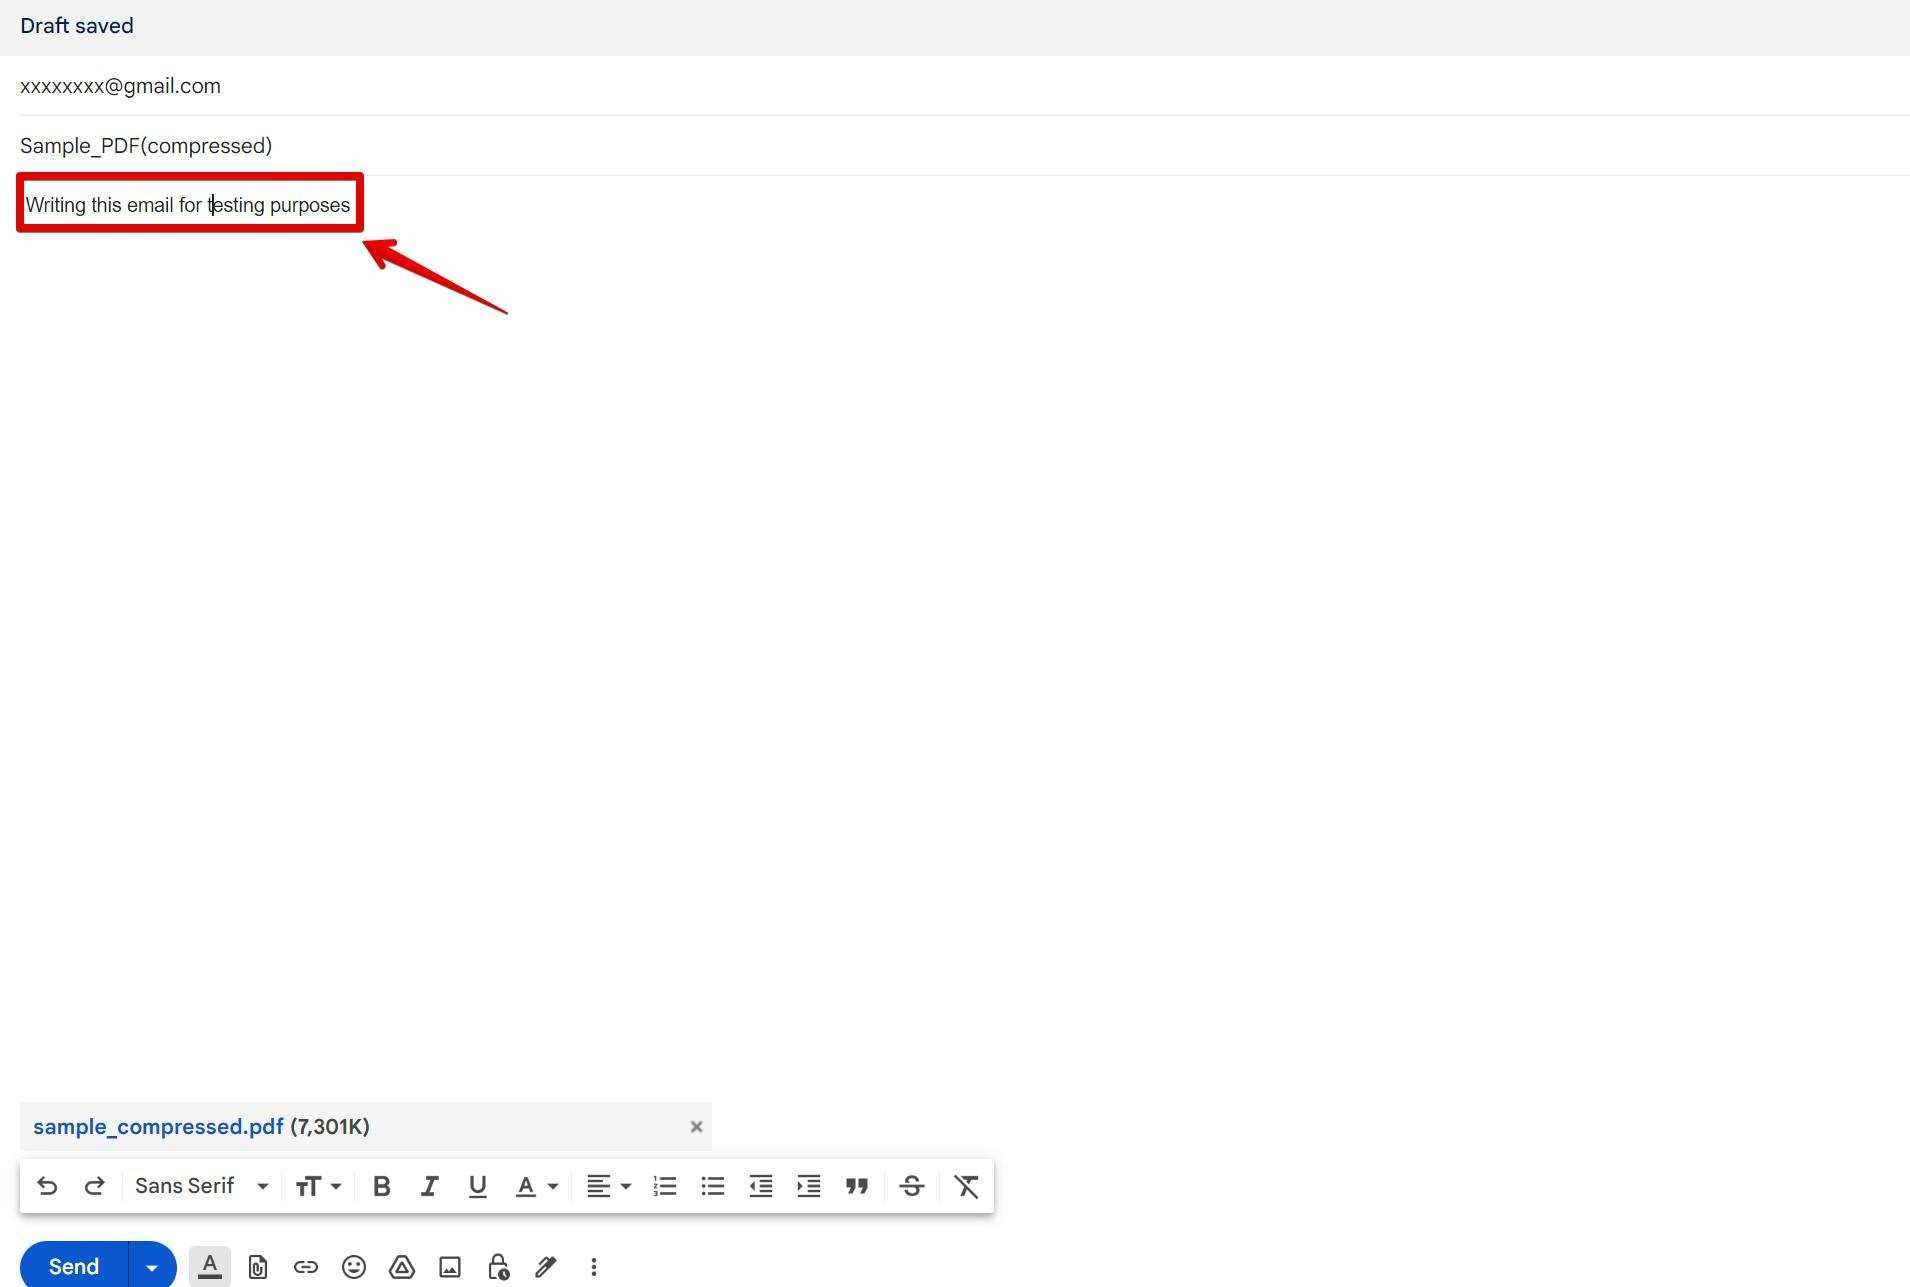
Step 7: Before sending the email, it is recommended to review the recipient, subject line, attached file, and the content of the email message.
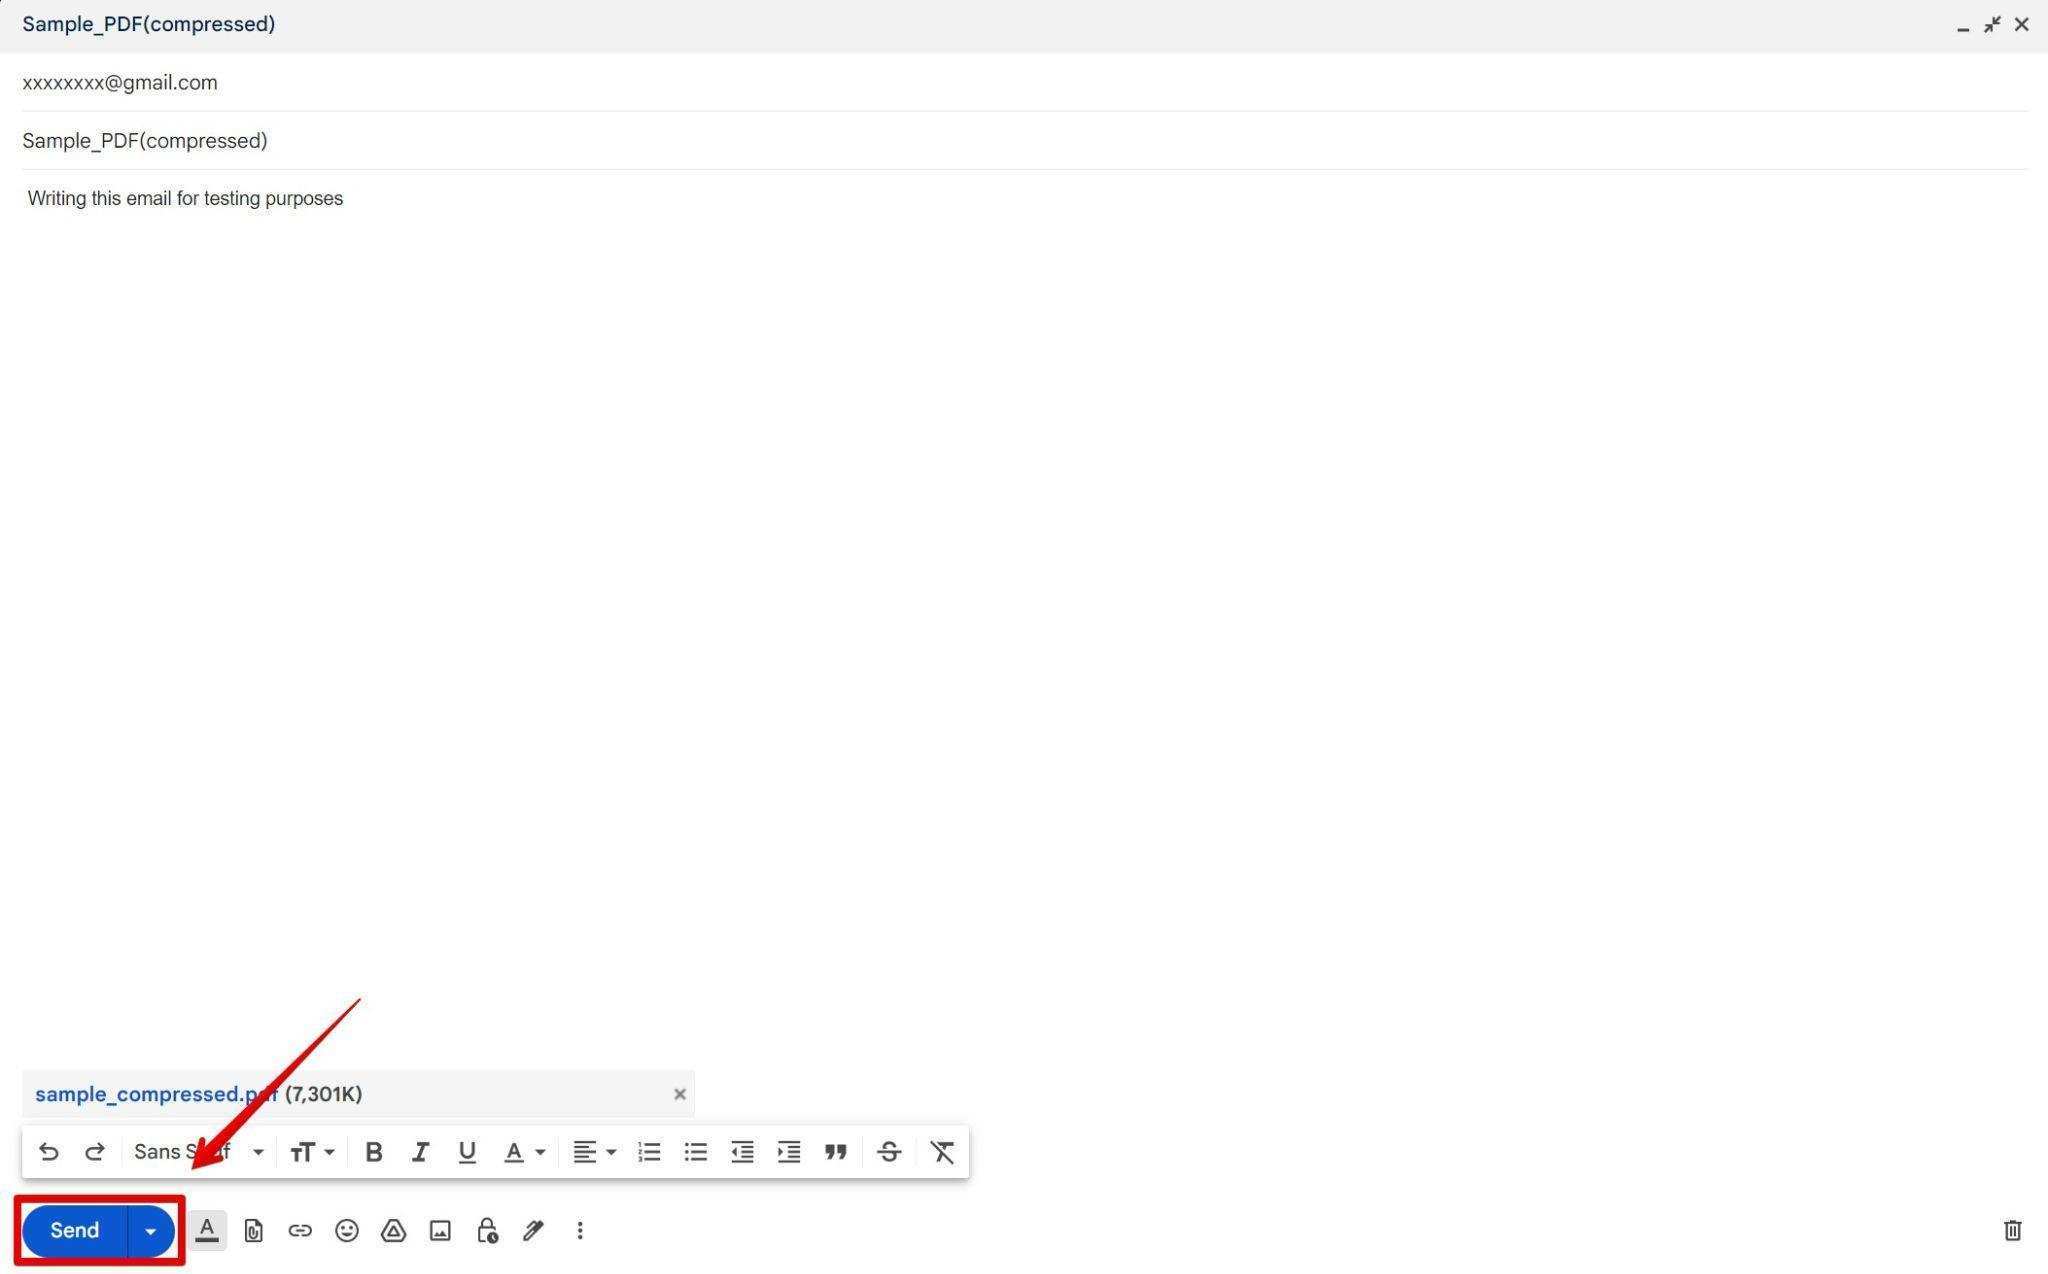
Step 8: To send the email, click on the “Send” or “Submit” button. This action will forward the email with the attached compressed file to the recipient’s email address.
Section 4: Best Practices for PDF Compression and Emailing
- Consider the sensitivity and privacy of the information in your PDF file before compressing and sending it via email. Encrypt the file if necessary.
- Use appropriate compression settings to balance file size reduction and the quality of the compressed file.
- Test the compressed PDF file before sending it to ensure the content, formatting, and readability are not compromised.
- Be aware of email attachment size limits set by your email provider. Take into consideration the utilization of cloud-based storage solutions or cutting-edge file-sharing platforms in the event that the compressed file surpasses the designated threshold. These innovative options present themselves as practical alternatives, allowing for seamless transmission and retrieval of the file, even when faced with size limitations.
- Compress PDF files with text and images separately if needed, as different compression methods may suit each type of content.
Conclusion:
Compressing and emailing files on Windows 11 can significantly enhance your file-sharing capabilities. Following the instructions in this guide, you can effectively decrease the PDF file size without compromising its quality and effortlessly send them via email. Selecting a suitable compression method and considering any file attachment limitations set by your email service provider is important.