Monitoring CPU temperature is crucial for preserving peak performance and avoiding potential hardware issues. Microsoft’s most recent operating system, Windows 11, offers a number of ways to check CPU temperature. Monitoring your CPU temperature will help you keep it within safe ranges, avoid overheating, and extend the life of your system. This document will guide you through different methods to check CPU temperature in Windows 11, empowering you to monitor and manage your CPU’s thermal performance effectively.
To ensure optimum performance and avoid overheating, it is crucial to keep track of the CPU’s temperature. Microsoft’s most recent operating system, Windows 11, provides several convenient ways to check CPU temperature.. In this document, we will explore different approaches to monitor and assess CPU temperature on Windows 11, ranging from built-in tools to third-party software solutions.
Methods:
Using Windows Task Manager:
- Press Ctrl + Shift + Esc or right-click on the taskbar and select “Task Manager” to open the Windows Task Manager.
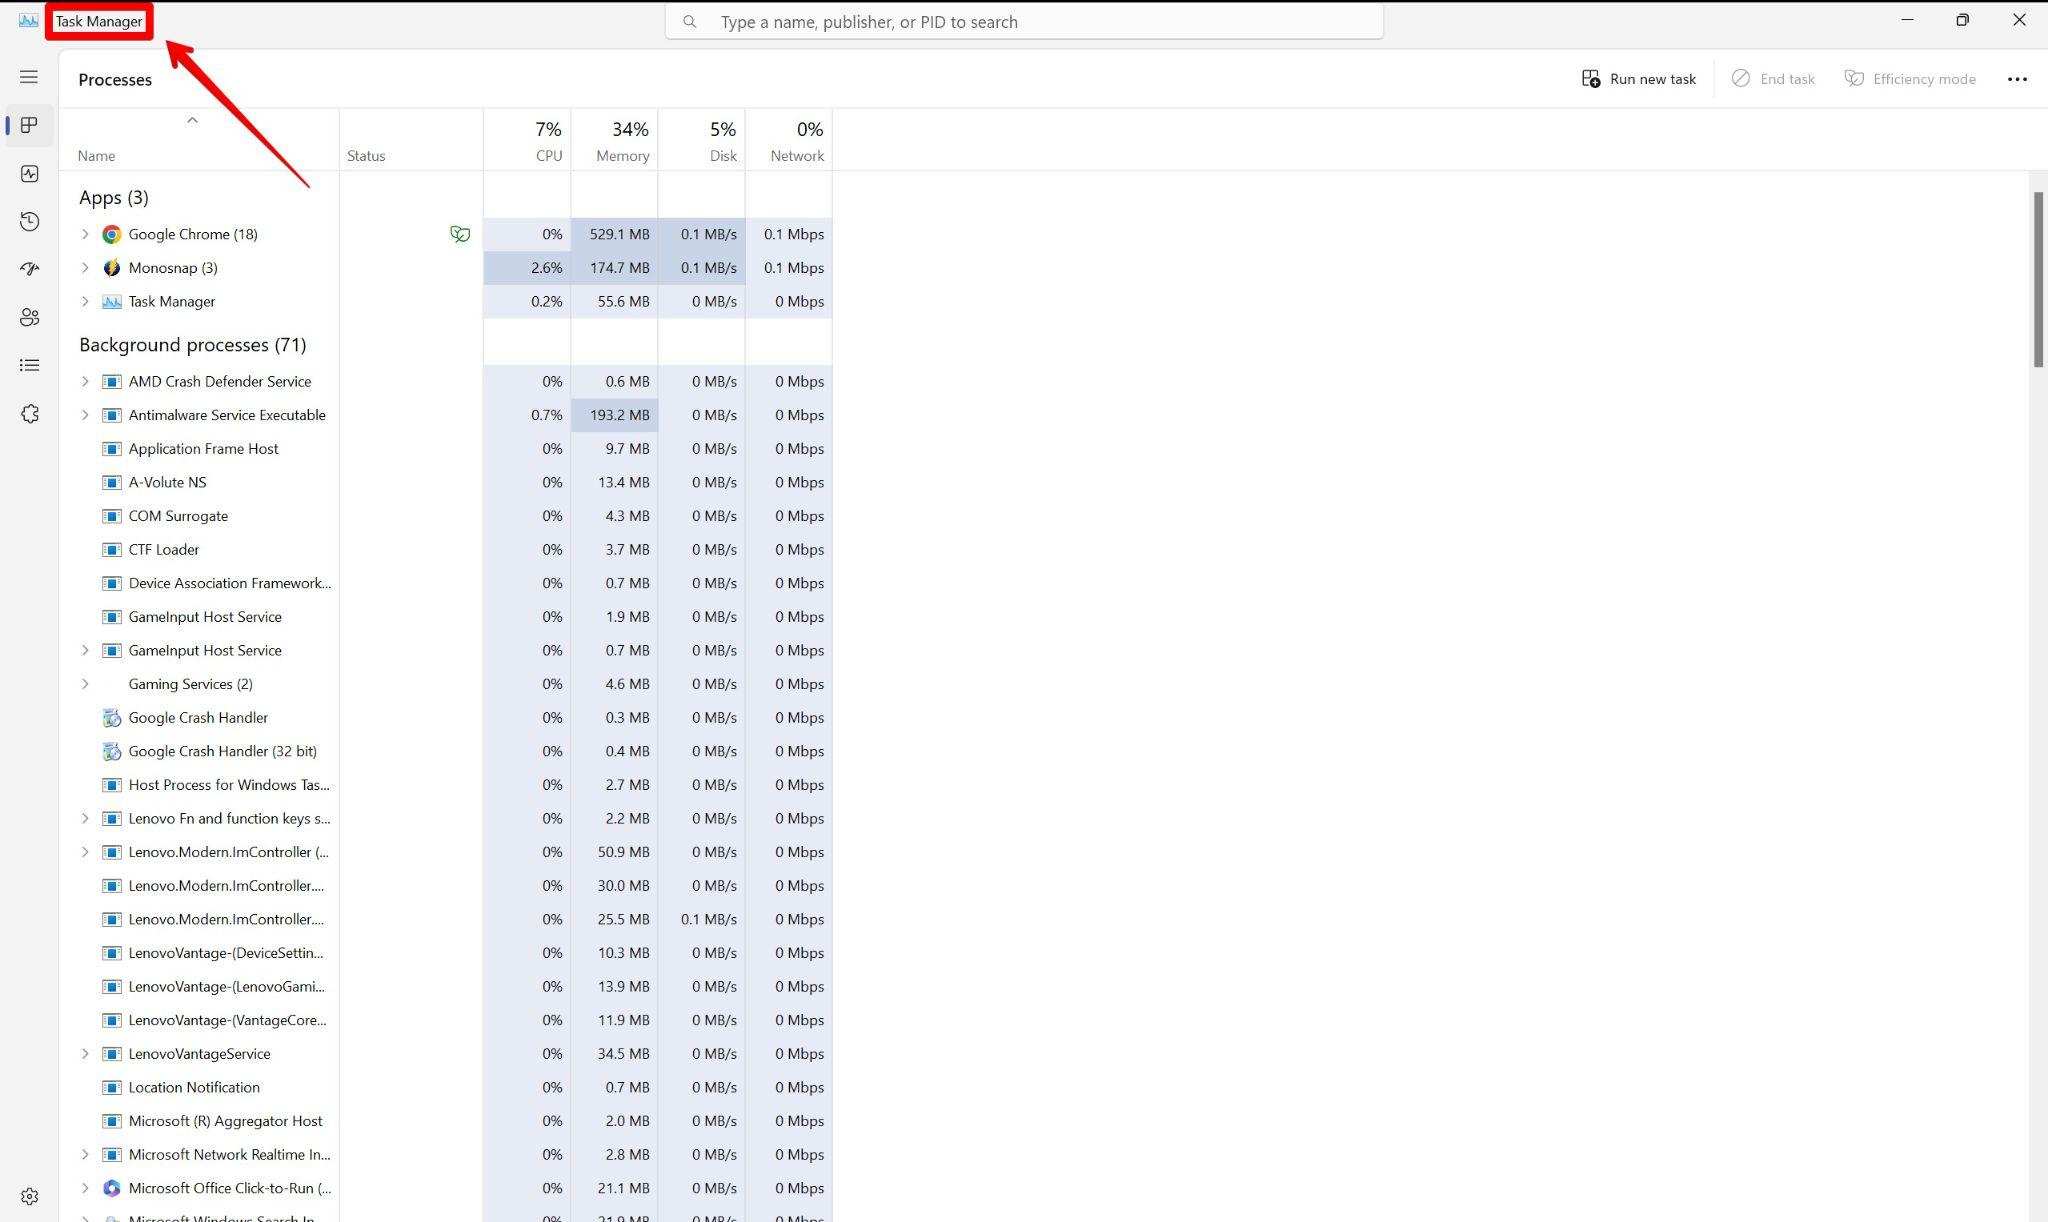
- By default, the Task Manager opens in the “Processes” tab.
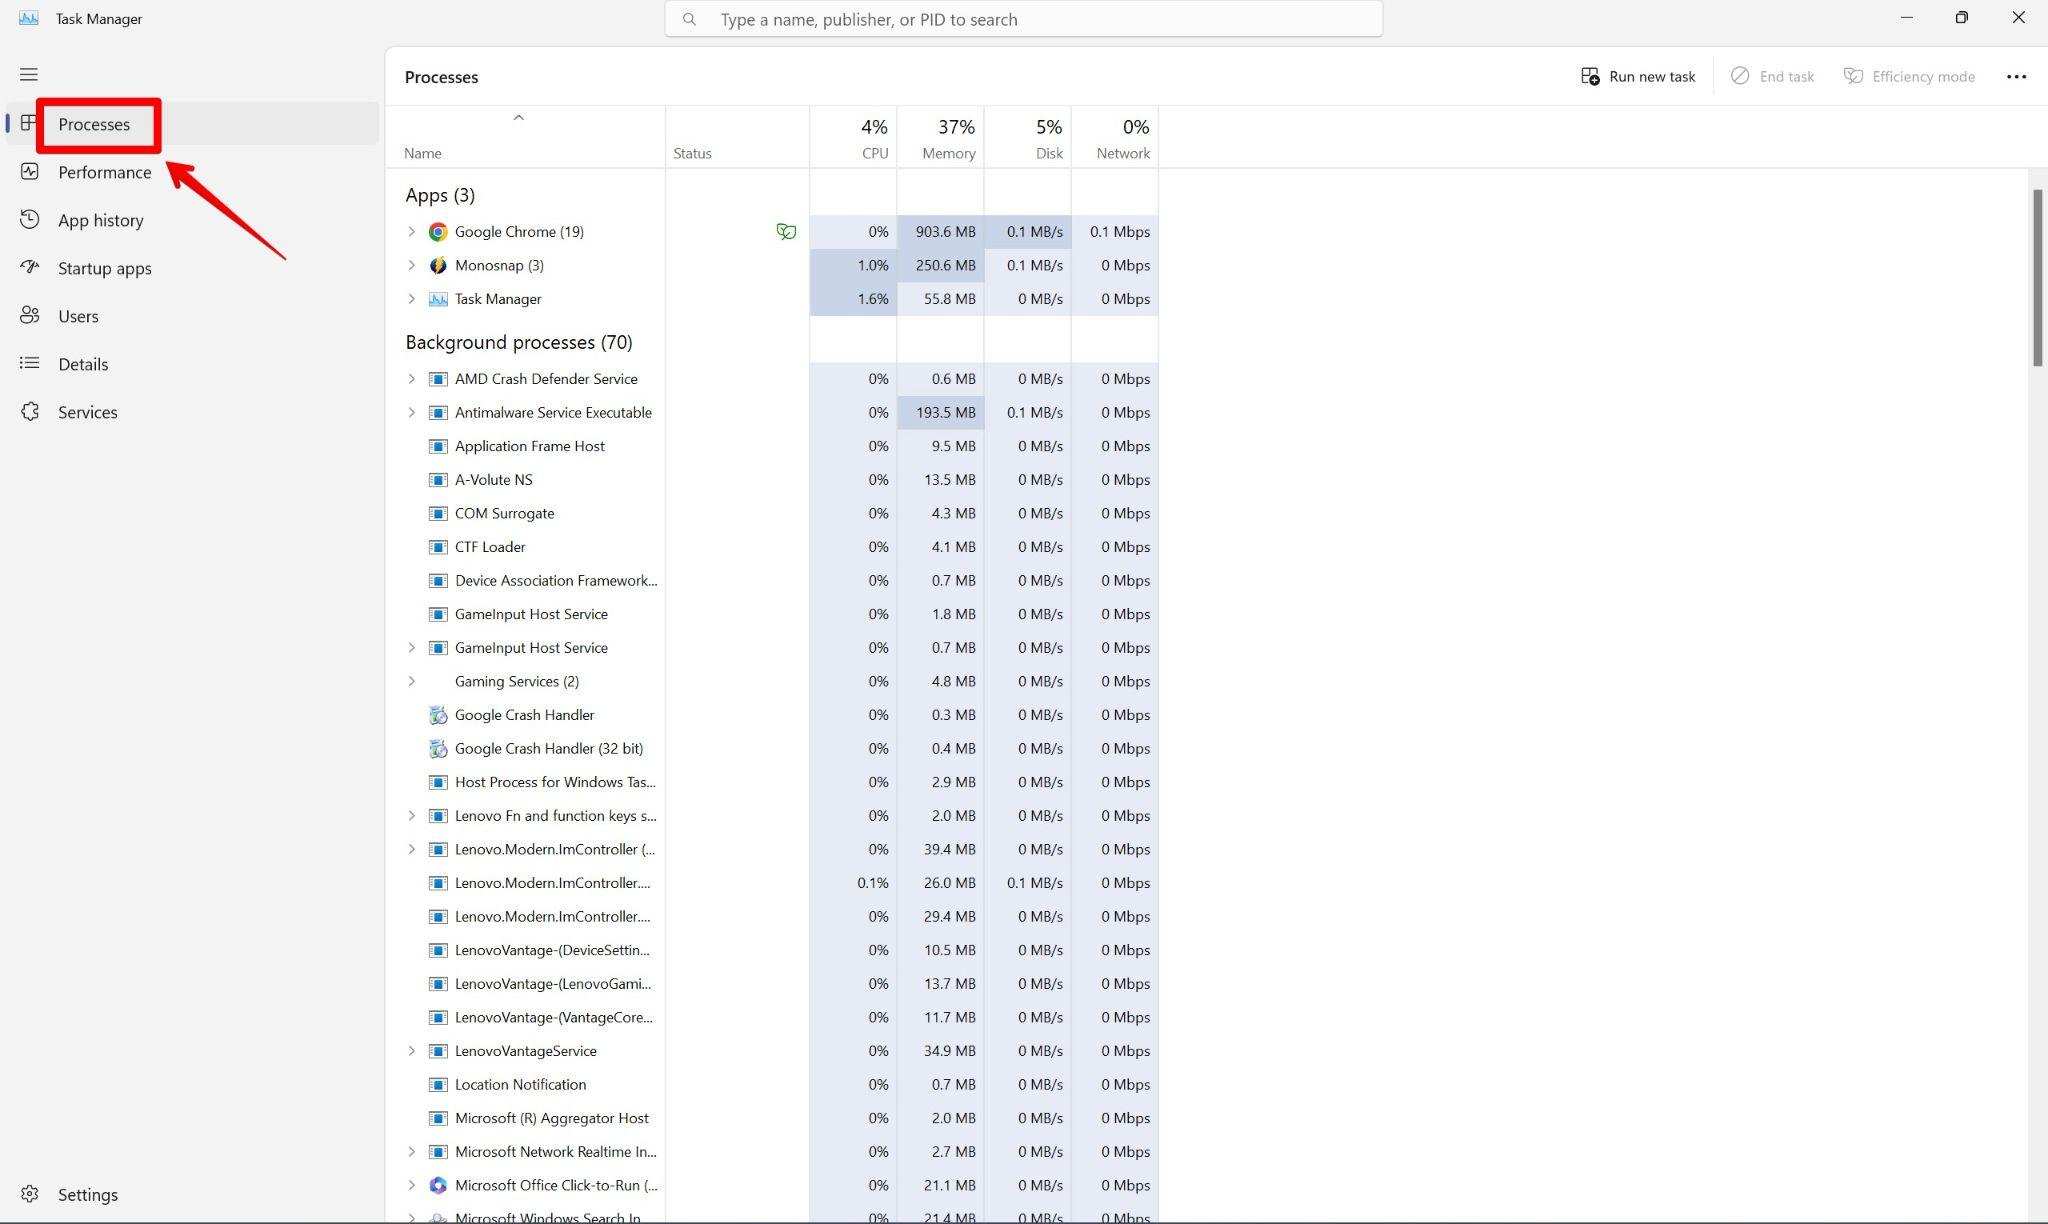
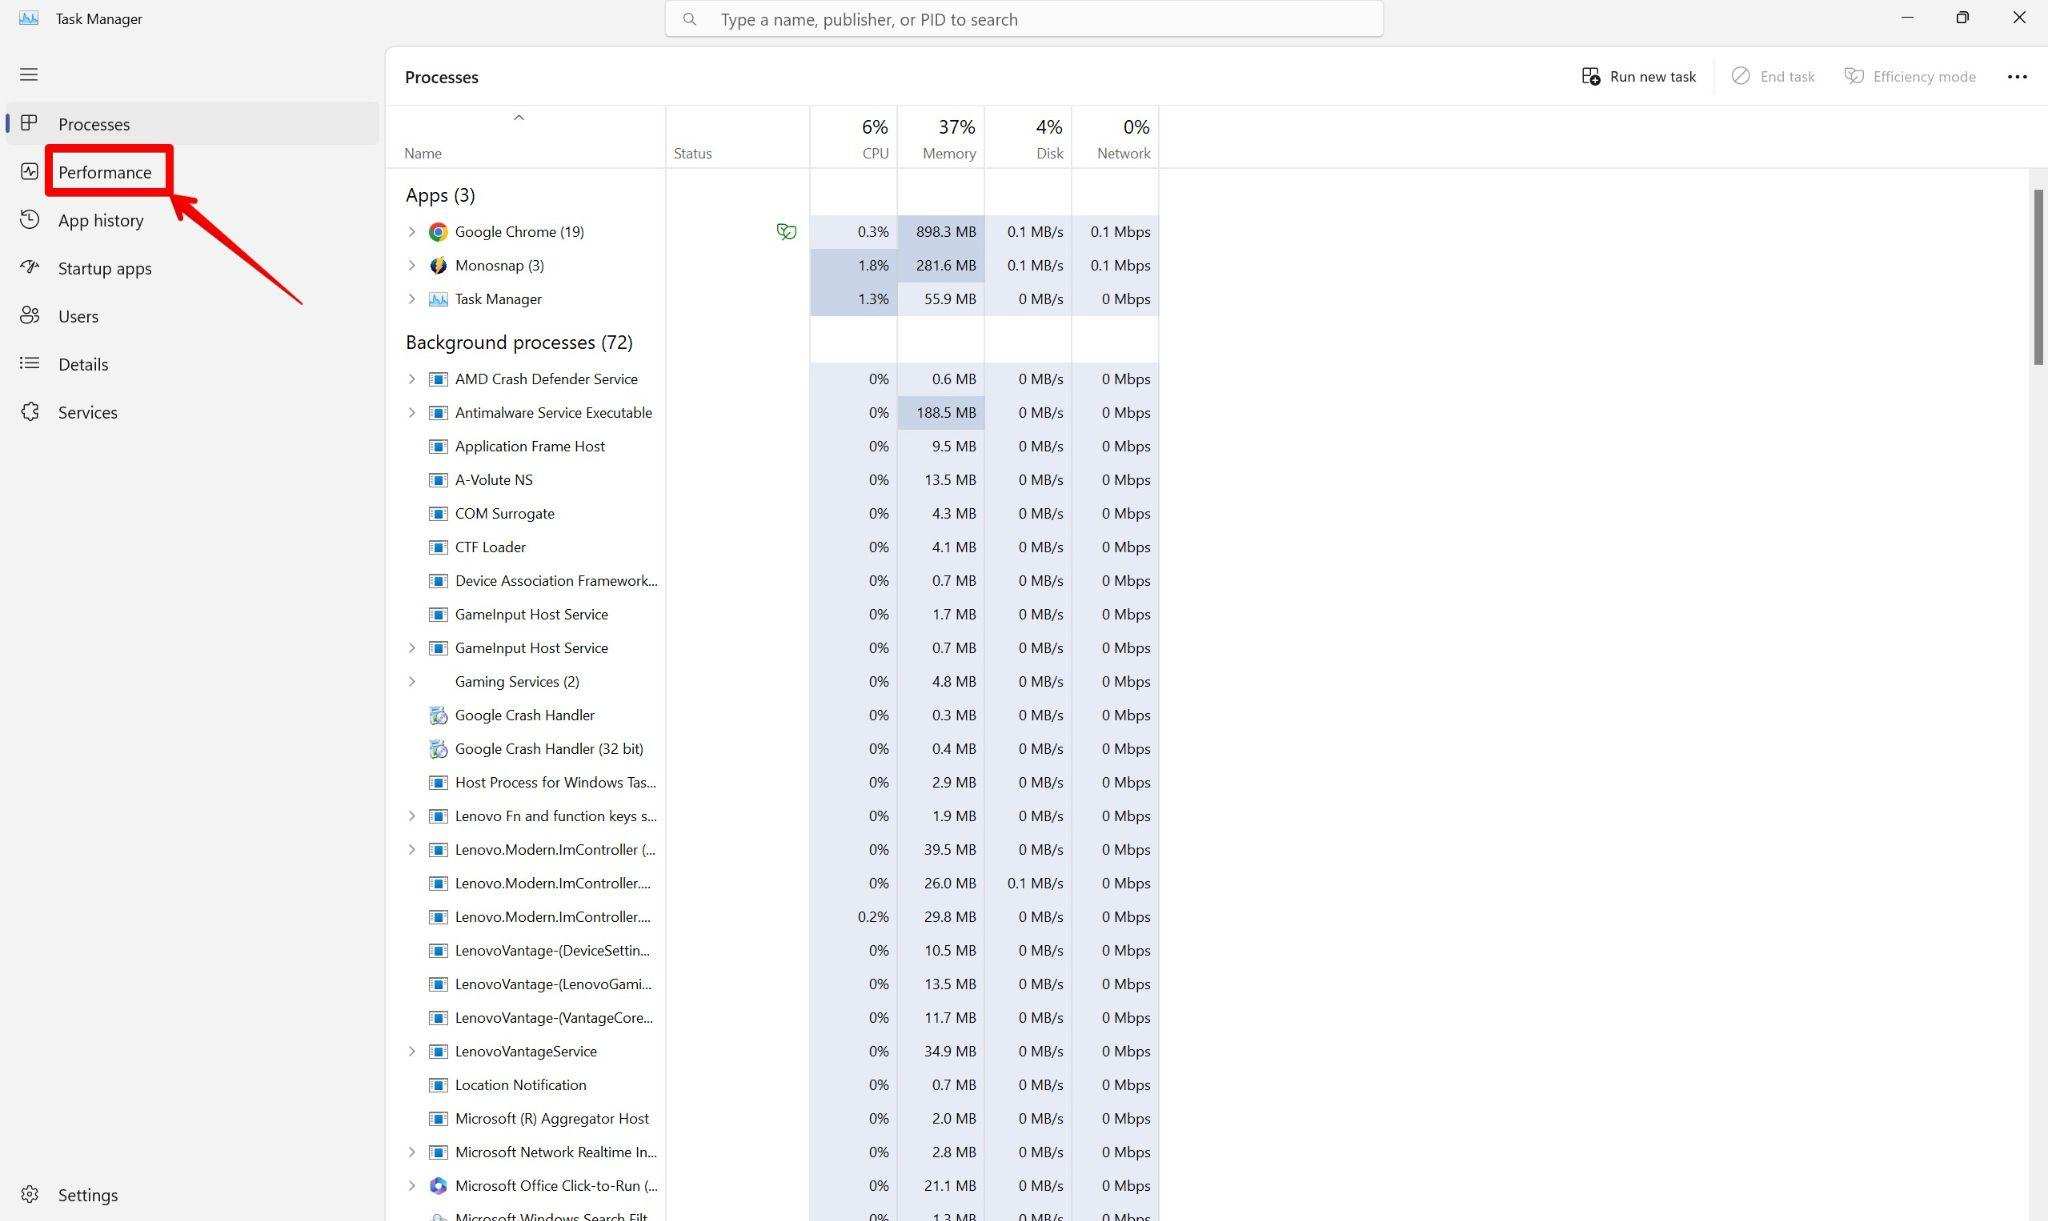
- To view the CPU usage and temperature data, select the “Performance” tab.
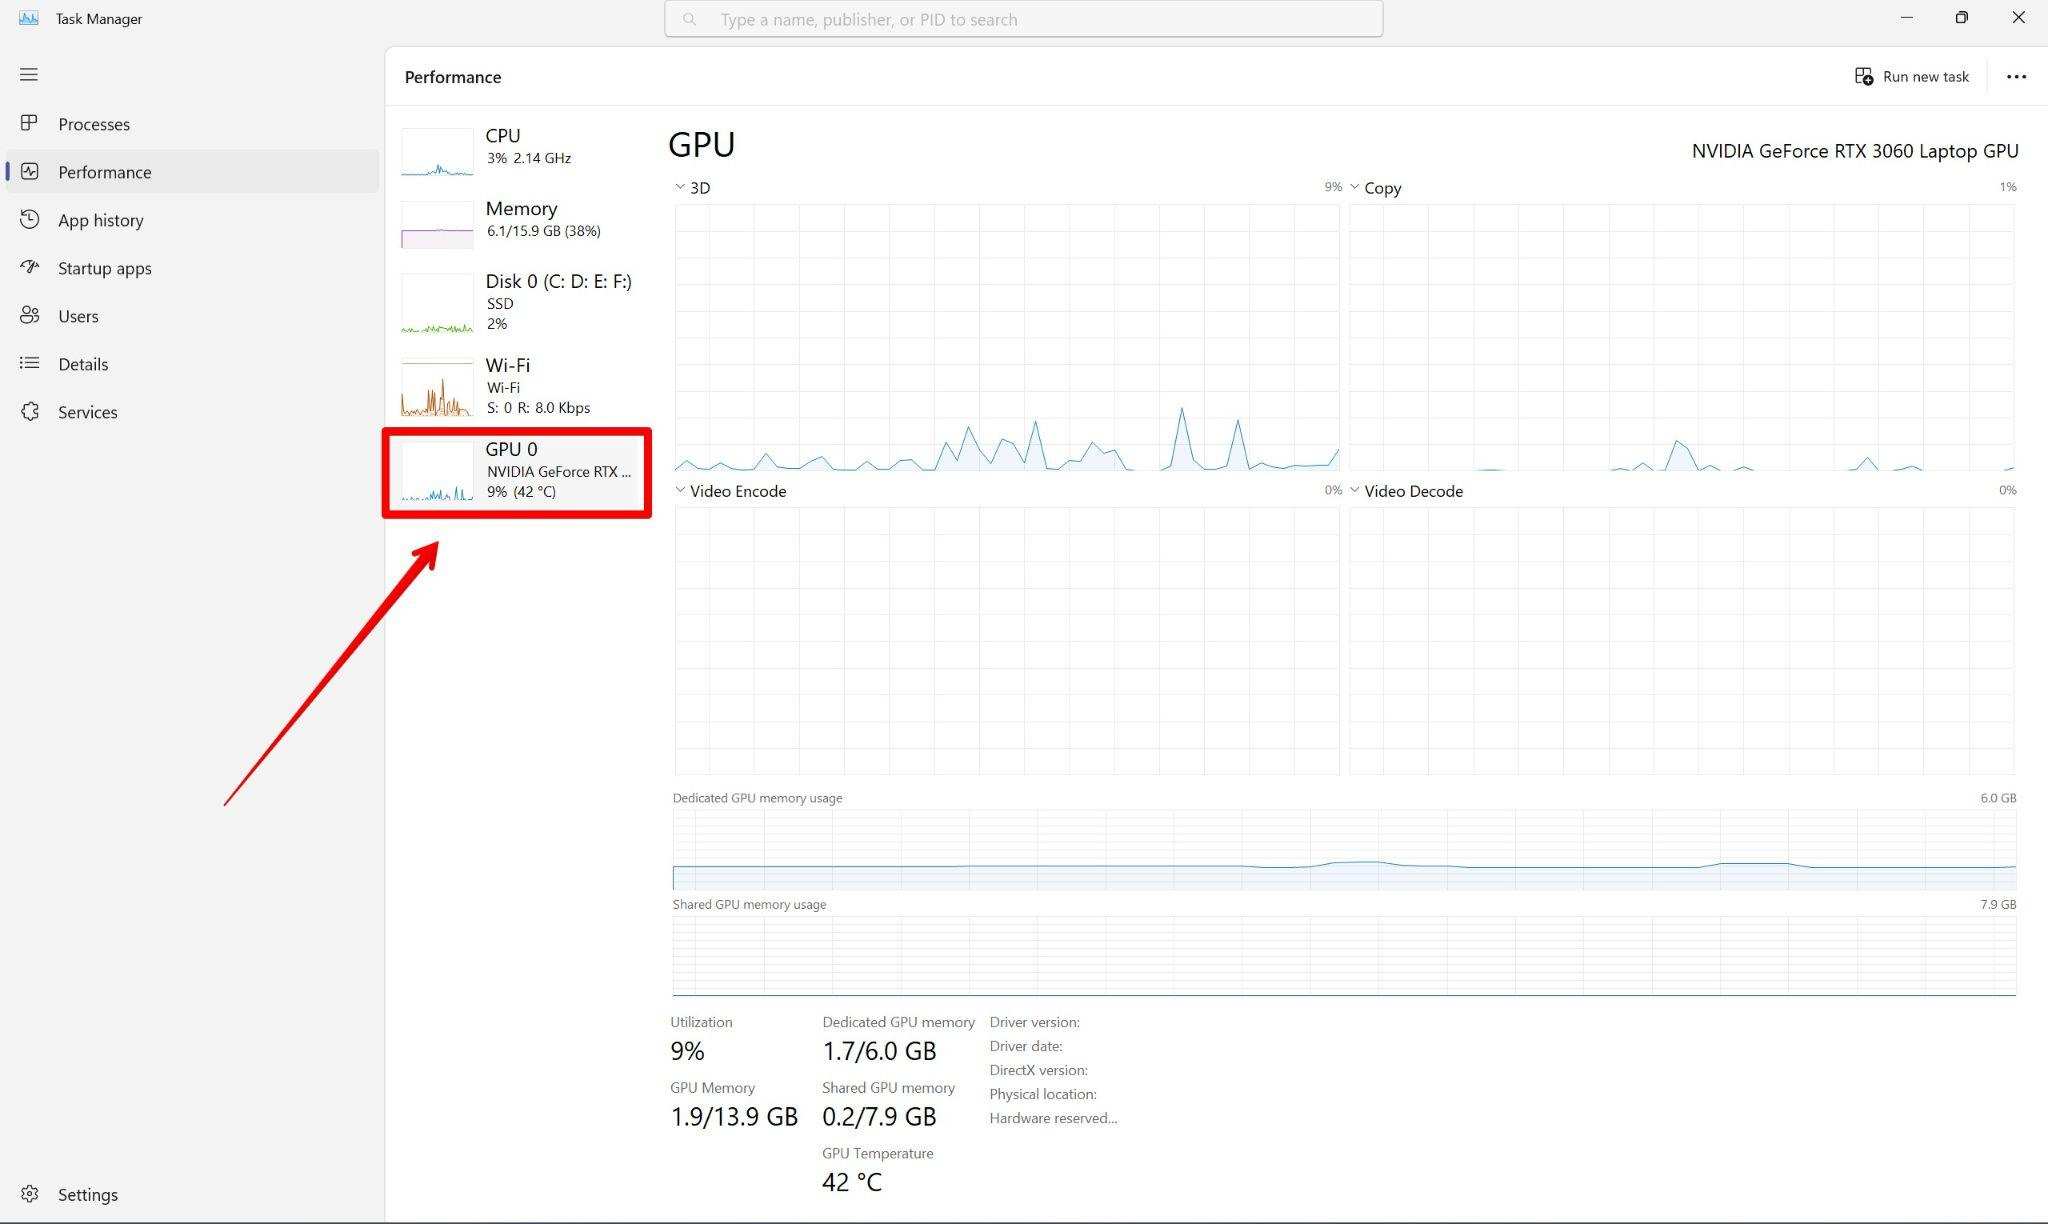
- You can see each CPU core’s current temperature under the “CPU” section. The “Temperature” column displays the readings.
Windows PowerShell:
- Launch the “Windows PowerShell” app by opening the Start menu, typing “PowerShell,” and clicking on the result.
- In the PowerShell window, type the following command and press Enter: Get-WmiObject -Namespace “root\cimv2” -Class Win32_PerfFormattedData_Counters_ThermalZoneInformation | Select-Object -ExpandProperty Temperature
- The PowerShell command retrieves the temperature readings from the WMI (Windows Management Instrumentation) database and displays them.
Third-Party Software:
Several third-party applications provide more advanced features and monitoring options for CPU temperature. Here are a few popular options:
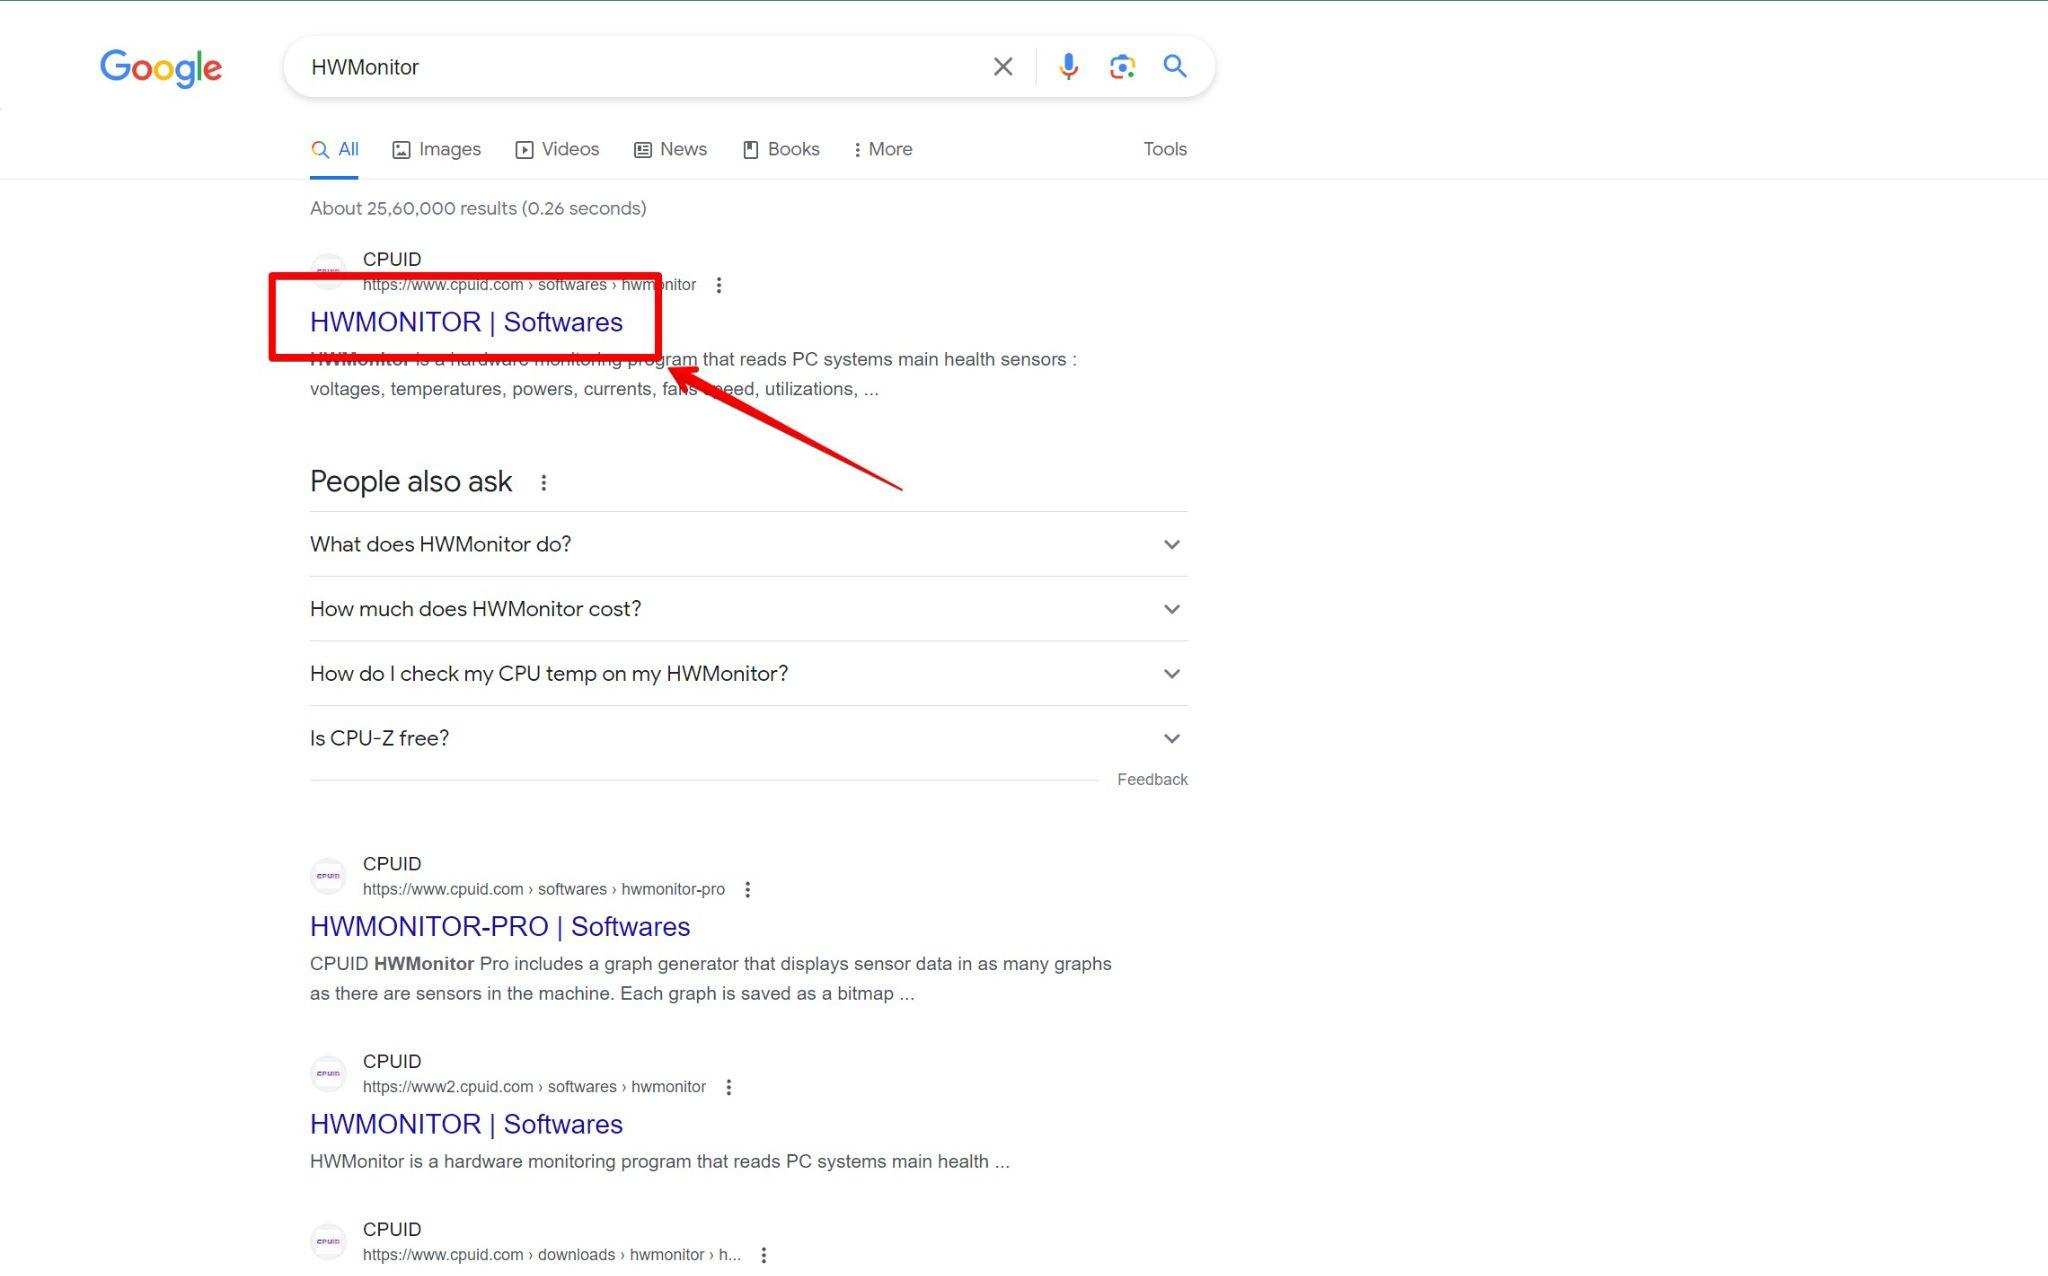
- HWMonitor:
- Download and install HWMonitor from a reliable source.
- HWMonitor:
- Launch the application and navigate to the “Temperatures” section.
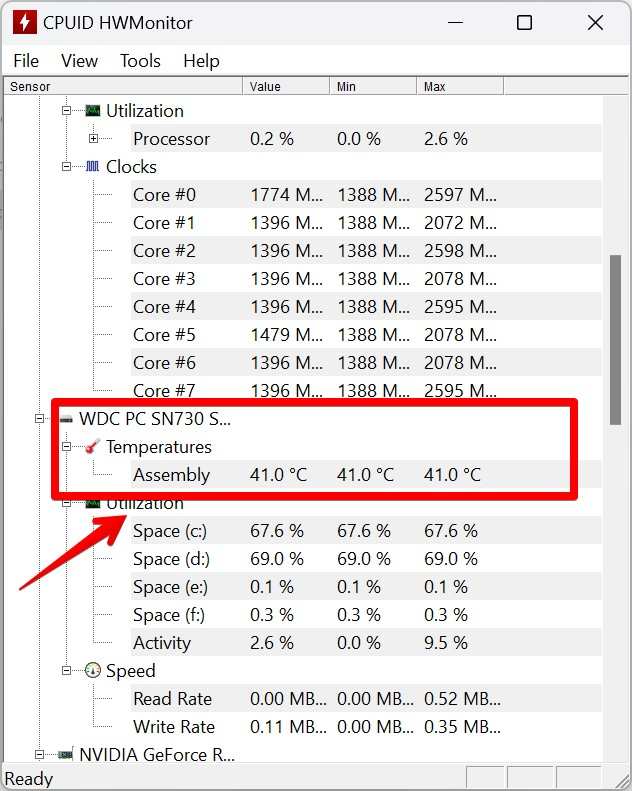
- HWMonitor provides real-time temperature readings for various components, including the CPU.
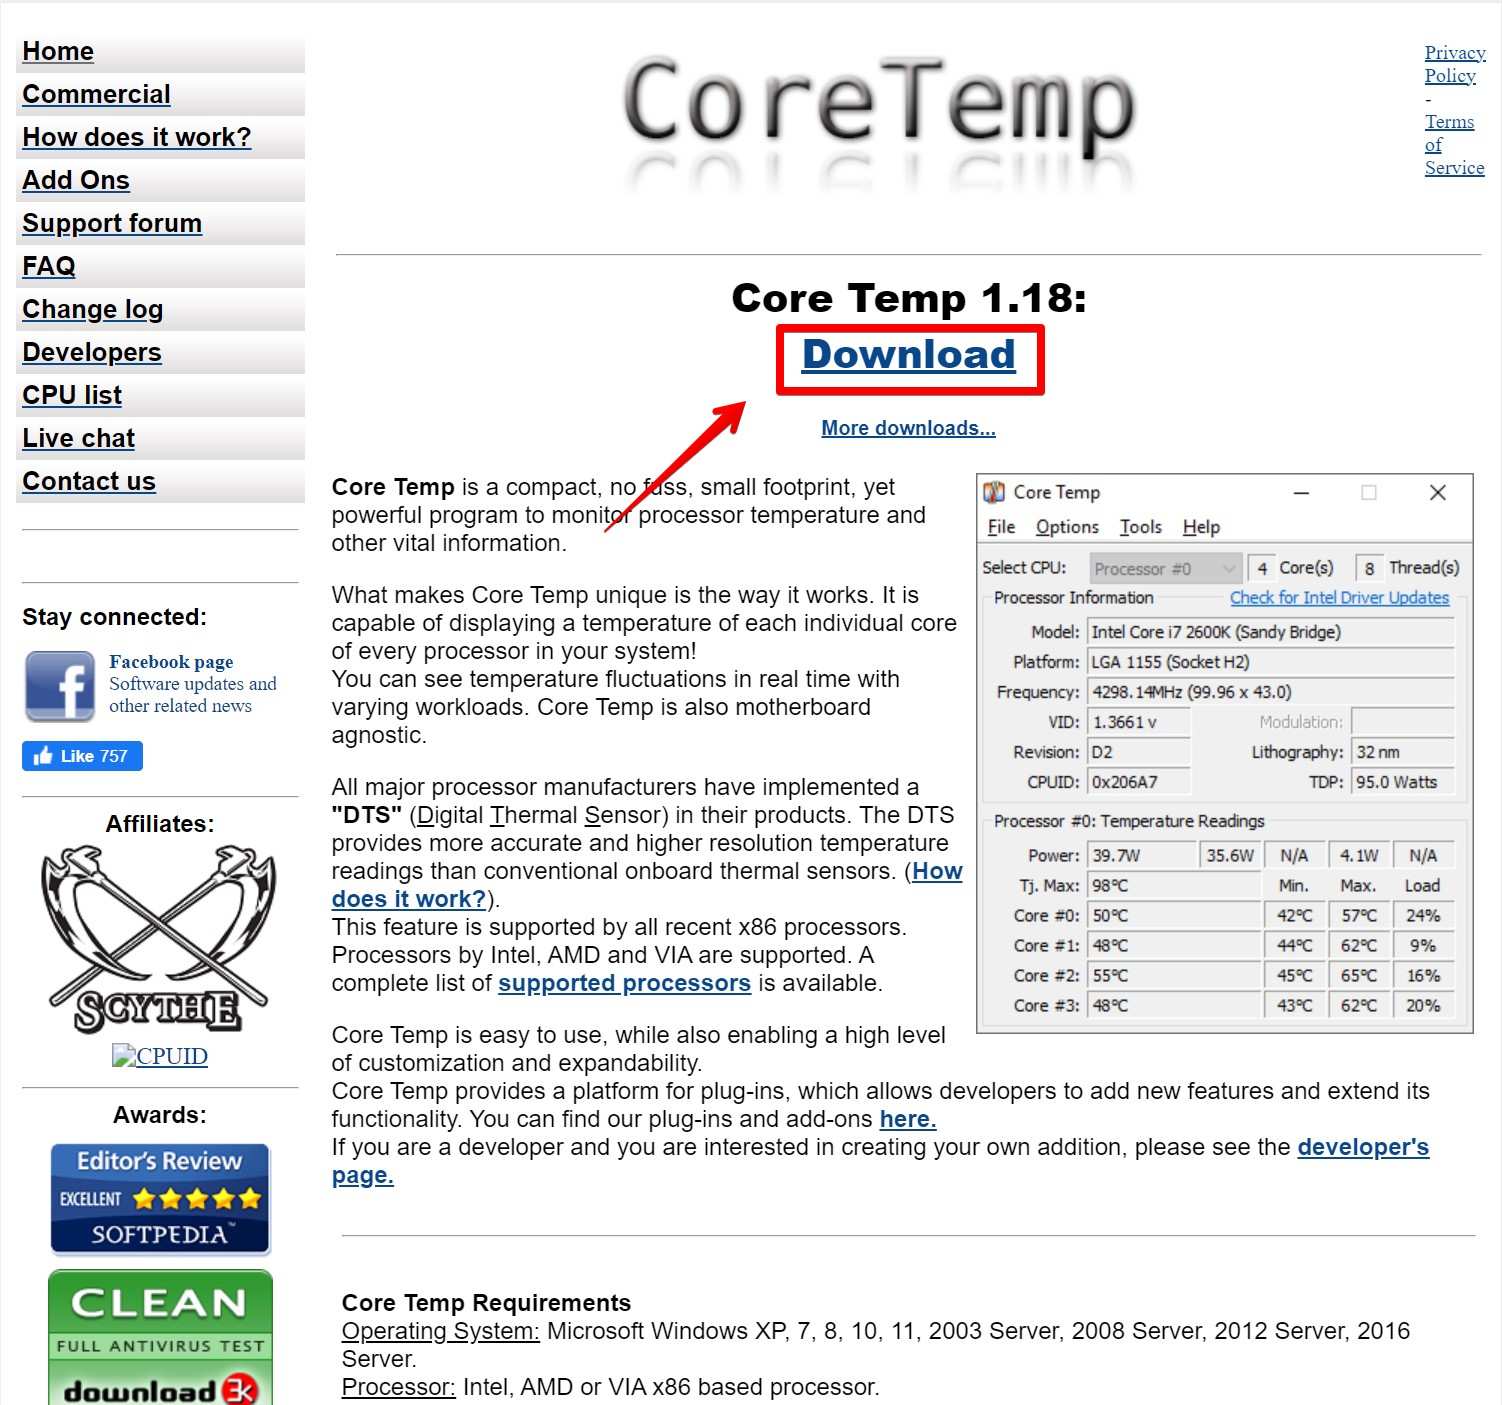
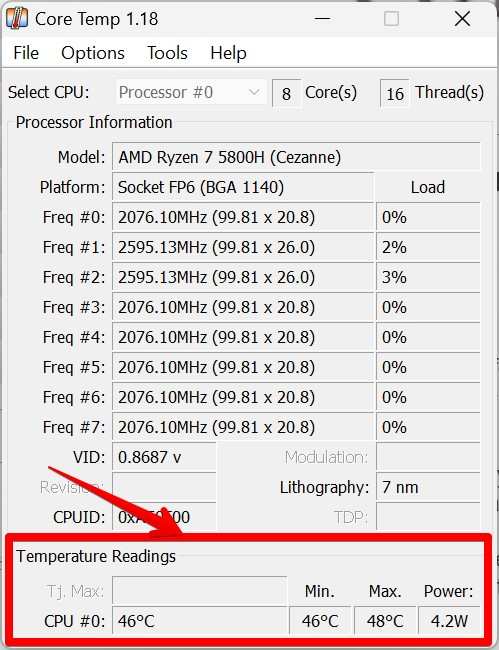
- Core Temp:
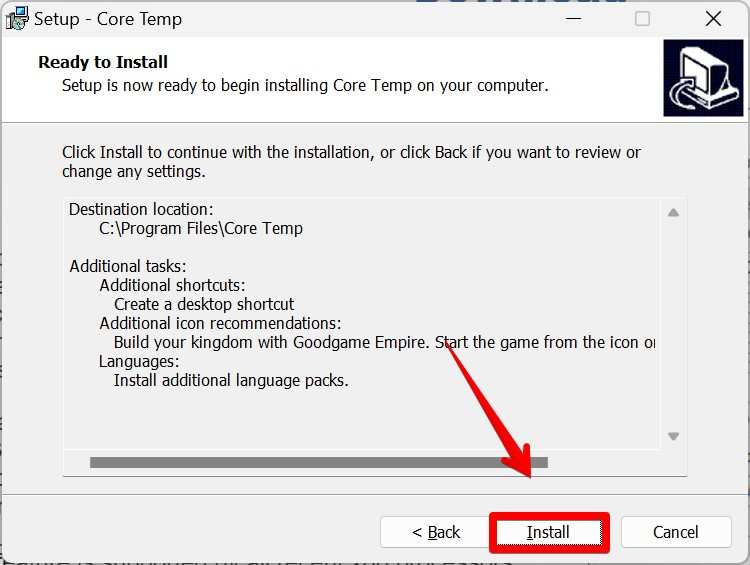
- Download and install Core Temp from a reputable website.
- Once installed, launch the application.
- Core Temp will display the current CPU temperature in the system tray.
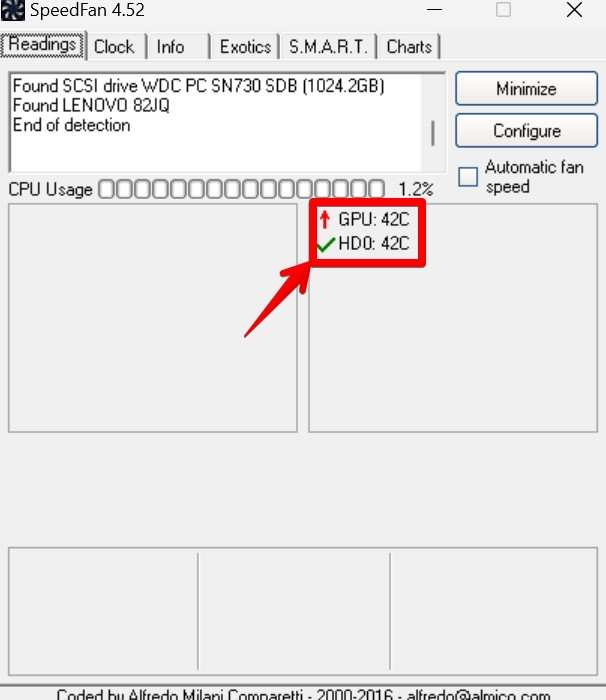
- SpeedFan:
- Download and install SpeedFan from a trusted source.
- SpeedFan:

- Open SpeedFan and go to the “Readings” tab.
- Here, you can find the CPU temperature and other system temperature readings.
BIOS/UEFI Settings:
- Restart your computer and enter the BIOS/UEFI settings. The key to access these settings may vary depending on your motherboard manufacturer (common keys: Del, F2, F10, or Esc).
- Look for a section on system health or hardware monitoring.
- Within that section, you should find the CPU temperature listed.

Best Practices:
While monitoring CPU temperature, it’s essential to follow best practices to ensure accurate readings and maintain system health:
- Use Multiple Monitoring Tools:
Cross-reference CPU temperature readings from different monitoring tools to verify accuracy. This helps identify any discrepancies and ensures more reliable temperature measurements.
- Check Temperature During Different Workloads:
Assess CPU temperature under various workloads, such as gaming, video rendering, or intensive tasks. This helps determine if the CPU temperature remains within acceptable limits during peak usage.
- Keep Hardware and Cooling Components Clean:
Regularly clean the CPU cooler, fans, and other cooling components to prevent dust accumulation. Dust can obstruct airflow and lead to higher temperatures. Use compressed air or a soft brush to clean these components.
- Maintain Adequate Cooling:
Ensure proper airflow in your system by keeping vents unobstructed and positioning the computer in a well-ventilated area. Consider additional cooling solutions, such as upgrading fans or using liquid cooling, for better temperature management.
Conclusion:
Checking CPU temperature in Windows 11 is essential for monitoring system health and preventing potential hardware issues. The methods outlined in this document, including using Task Manager, accessing BIOS/UEFI settings, utilizing third-party software, and manufacturer-specific utilities, offer various options to monitor CPU temperature accurately.
By following best practices such as using multiple monitoring tools, checking temperature under different workloads, keeping hardware clean, and maintaining adequate cooling, you can ensure optimal CPU performance and prolong the lifespan of your system.
Remember that maintaining appropriate CPU temperature contributes to overall system stability and helps avoid thermal throttling or hardware failures. Regularly monitoring CPU temperature allows you to take timely action if temperatures rise beyond safe limits, ensuring a smooth and reliable computing experience on Windows 11.