Creating slideshows on Windows is not an easy task after Microsoft ended support for Movie Maker. One Google search provides 100’s of solutions and choosing one of them for the task might end up in misery. To ease your search, I’m going to review the slideshow Windows program, which designed for beginners to create professional-level art using music, videos, and photos.
Contents
What is SmartSHOW 3D?
SmartSHOW is an advanced slideshow maker with wide-range of features. The official developers created the program keeping beginners in mind, so you can master the functions and navigation within an hour or so. If there is urgency, then you can utilize presets and templates to begin crafting unique presentations.
You can download SmartSHOW 3D slideshow program for free.
SmartSHOW 3D Features
No one can judge a program or product without learning about the features and functions. I am going to list down important functions and features available on SmartSHOW 3D software.
I have mentioned that the official developers released the program for beginners, and I wasn’t kidding about it. The program interface isn’t intended for programmers and professional designers, yet it delivers professional slideshows. For a new designer, it might take a few hours to master the controls, and I recommend playing around with the options for an hour or so.
2. Fastest Slideshow Maker
Almost every software developer claims that they have the fastest maker in the industry, but how fast are we talking about it?
Many companies don’t reveal the approximate number and it isn’t the case with SmartShow 3D. You can begin working on a new project by using the existing template, and it typically takes two or three minutes to add photos, pictures, music, and video. If you have a decent Windows machine, then the new project will take five minutes to complete a slideshow.
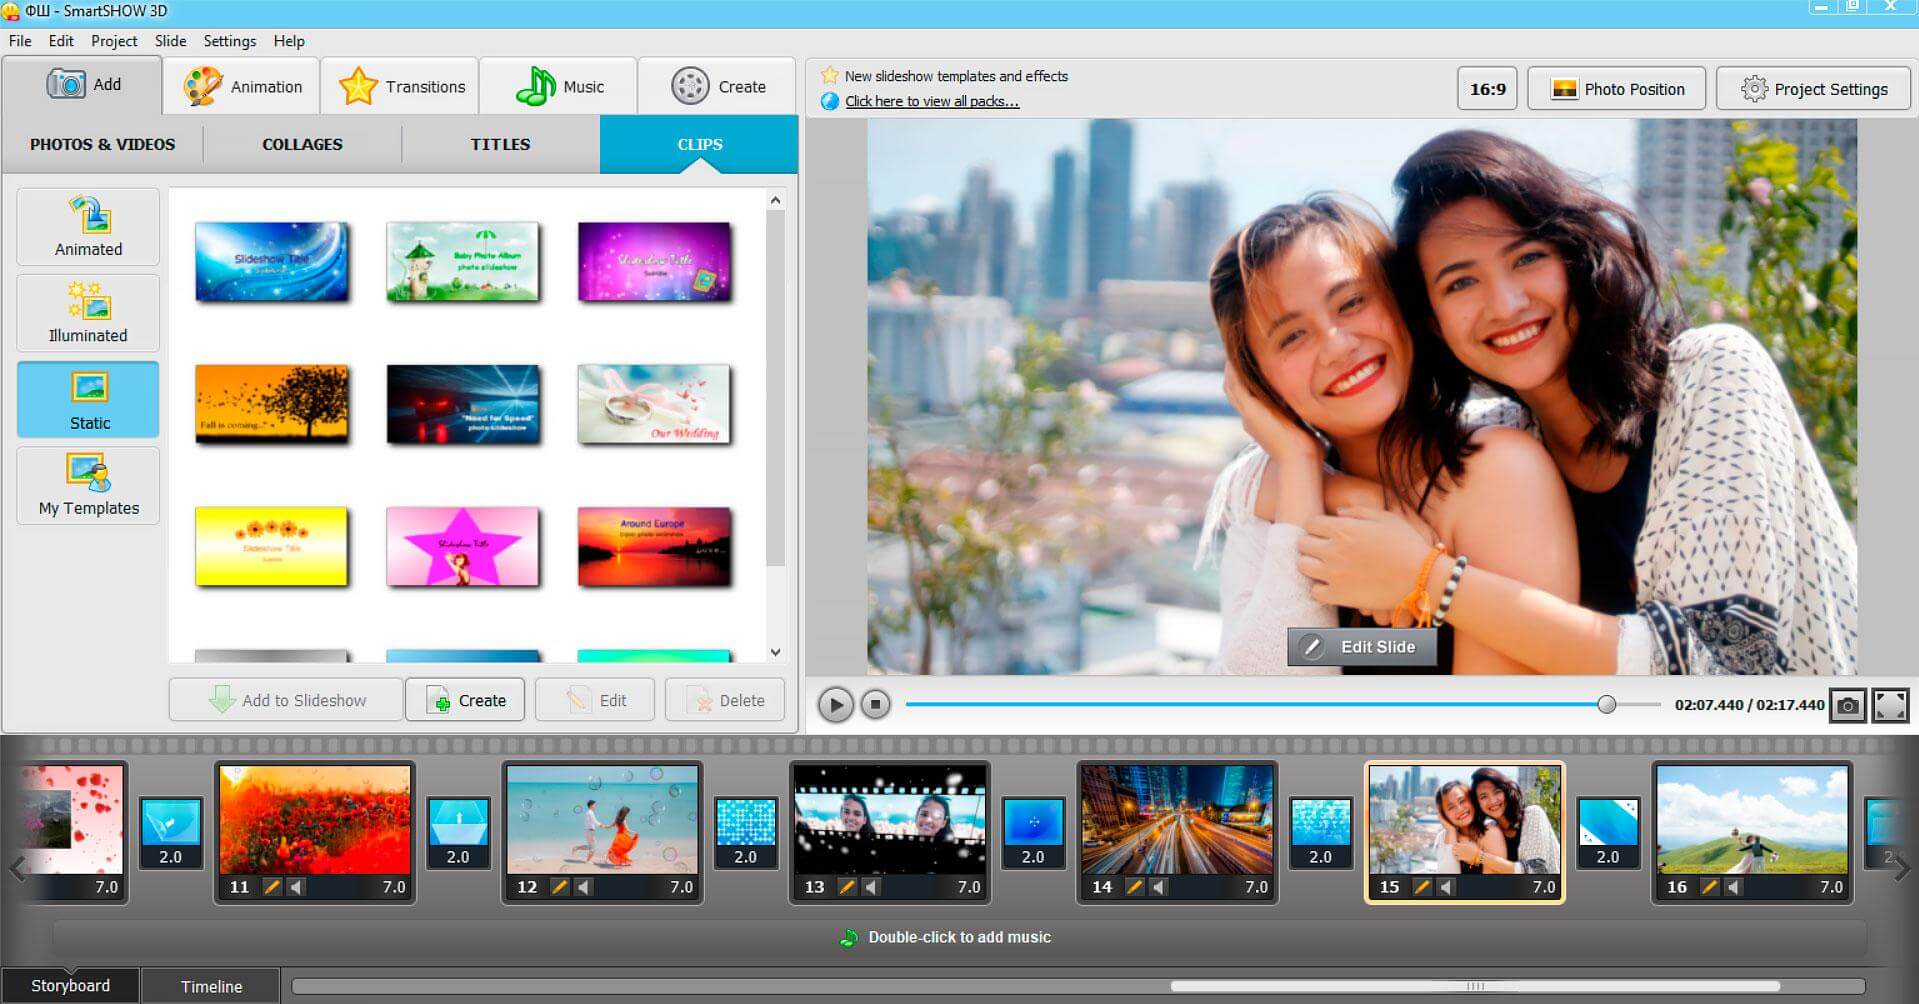
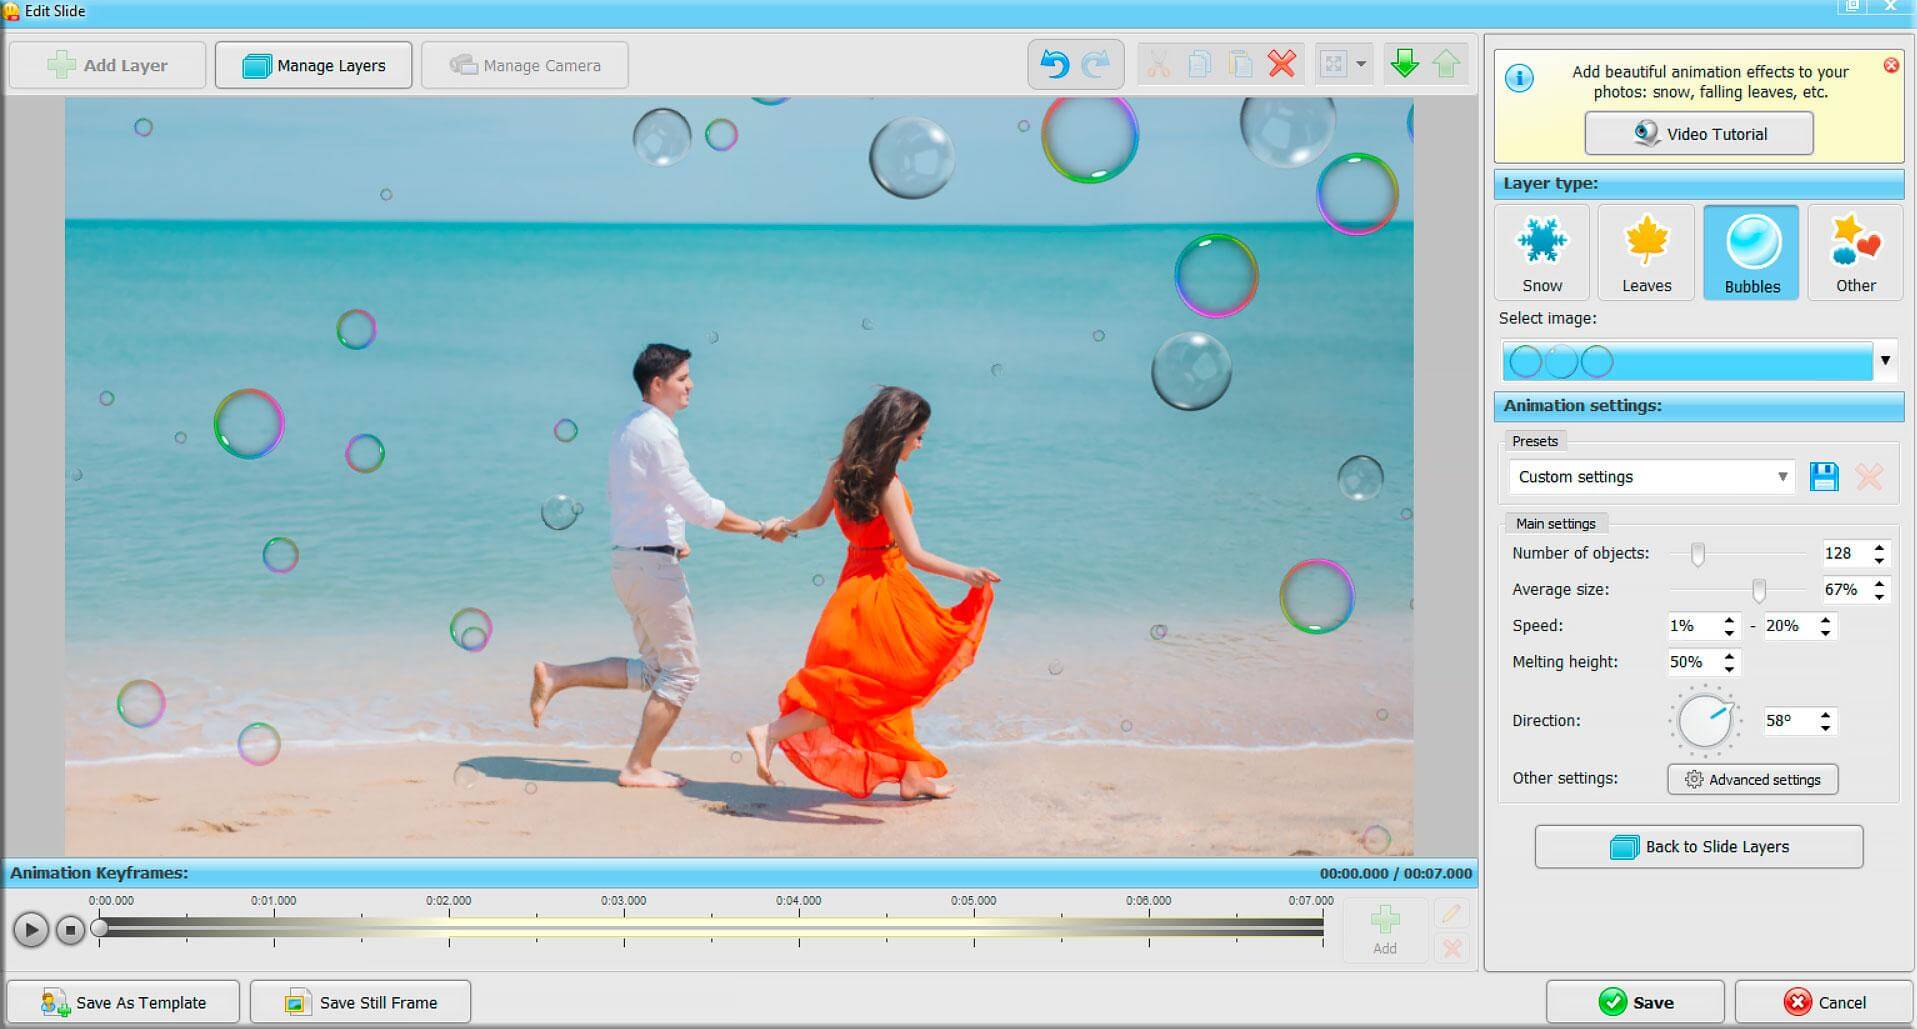
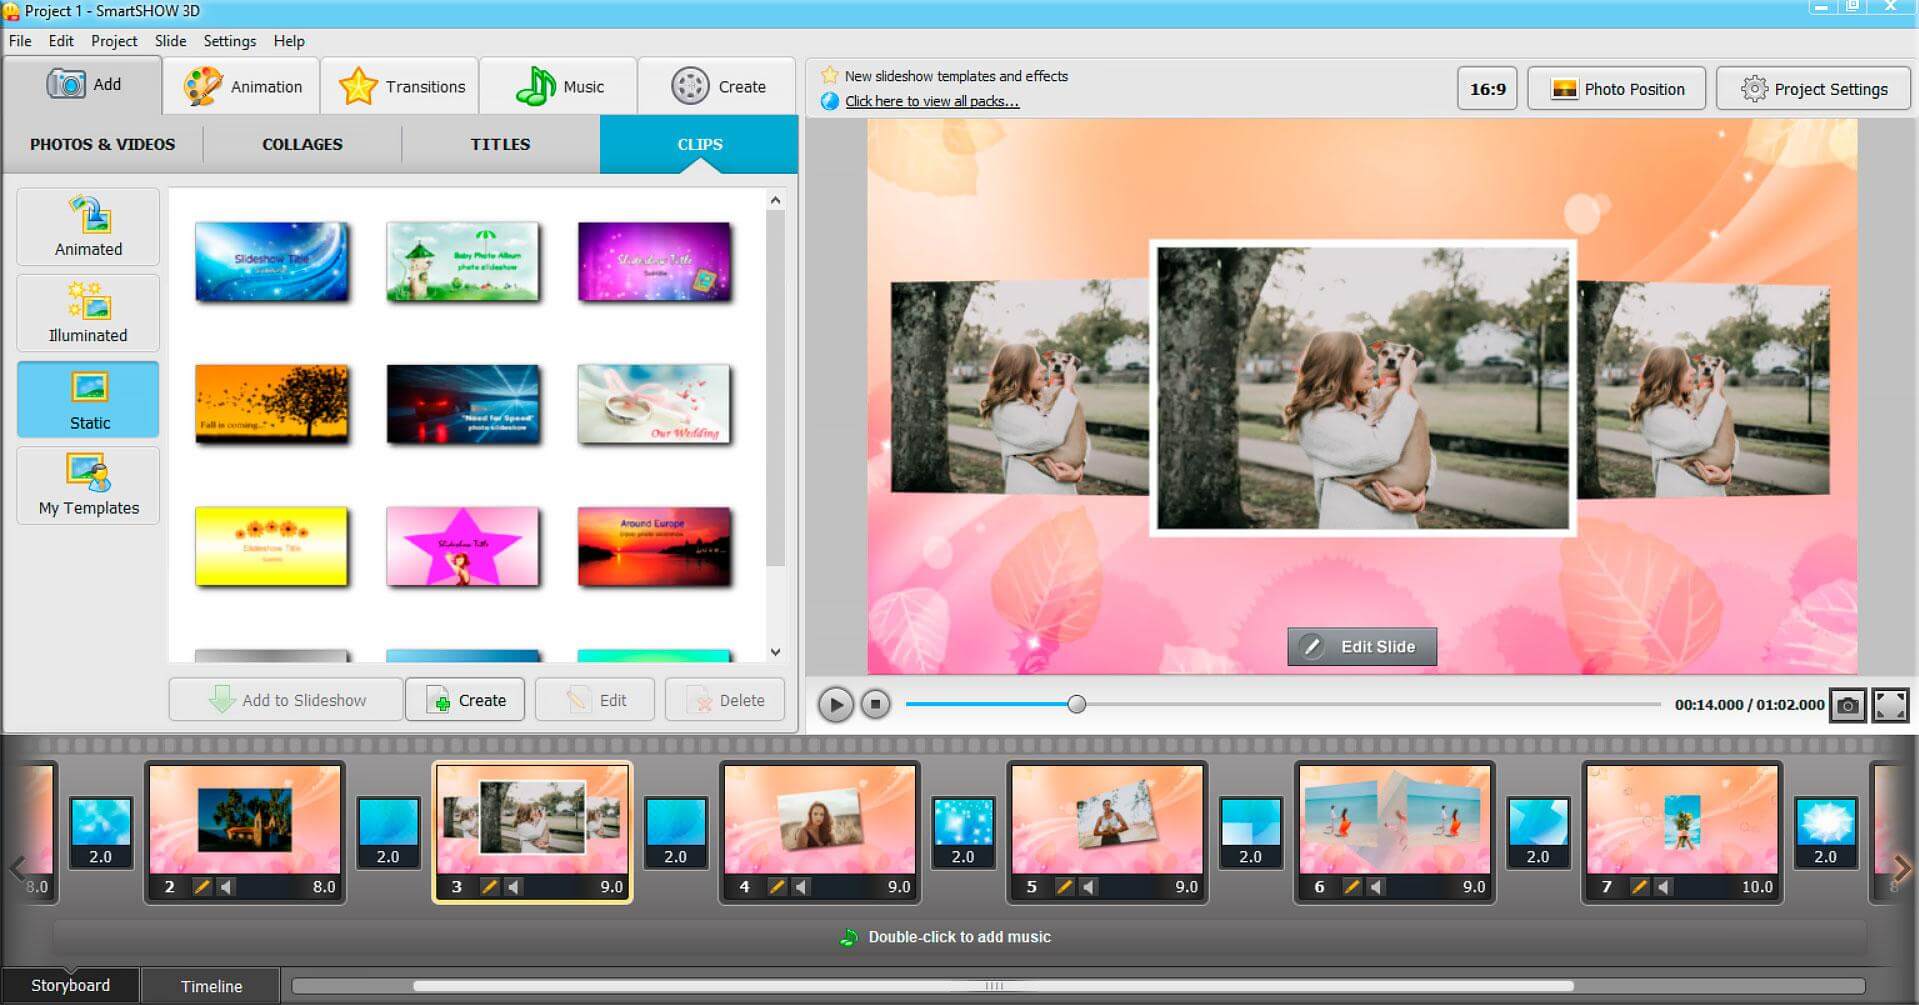
3. Preinstalled Templates, Transitions & Animation Effects
I never repeat the same sentence twice, but I have to mention it again that the concept of “beginners” is not complete without presets & templates. Oh yes, you get 100+ professional designed templates, so you can create a new slideshow quickly without wasting loads of time. You can spice things up by adding a wide range of animation effects and lighten up the environment with 350+ transitions.
4. Media Files
I don’t have to remind the readers that you can pretty much add photos, videos, and music to the project, and create a unique output out of it. I have to take this moment to inform the readers that you can add multiple media files to the project, so you are not restricted at any point. Keep in mind that you can add multiple files to create a unique video, and you have 200 royalty-free soundtracks available within the program.
5. Conversion
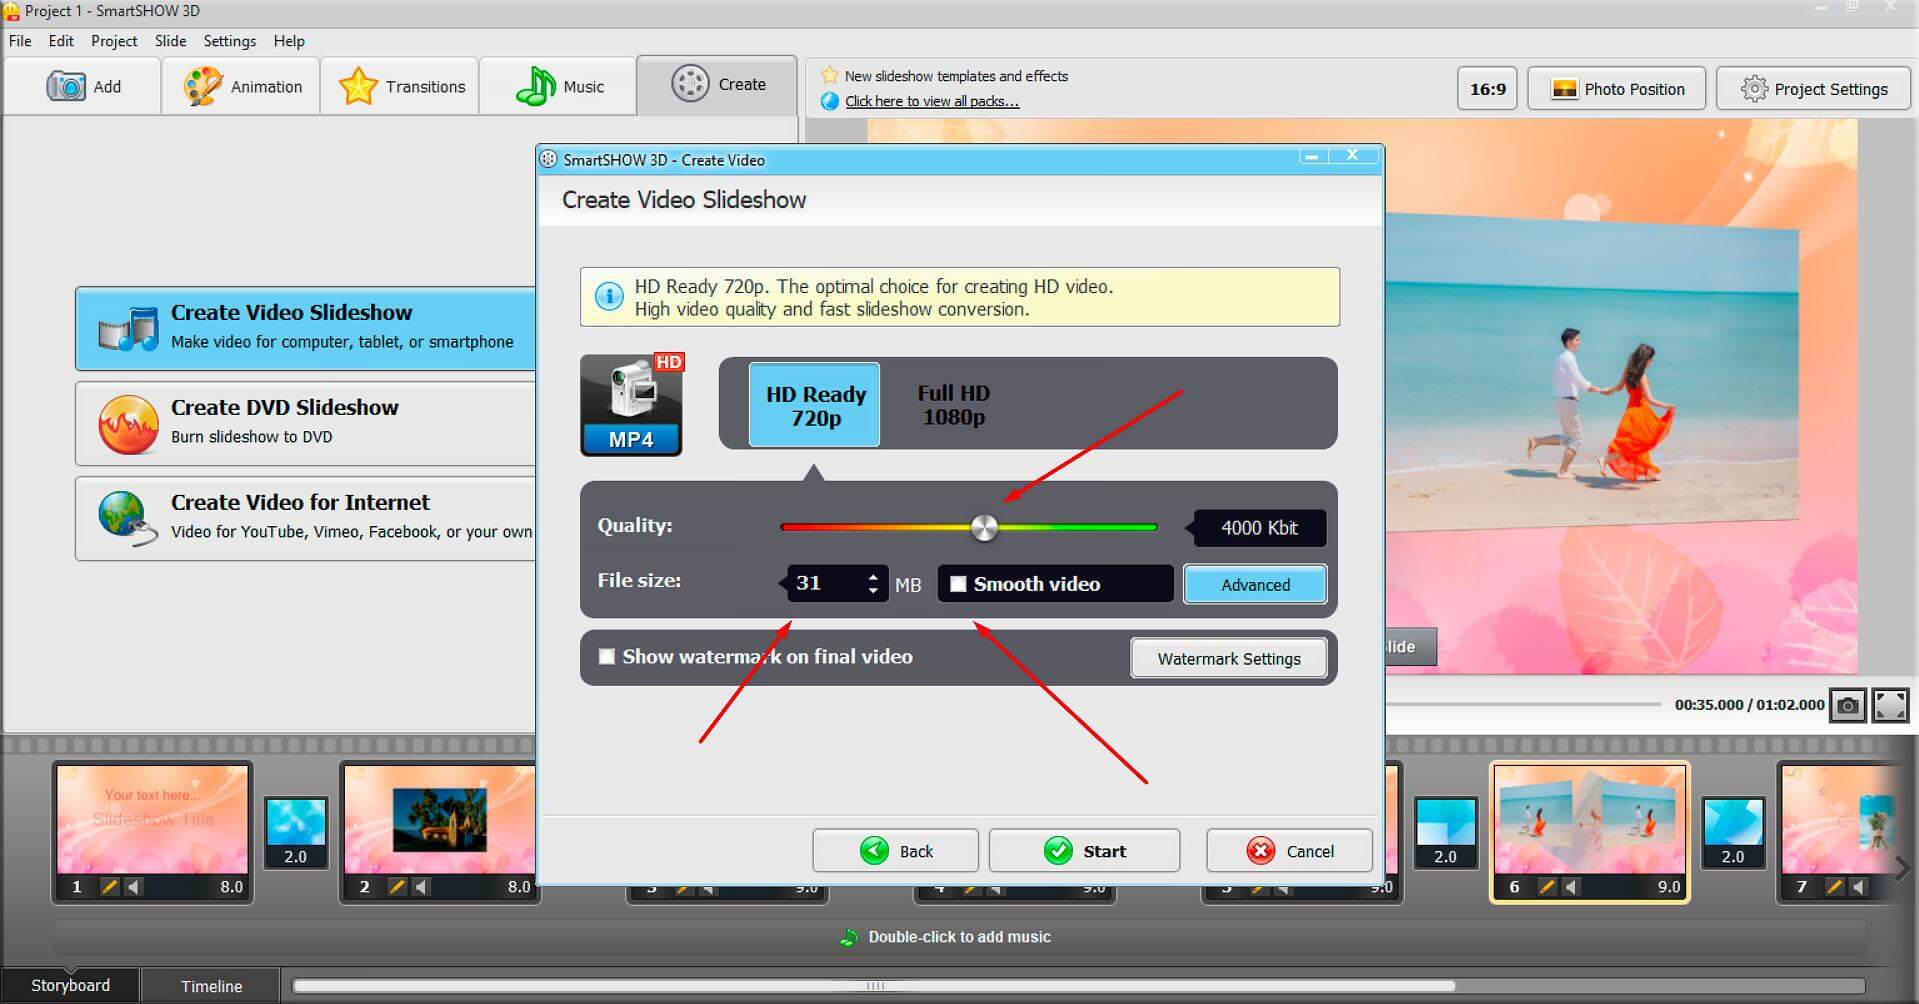
Imagine that you have created a new project with multiple media files, and each file property is in a different format. Fortunately, the number of formats inserted in the project doesn’t matter because you have 30+ popular video output format at your disposal. Choose one popular format that is compatible with cross-platform devices, and then you are good to go.
How to use SmartSHOW 3D?
I assume that you have downloaded and installed the program on your Windows 7, Windows 8/8.1 or Windows 10 PC. Launch the program and I will demonstrate you the trial version.
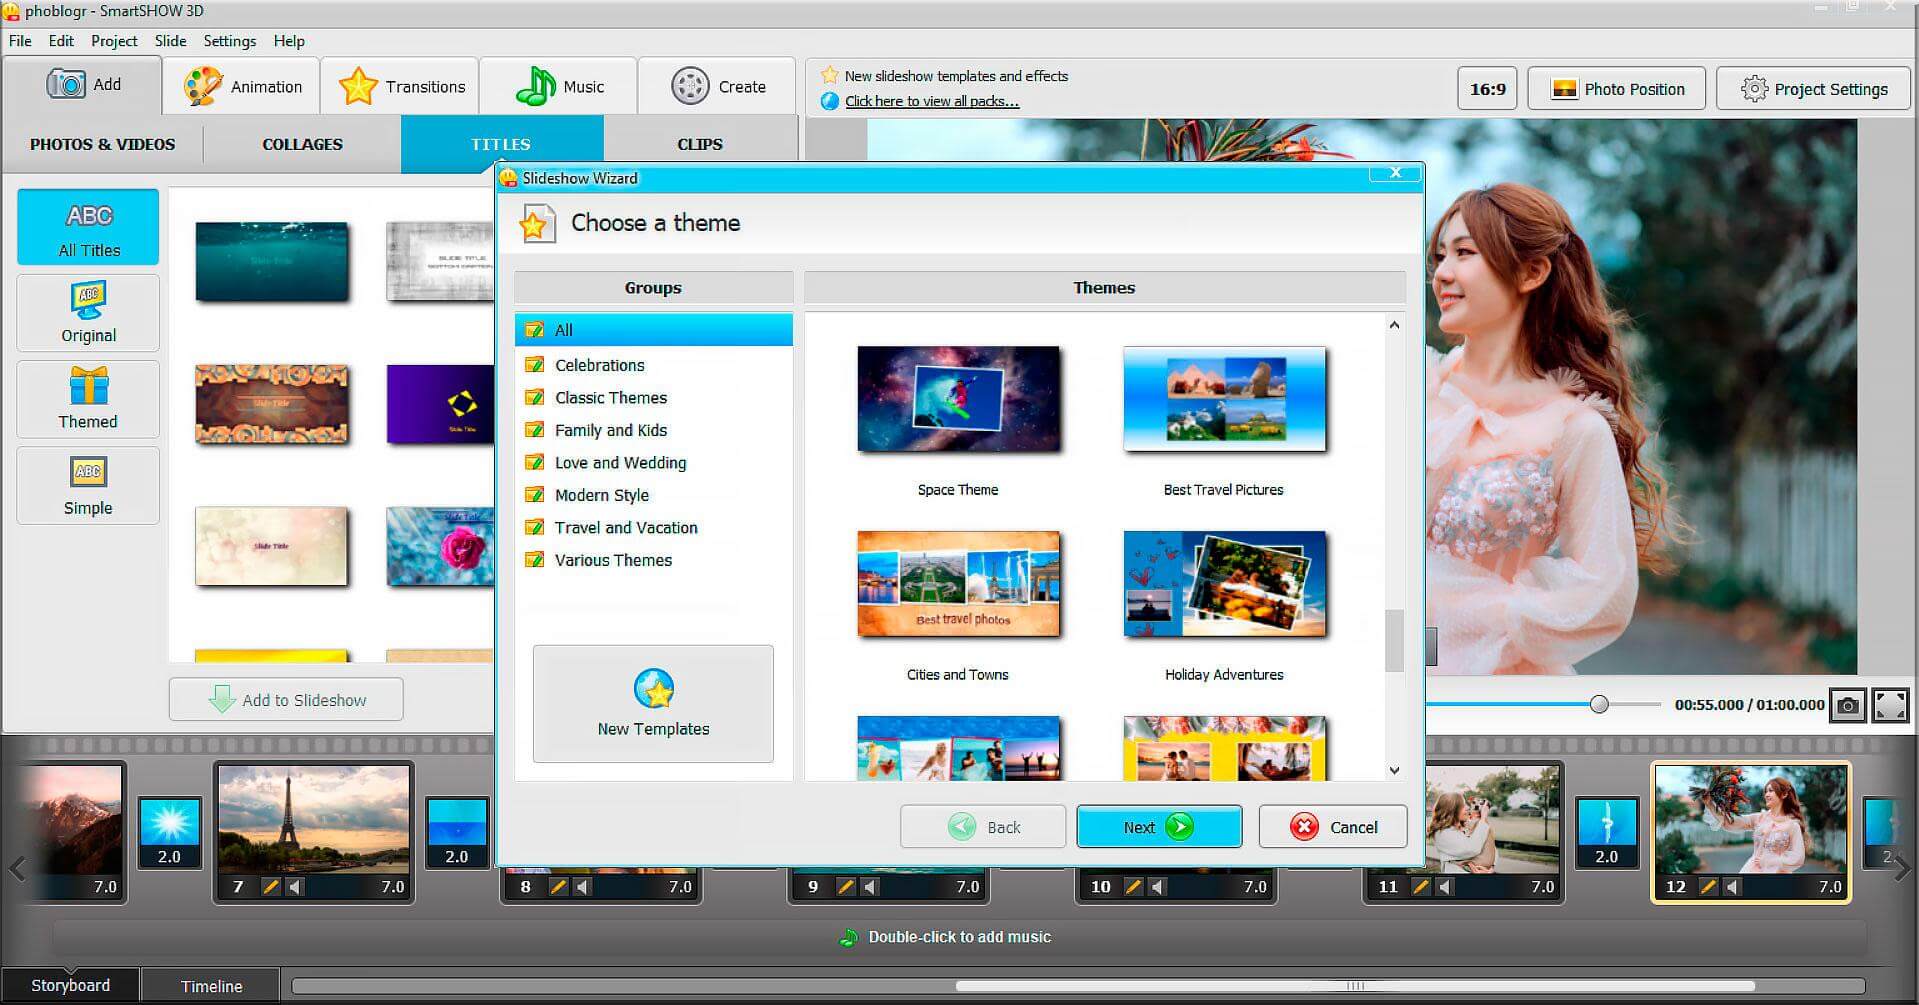
Step 1: Launch SmartSHOW 3D program and you are welcomed by three options. I have selected “slideshow in 5 minutes” for the sake of this tutorial.
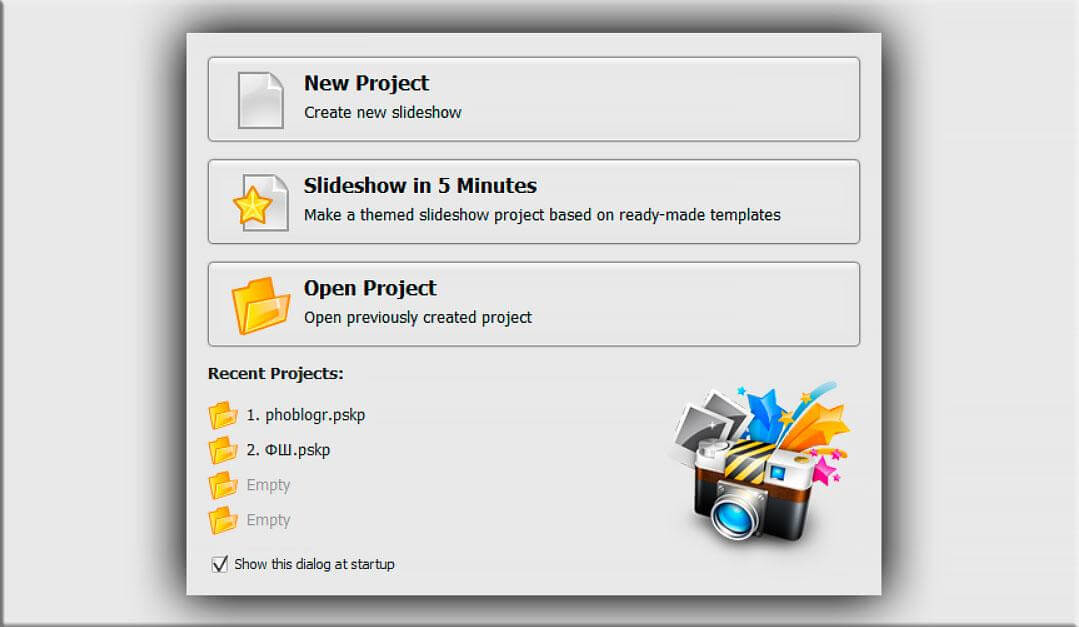
Step 2: As mentioned about the templates, select one from the above, and you get over 100 presets.
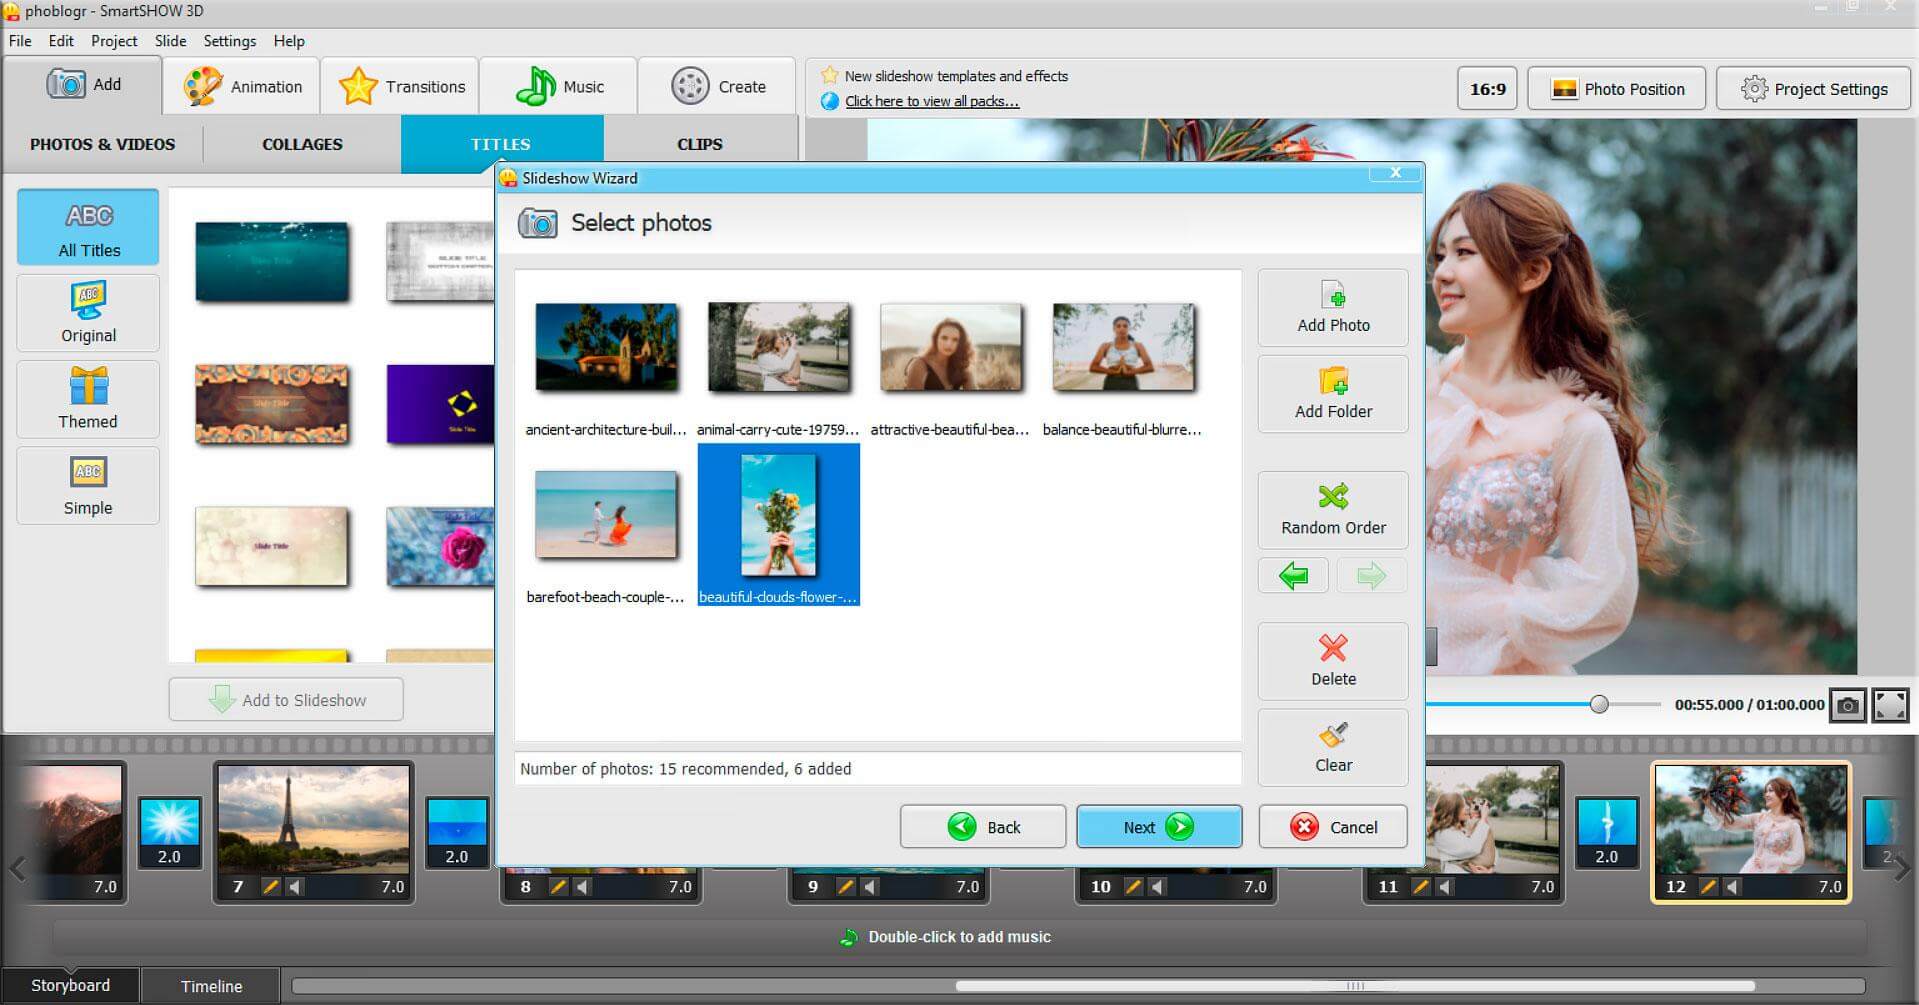
Step 3: Click on add photo or add folder to insert media files in it. You might have noticed that the “add video” option is not available because of the template designed for photos slideshow only (but there’re plenty of other presets that can take video files).
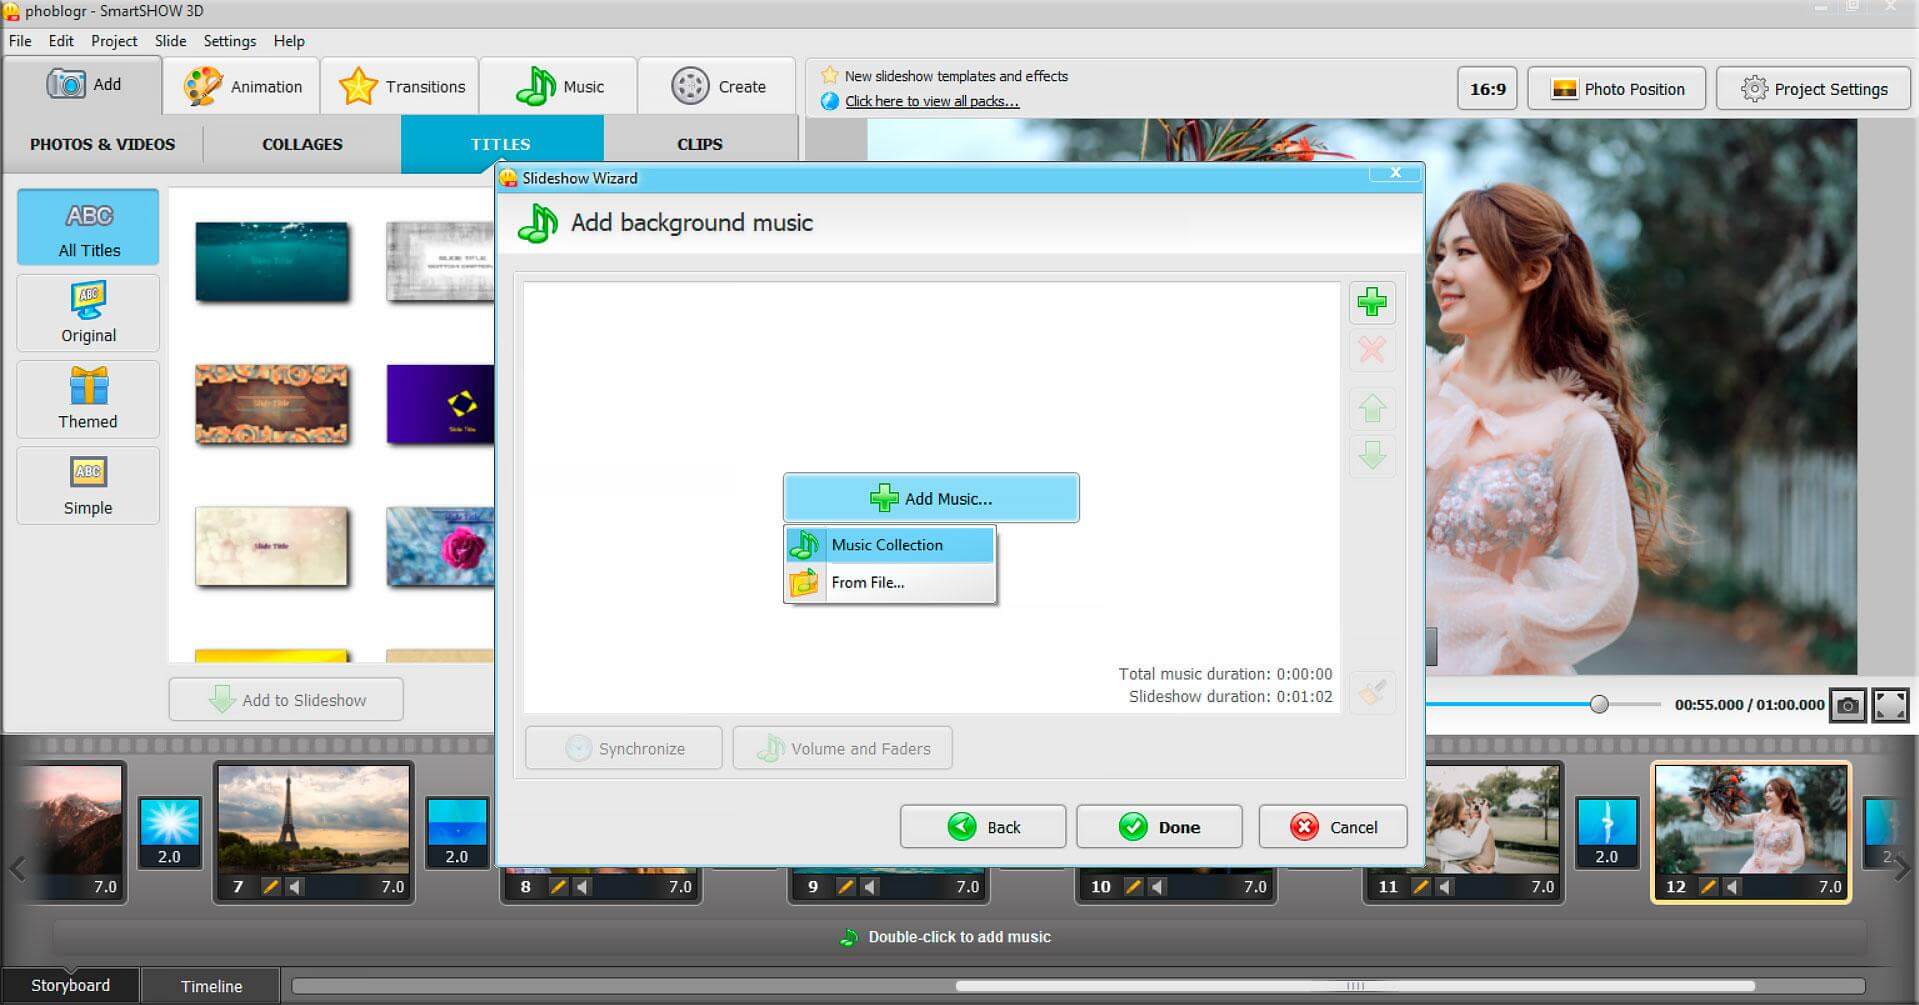
Step 4: When the “add audio” option appears, add the audio file as well.
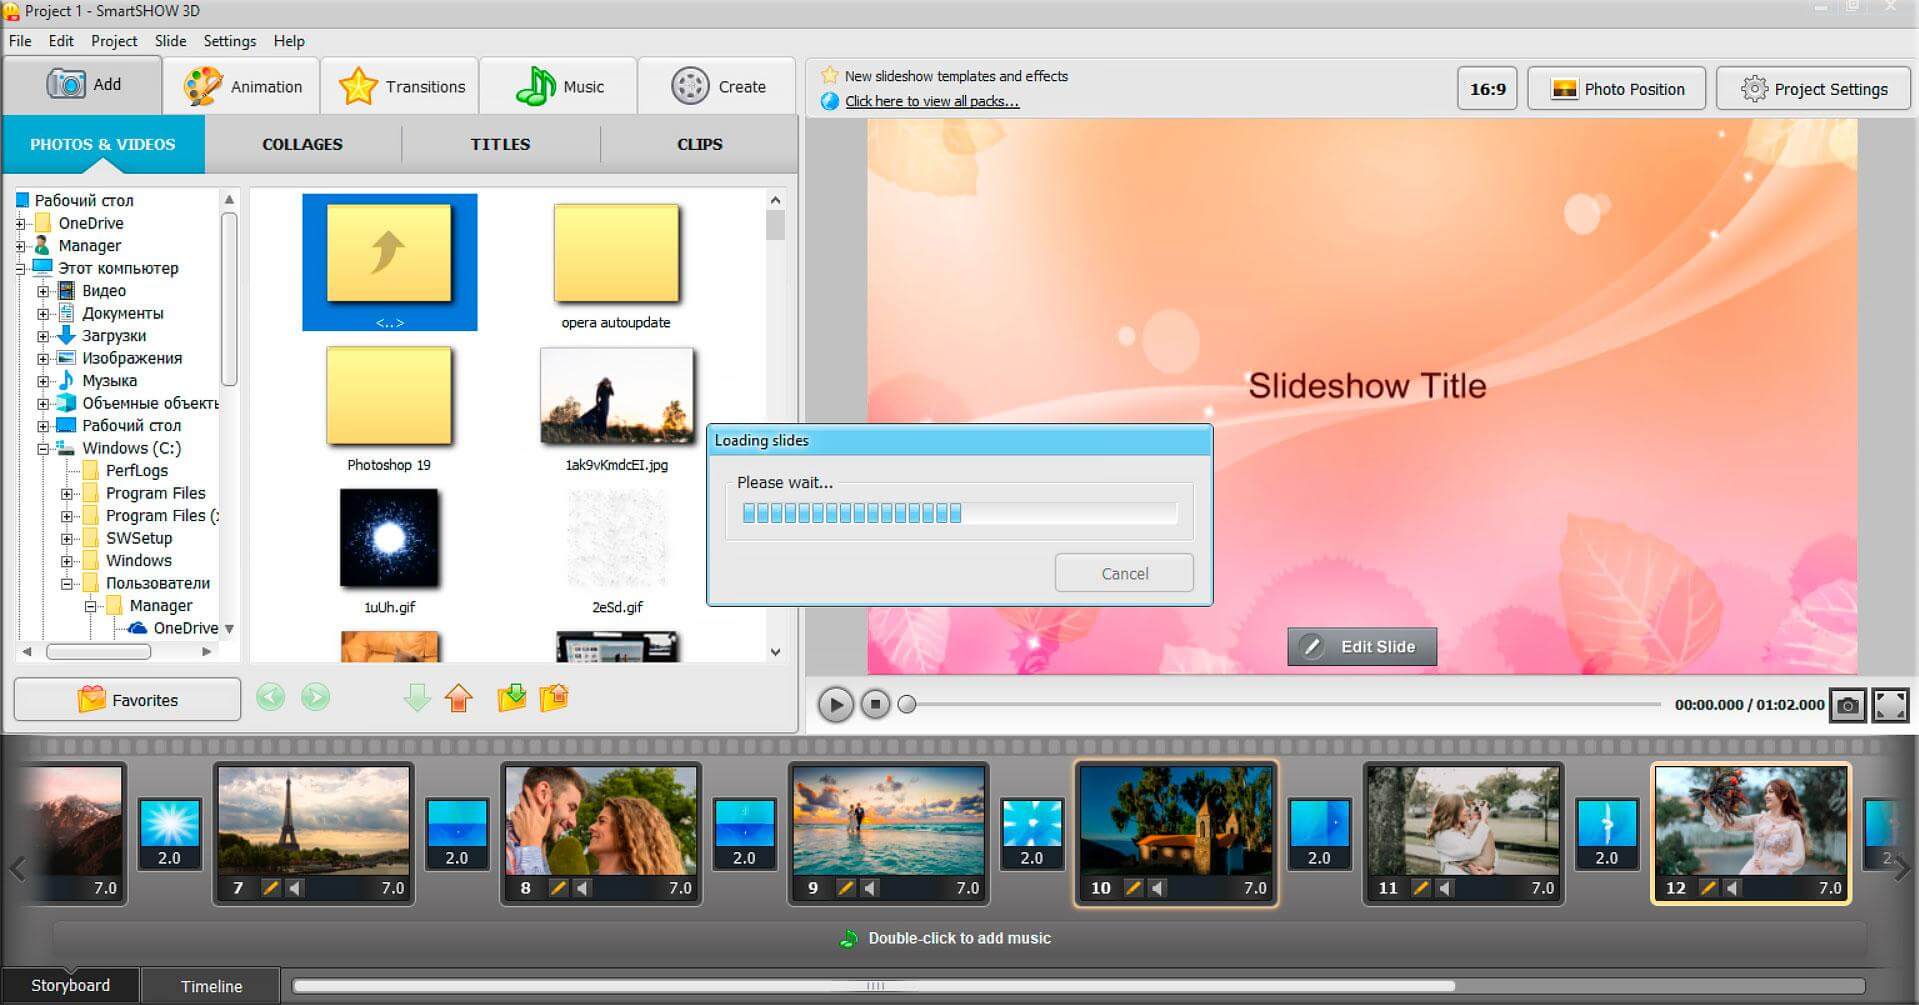
Step 5: The template will start working on adding the media files.
Step 6: Make sure to check out every option at the top menu, bottom menu, right-sidebar, and left sidebar. The editing dashboard might intimidate you, but do not be afraid because it took only a few minutes to master.
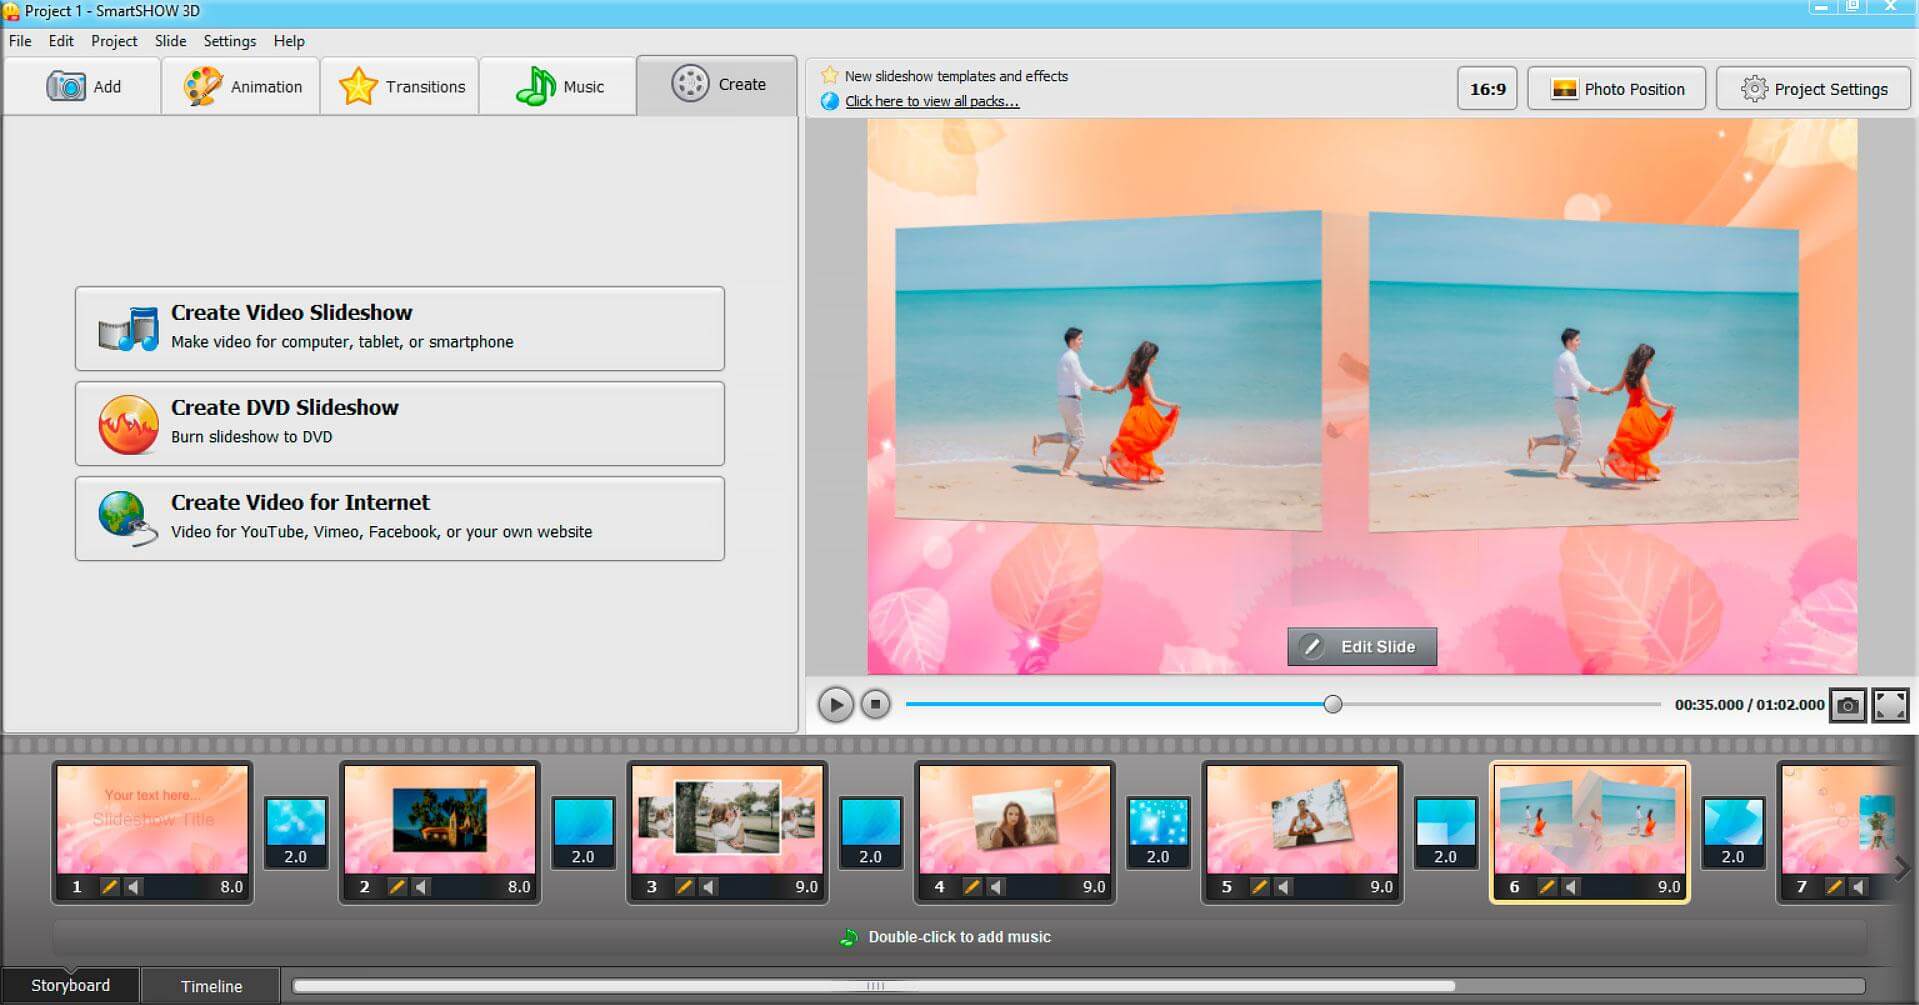
Step 7: To save the file, click on File > Create Video Slideshow.
Step 8: Select the format, resolution, & file size and then click on “start” to begin rendering.
The entire procedure took me a few minutes to complete.
Bottom Line
I recommend the readers to test the trial version because you are investing 1) $39.90 on the standard version and 2) $59.50 on the deluxe version. Remember, the navigation might seem complicated at first glance, but after half an hour of practice, you can easily master it.