You may have had a problem with your internet connection if you’ve used a Windows 11 PC for a while. This is a highly frequent occurrence with several potential causes. One possible suspect could be a DNS cache that has become corrupted or contains excessively long entries.
The DNS is a database containing the addresses of every website. It links a domain name to an Internet Protocol address so that you may access a certain website. Windows 11 computers often save a DNS cache, which allows them to rapidly connect to websites by remembering the domain name associated with a specific IP address. An integral element of the internet’s infrastructure, DNS caches are prone to corruption and data accumulation over time, which may slow down performance and even cause connection problems.
Contents
Learn About DNS Cache and Why You Should Delete It.
Typing a website’s address (or URL) into a browser is the most common way to visit any site. Computers may utilize the appropriate IP address if they don’t “understand” URLs. Your computer accesses a Domain Name System (DNS) server, which maintains a database of domain names and their associated IP addresses, whenever you do a web search.
DNS lookup is necessary. However, constantly seeking an IP address could be more efficient, particularly for frequently visited sites. Therefore, the computer stores a copy of the DNS in a local cache called the Domain Name System (DNS).
On typing the URL into the browser, it will start checking the resolver cache to see if it already knows about it.
When the DNS resolver cache becomes outdated or faulty, it might disrupt the network connection. You should regularly clear the DNS cache to avoid the potential danger of DNS cache poisoning.
Easily flush the DNS cache using different methods in Windows 11
You can clear cache using different ways. Here there are three methods to remove the DNS cache:
Method 1: Flush DNS cache by using the Run command box
Step.1 Start the process by pressing the Windows key + R key combination to open the Run Command Box.
Step.2 In the Run command box, enter the command “ipconfig /flushdns.”
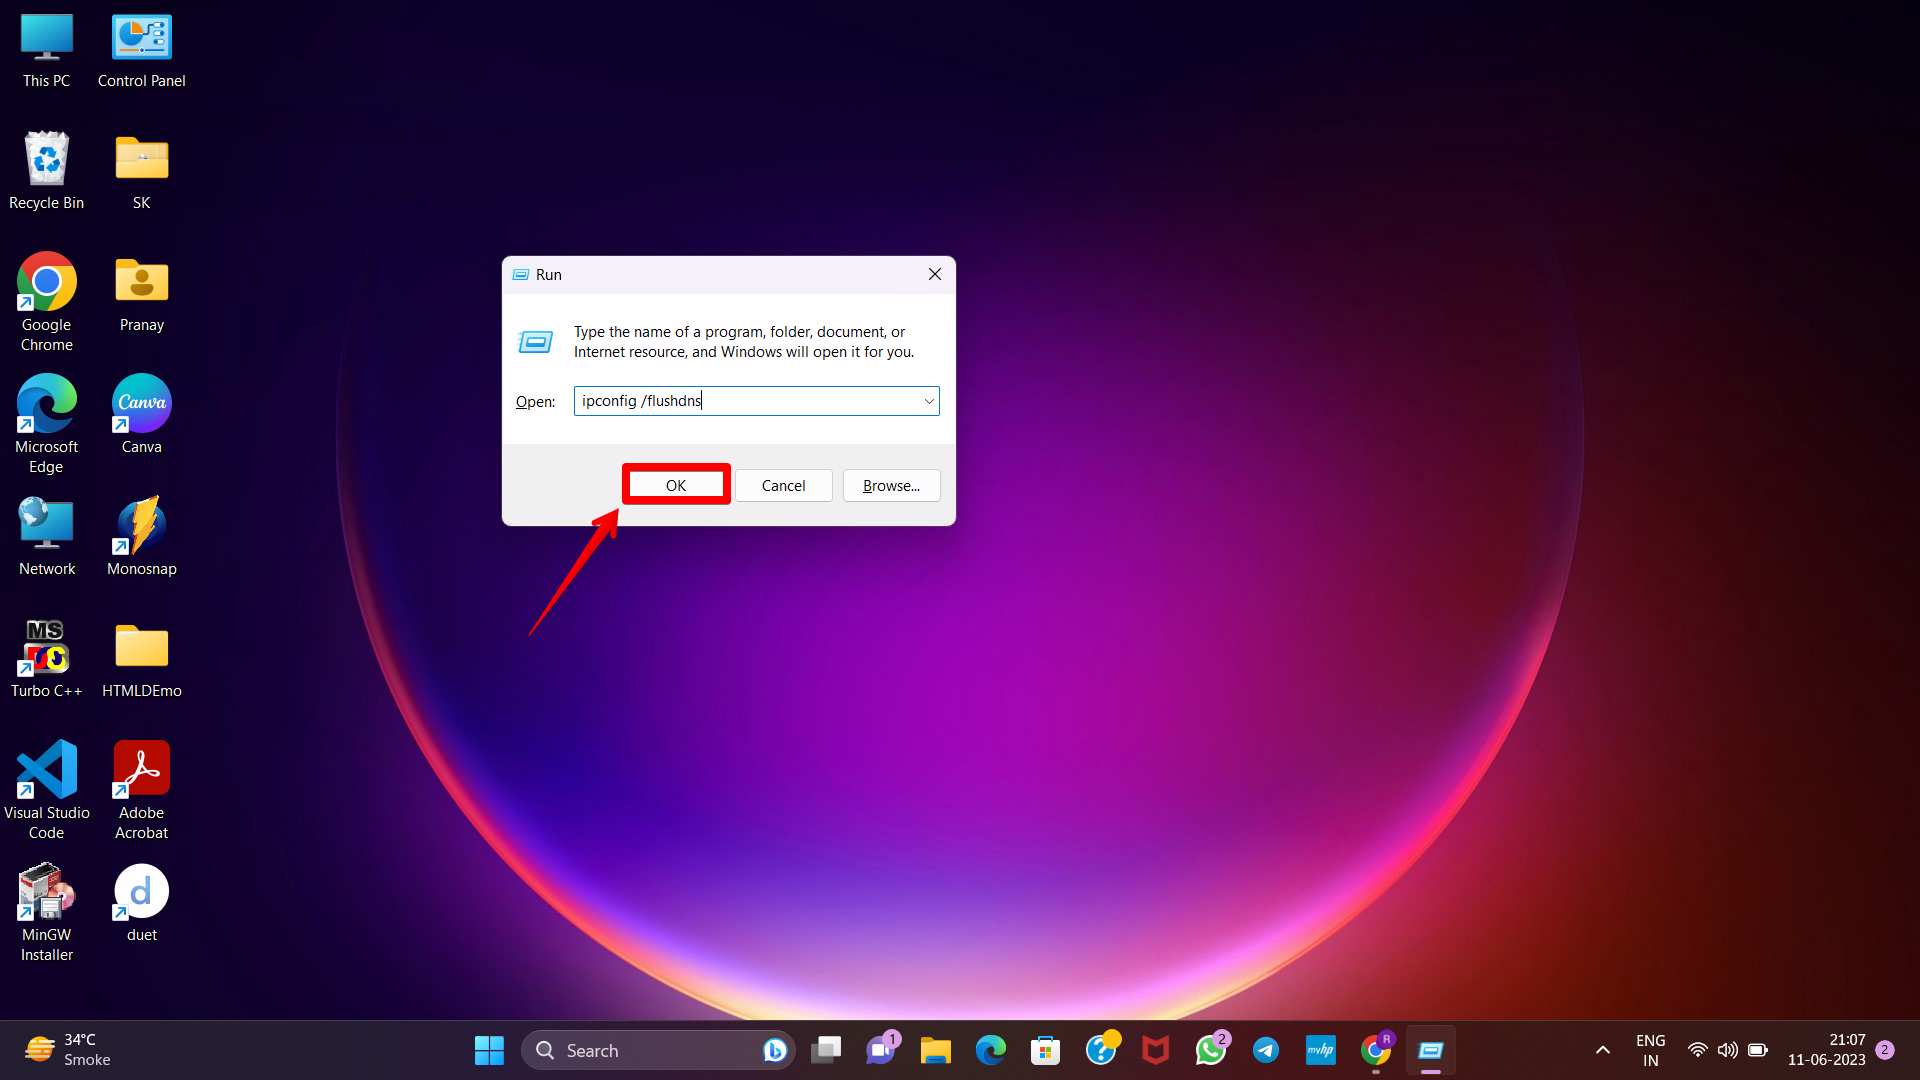
Step.3 Simultaneously press the Ctrl + Shift + Enter keys. This action will initiate the launch of the Command Prompt, execute the flush command, and automatically close it.
Method 2: By using CMD
Step.1 Press the Win + R key combination to open the run dialog box.
Step.2 After the opening of the box type “cmd” into it. Press Ctrl+shift+enter keys simultaneously. This will open “Command Prompt.”

Step.3 Enter below given command into into Command Prompt and press the Enter button.
“ipconfig /flushdns”
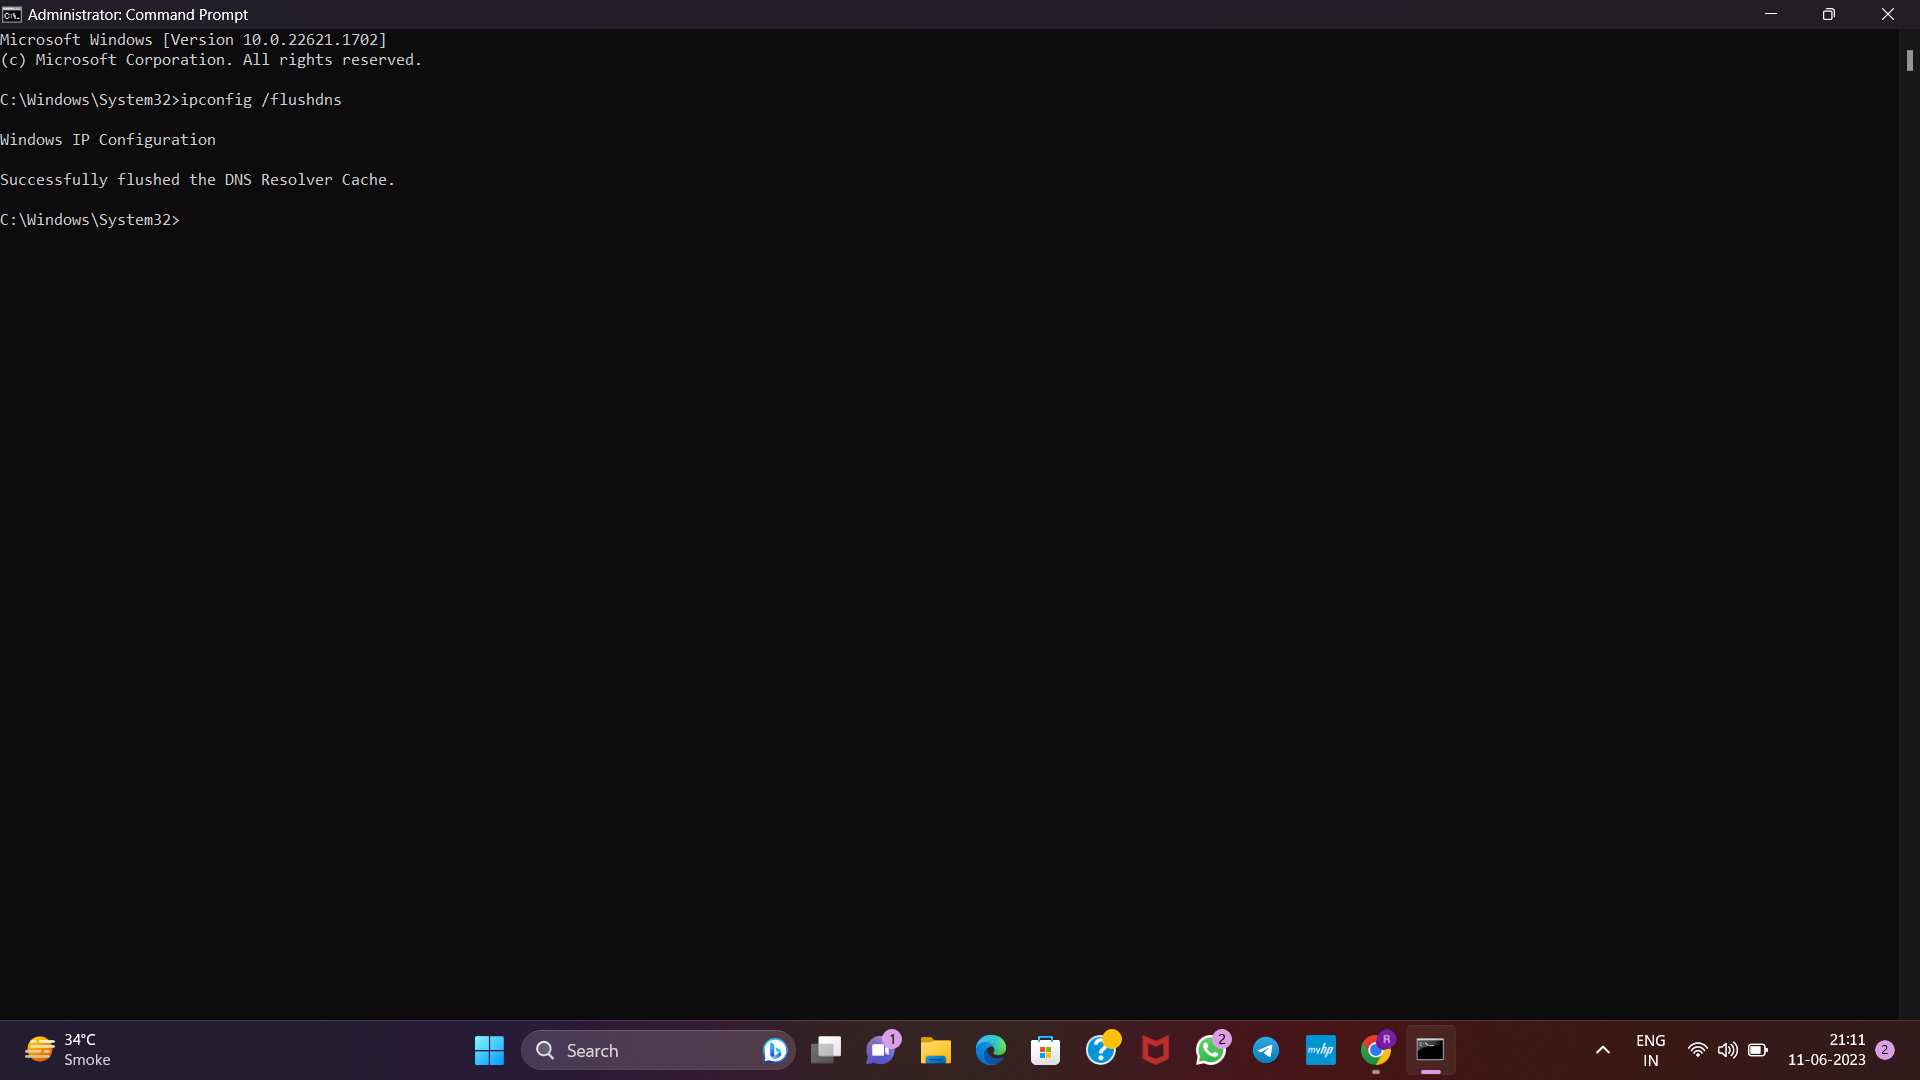
Step.4 Upon executing the command, you will receive a message stating, “DNS Resolver Cache successfully flushed.”
Method 3: By using Powershell
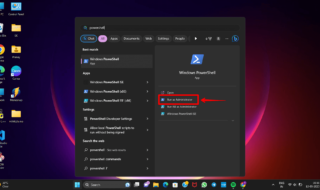
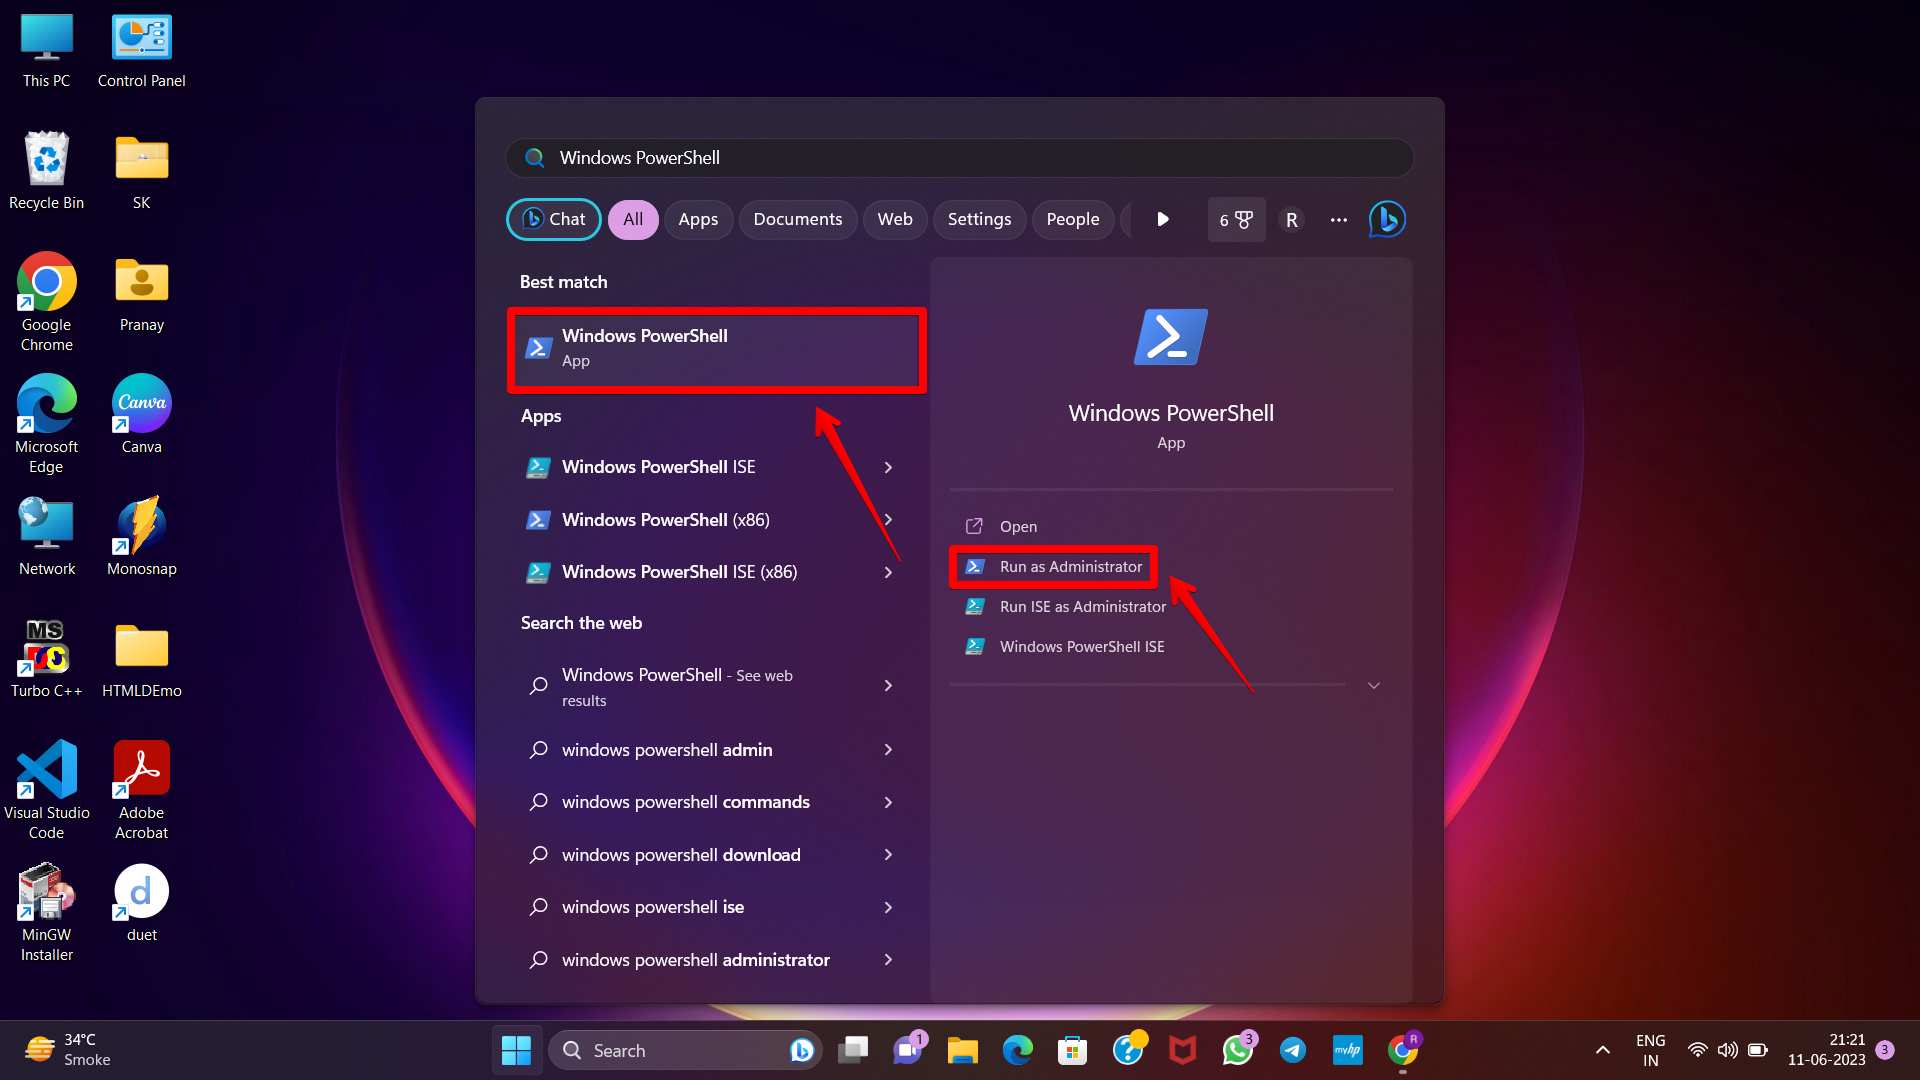
Step.1 Open the Start menu by pressing Win + S and type “Windows PowerShell.”
Step.2 Select “Run as administrator” option present in the left panel from the search results.
Step.3 After that proceed by entering the command “Clear-DnsClientCache” in the PowerShell window and press the Enter button.
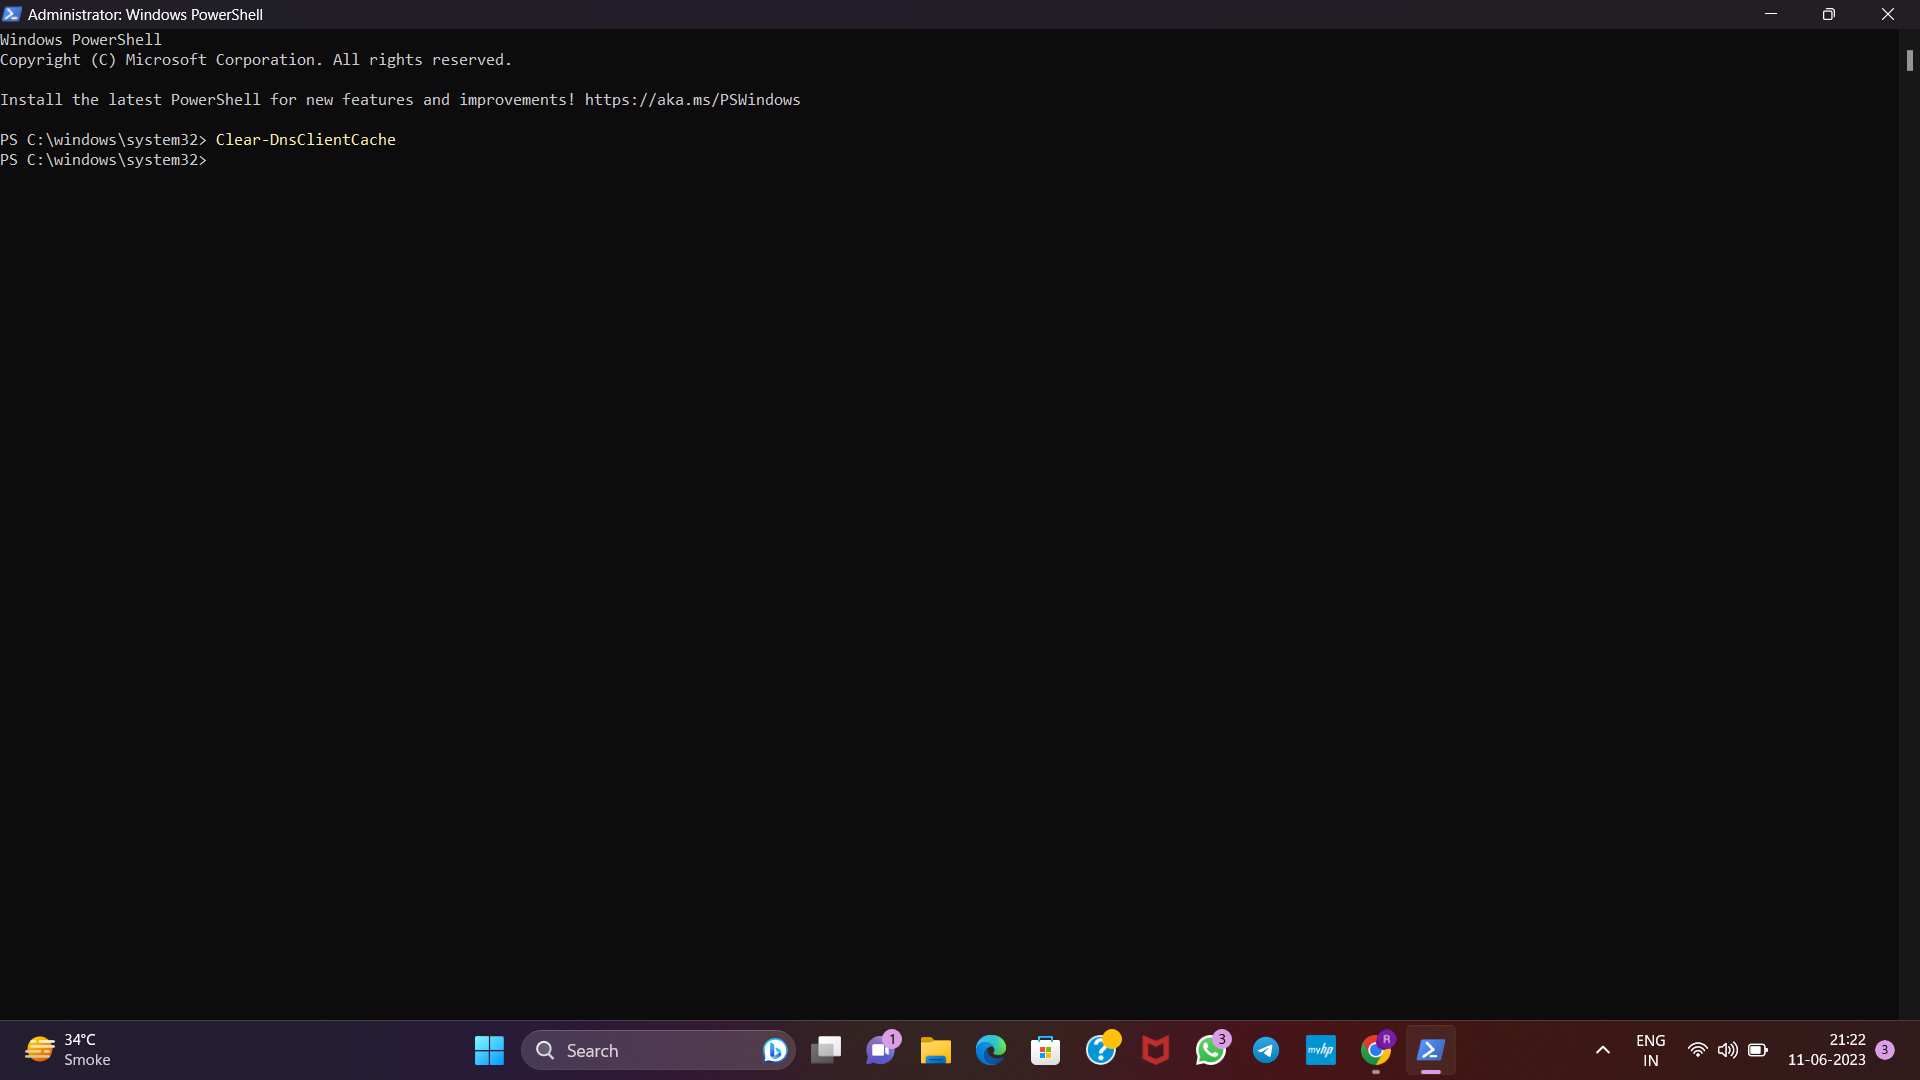
Although no message will be displayed upon successful execution of the command, you can open PowerShell again and examine the DNS cache to verify the clearing process.
How to Flush your Browser’s DNS records
Repeat the steps below to flush Chrome’s DNS cache:
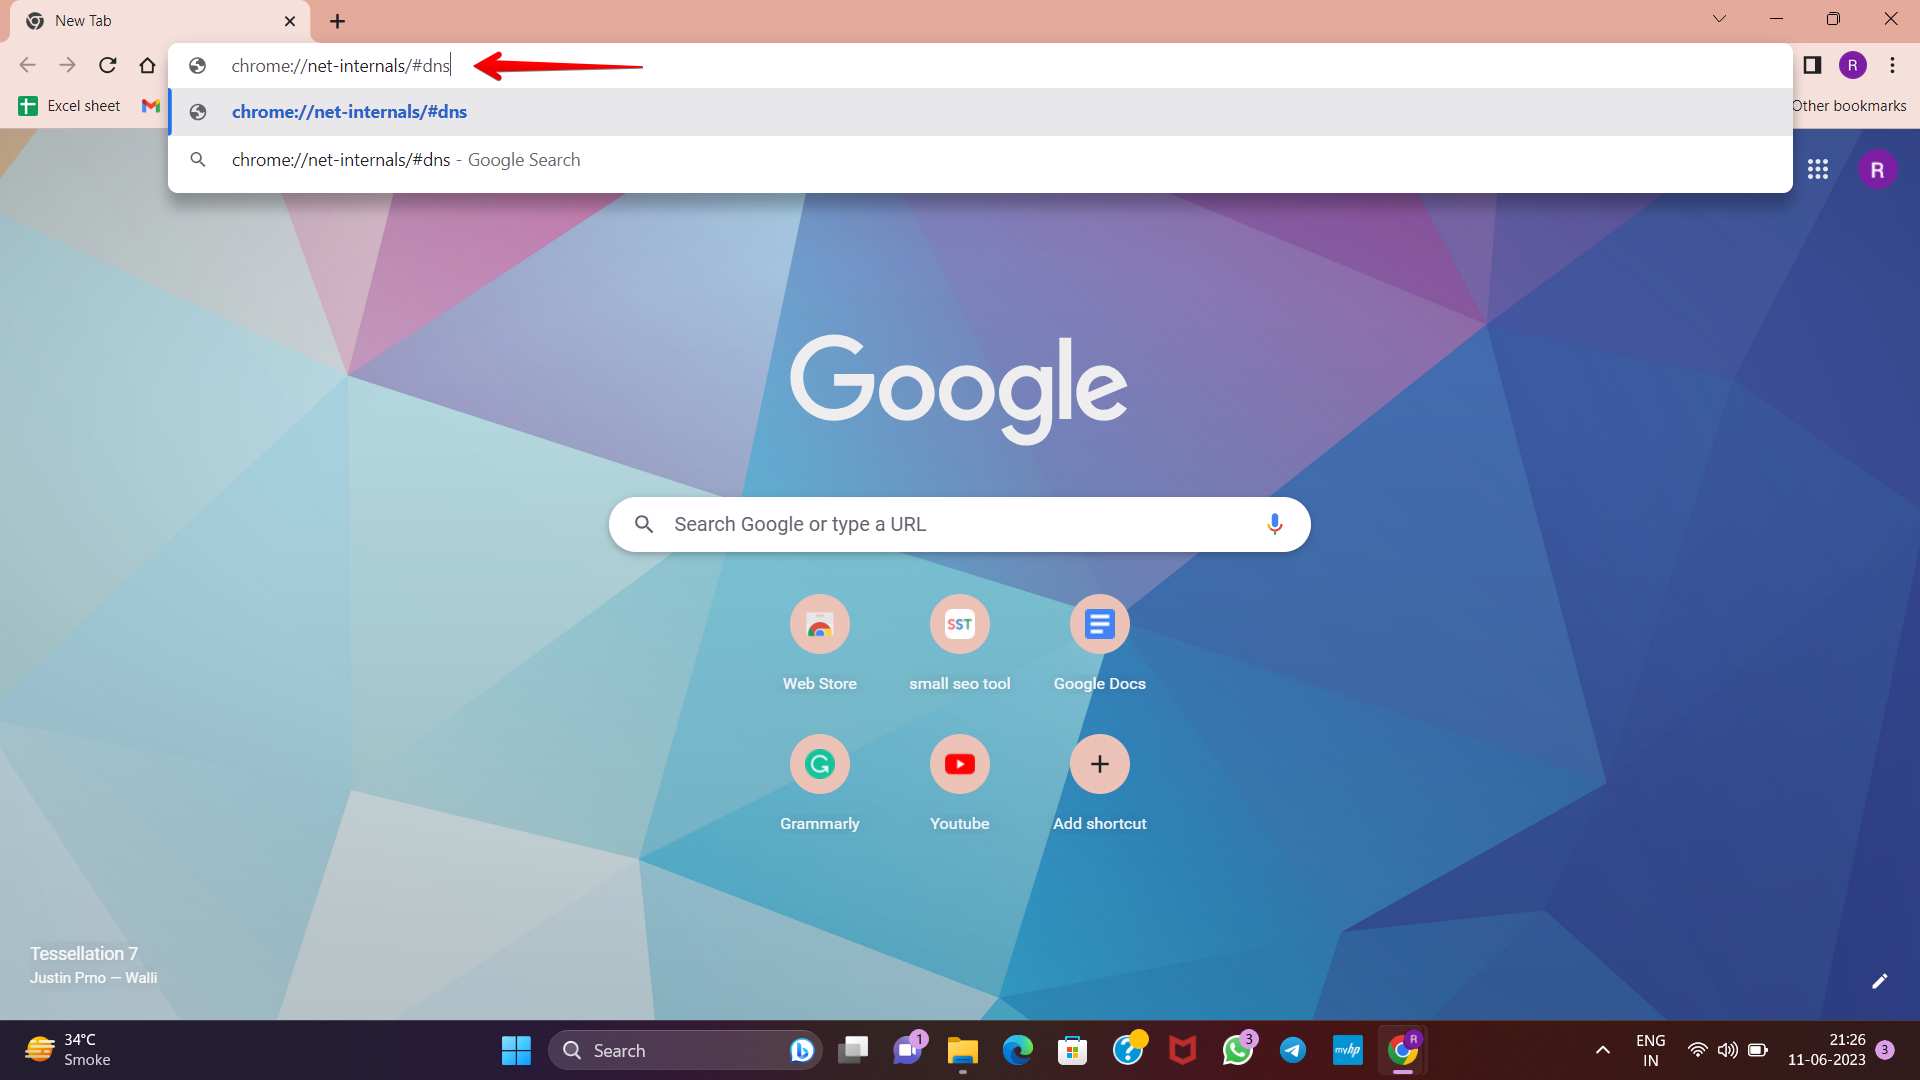
Step.1 Open the Chrome browser and open a new tab.
Step.2 Type “chrome://net-internals/#dns” in the search bar and press Enter.
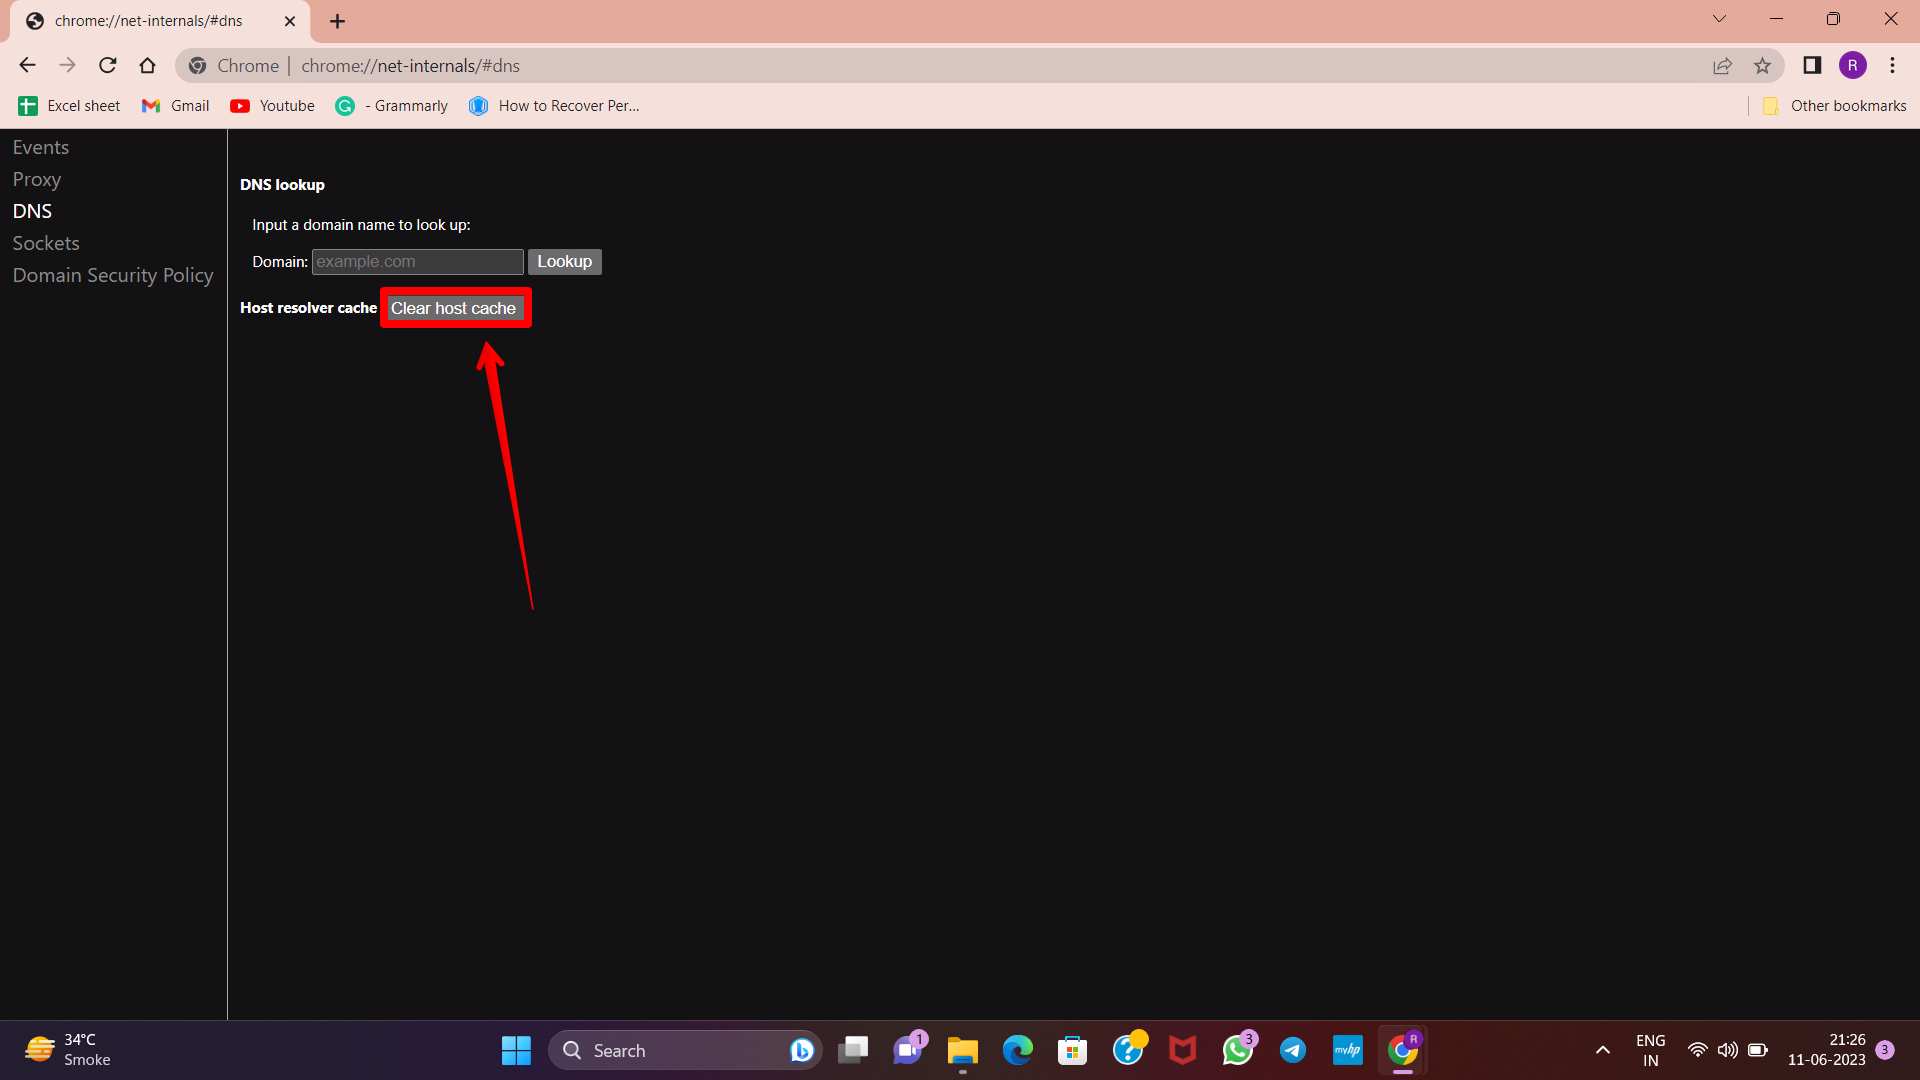
Step.3 This will take you to the DNS-related settings page. Now press the Clear host cache button located beside the Host resolver cache. This action will clear the cached DNS records within the Chrome browser.
Remember that different browsers like Safari, Opera, and Mozilla may have different procedures for clearing the DNS cache. Finding the DNS settings and clearing the DNS cache will be necessary.
Conclusion
That’s it. Once this is done, your fantastic laptop will clear the DNS cache at the intervals you specify. Since cleaning the DNS cache every day is probably excessive, increasing this amount will allow you to do it less frequently. You have learnt different methods for flushing the DNS cache on your Windows 11 machine from this article.