To secure a PDF file, an author sometimes restricts the access of the file by using a Password. There comes a time when you try to open a restricted PDF file and the pop-up window appears asking for a password to open that doc.
For security purpose, Portable Document Format files can be secured by a Password and to open that file, the recipient must have to enter a Password. If he enters the correct password, only then the doc can be opened. Sometimes, the creator can also restrict the files from printing. You will not be allowed to print out the password-protected PDF-files.
If you want to know how to print a Password Protected PDF file, then we will guide you to do so by using GDrive. Yes, you can simply print a Password Protected PDF-file with Google Drive by following the below-given steps.
Contents
Print a Password Protected PDF file with Google Drive
When you search on the Google about opening and printing the Password Protected files, then you will be presented with a list of free and paid software that lets you open such files and allows you to print them out with normal printers.
However, as soon as you have GDrive by your side, you don’t need to have such software installed on your system. You can simply Print the Password Protected file right from GDrive. Google Drive has the capability of removing Printing Restrictions from the PDF-files automatically. You don’t need to do install any supportive software or application to do so.
Let’s see how we can print out Password Protected files using Google Drive.
The method of Printing Password Protected PDF-files using GDrive is pretty straightforward and anyone can follow it. Let’s get on to the steps.
Step 1:
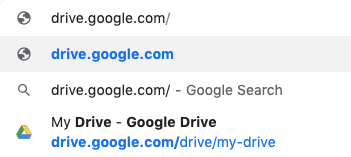
First, go to GDrive on your PC system. Launch the web browser app and type in the URL or you can head over to GoogleDrive by following the below-given link.
Step 2:
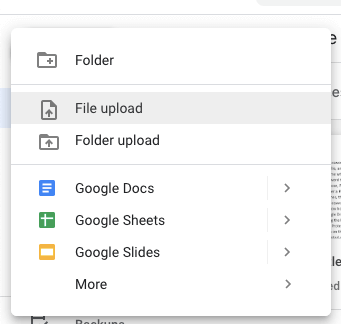
Now, go to New option and select the Upload option. Or you can directly drag out the PDF-file which is protected with a Password to the GoogleDrive’s Window.
Step 3:
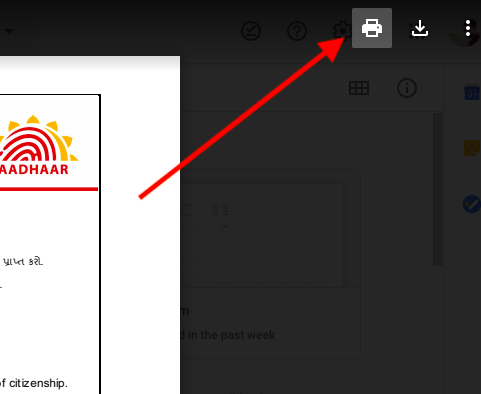
Once the Password Protected file is uploaded on GoogleDrive, double click on to the file. On the upper right corner, you will see a Printer option. Click the Printer option to print out the Secured Documents.
Once you click the Printing option, you will be allowed to assign the Printer to Print out the selected protected PDF file. Just select the Printer which is ready to print and the file will be printed out.
Did you know, you can remove Password Permanently from the Portable Document Format file? If you want to remove the Password from a PDF-file, then follow the below-given steps.
We are able to print out the Secured PDF file using GoogleDrive. But whenever we try to open that file, it will ask for a Password. The file will carry the protection in the future unless you remove it. Let’s see how can we remove Password Protection from the PDF file using GDrive.
Step 1:
Upload the Protected PDF-file to Google Drive by selecting the New and then Upload option or simply dragging it from the desktop.

Step 2:
Click on to the Print option from the upper right corner and the Print previewer will be presented to your screen.
Step 3:
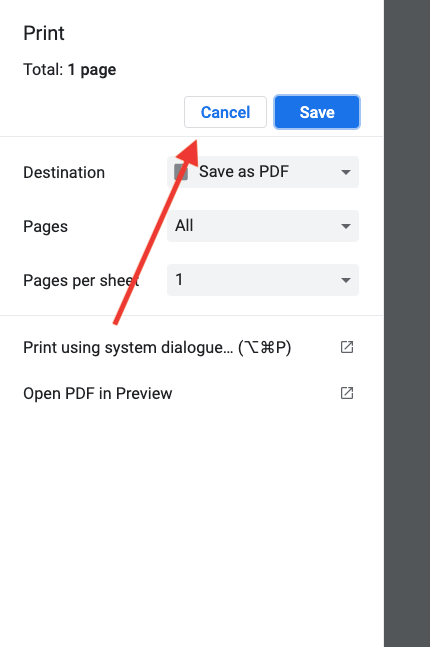
You will see two buttons there, Cancel and Save. Click the Cancel button from the page and you will see the Preview of that PDF file.
Step 4:
From the upper right corner, click the Down arrow to download the PDF file.
Step 5:
The PDF file will be downloaded to your desktop.
Step 6:
Now, go to the folder where the Portable Document Format file is downloaded and stored. Double click on to the Downloaded PDF file, the file will be previewed on your screen and it will not ask you to enter a Password.
The downloaded file is now unlocked permanently. You have successfully removed Password Protected from the PDF file using Google Drive.