Managing files also includes keeping them safe and private to a high extent. Especially when you are traveling and carrying all important data, you should be aware of all the possibilities that can hinder the state of your data. Whether it is your personal data or your organization’s data, encrypting it can be the ultimate solution.

Your USB drive is a storage that you and any other person can access if they have it. So it is crucial to encrypt your USB flash drive to avoid such nuances. Windows 11 lets you encrypt drives with ease we will be doing that in this article.
Contents
Method 1: Use Windows Powershell to Encrypt the USB Flash Drive
Using Windows PowerShell to encrypt a USB drive adds another degree of protection to keep private information safe from prying eyes. BitLocker, a disk encryption tool built into the Windows operating system, is used in this process. This is a tutorial on using Windows PowerShell to encrypt a USB drive:
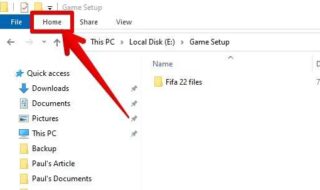
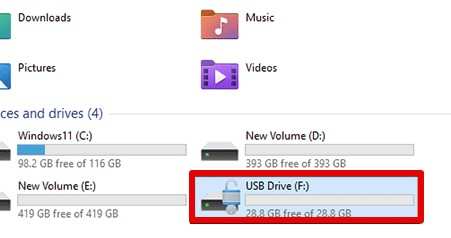
- Locate the USB drive by opening File Explorer after connecting it to your Windows 11 computer. (Assuming your USB drive is an F drive).
- Do a right-clicking and choose Windows Terminal (Admin) from the Start menu and then confirm the prompt to make changes.
- To find the drive type, type the command Get-Volume into the Windows PowerShell. Ensure and verify that the USB drive’s DriveType is Removable.
- To start BitLocker encryption on the USB drive, run the PowerShell command manage-bde -on F: -pw -rp –used.
- When prompted, type the password and confirm it to protect yourself. As you type, the password remains hidden.
- For future use, save the given recovery password, which includes the ID and a 48-digit numeric password.
Check for Encryption
See that the USB drive’s state in File Explorer changes its icon by adding an open lock image. It shows that BitLocker has been successfully activated.
- To secure the contents of the USB drive, use the PowerShell command manage-bde -lock F: to lock it.
Once BitLocker has been successfully installed, you can see that the USB drive has a locked icon in File Explorer, adding an extra degree of security against unwanted access. Users can protect their data from potential threats by easily encrypting their USB drives using BitLocker and Windows PowerShell by following these steps.
Method 2: Encrypt USB Flash Drive with Bitlocker
Important files and data need to be in a very secure place all the time. With Bitlocker, you can easily encrypt your flash drive and avoid all data thefts.
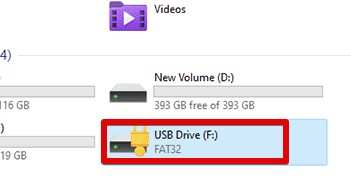
- Insert your USB flash drive into your PC through the USB port. Now the flash drive will be detected by your Windows 11 and you will be able to view it from the File Explorer.
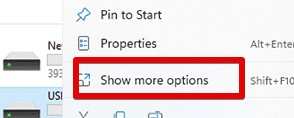
- Inside the screen where your USB drive is showing, do a “right-click”.
- After you visit the drive’s context menu by doing the right click, click on “Show more options”.
- Additional options will show up and you have to select the “Turn On BitLocker” option.
- Now the Bitlocker window will pop up in relation to your particular USB flash drive. For instance, if your USB is (F:) drive then it will open as Bitlocker Encryption (F:).
- Two options will be at your disposal and these options are regarding in which way you want to unlock your drive. There’s a password option and a smart card option.
- Choose the option that you like and hit “Next”. However, you have to fulfill the requirement to choose either one of the options. Selecting a password requires you to enter your unique and secret password. On the other hand, you will have to insert a smart card with a PIN.
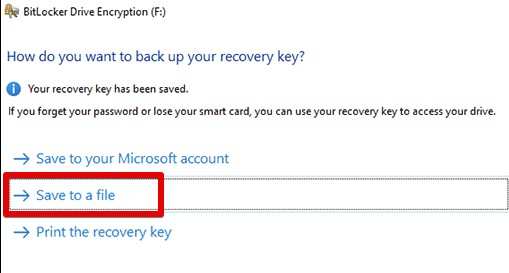
- After hitting “Next”, select the “Save to a file” option. Save to your preferred directory and hit “Next” again.
- Choose the option that encrypts the disk space which is being used. After that, click on “Next” again.
- Select the compatible mode and move further in the process.
- Hit on “Start Encrypting” so that your USB drive gets the encryption. (enter the password if required)
- After the encryption is completed, a success prompt will show up.
Now there will be a lock icon on top of your USB drive indicating it is encrypted. Moreover, check the directory where you saved the recovery key to see all your documents.
Conclusion
Getting all your files encrypted to secure them from unwanted hands is easier now. You can implement the methods above on your Windows 11 computer and start encrypting your USB flash drive.