When you first created your Windows account, you put a name that you do not like anymore. Now you want a solution to quickly rename your username on your Windows 10 laptop. If you are struck upon this side of the internet, then you must be looking to change your username. In this guide, we will tell the multiple ways you can rename your Windows account name on your laptop. These methods are suitable for Windows 10 systems.
Contents
Follow the steps below to rename your account on a Windows 10 laptop
- Going to Windows settings will be the first thing you have to do. So do a left-click on the “Start” button.
- Click on settings
- Windows settings will open up. You can also press Win + I to perform the same task.
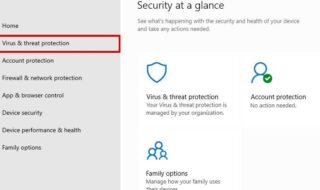
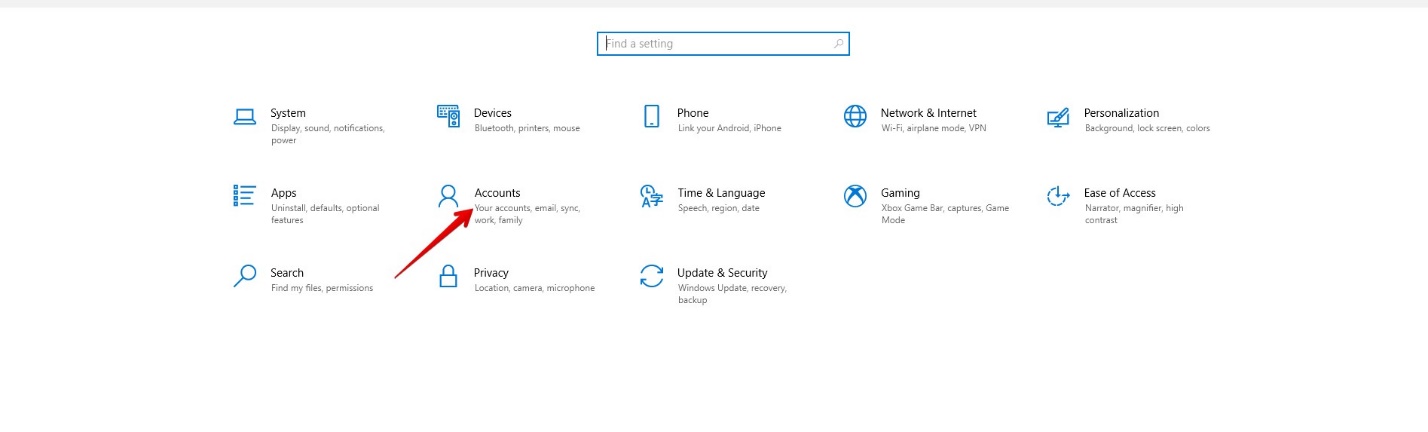
- After opening up the settings, click on the “Accounts” option. Going to the “accounts” option will show all the users who are currently signed on your Windows 10 laptop.
- Choose the account that needs changing with its username.
- Select “Manage My Microsoft Account” which is located below the username and email address of your Windows account.
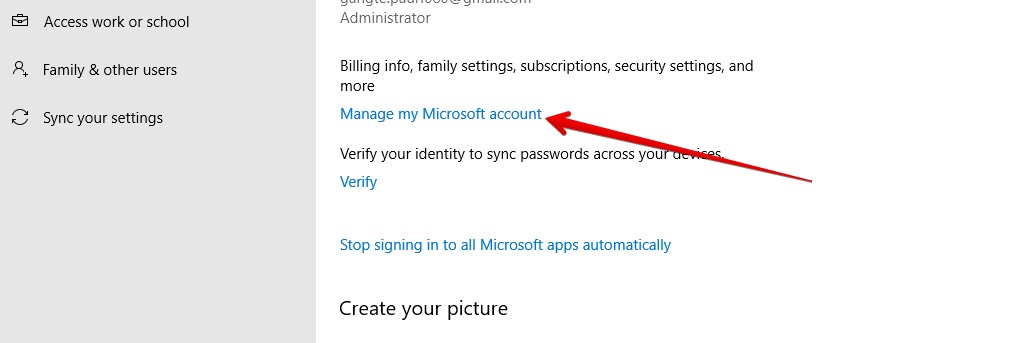
- After clicking on “Manage My Microsoft Account”, your laptop will open up your default browser with the Microsoft Account page.
- Sign in to your account on your browser.
- Click on “Your Info” and you will a bunch of new options. Simply hit the “edit Name” button.
- A new prompt will show up where you can enter your new name (First Name and Last Name).
- Enter the correct captcha and click on “save”.
If you have done everything right till this point, then your Windows account name will be changed. So whenever you sign in to your laptop, your name will be displayed instead of the last one. As we have told you before, we will tell you multiple methods to change your account’s name on Windows 10 Laptop. So read further to know about the next method.
How to Change the Name of the User Account in Windows 10 Laptop Using Run Command
Here is the guide for renaming a Windows account’s username using run dialogue
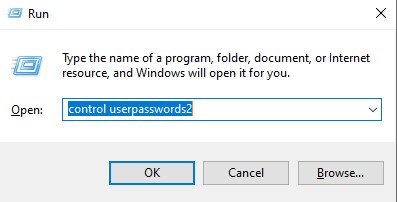
- On your Windows system, type Win + R to run the command prompt.
- Type the following prompt: “control userpasswords2” and click on “OK”.
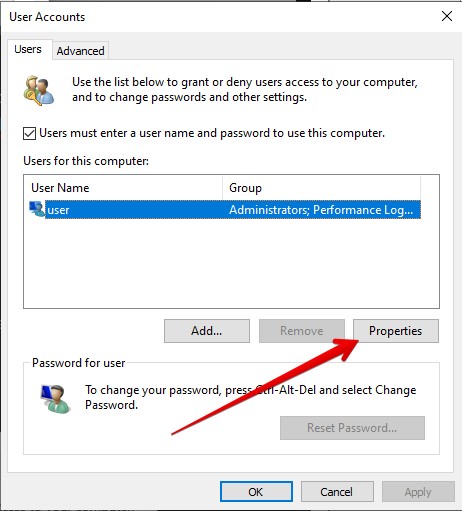
- User Account windows will open up.
- Now under the section “User Name”, select the Windows user that requires the change and click on its properties.
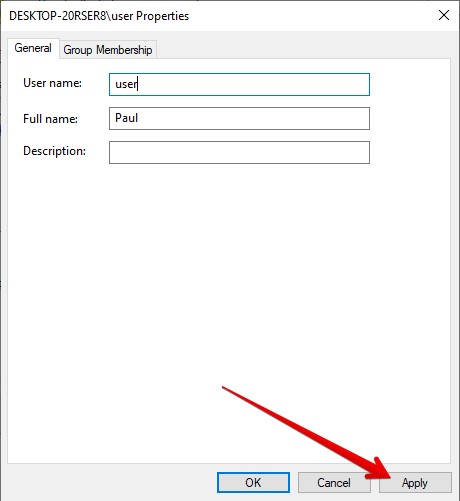
- Enter the new name in the respected field and hit Apply.
Now your Windows 10 laptop will display your new name whenever you sign in or turn on your laptop. If you are signing in on another device then the same will apply.
Do the methods work?
When you follow these methods and change the username of your Windows/Microsoft Account, you will see changes in multiple places. Firstly, you will see that the lock screen now shows the new name you entered. The other place where you will see changes is in the Windows Settings.
There is also a dedicated name for User in Windows. The process for changing the Microsoft account’s username is complex and it is completely different from the displayed name when you turn on your laptop. So we recommend you do it until it is very necessary.
Conclusion
If you are not fond of the current name of your Windows 10 laptop, then now you know quick solutions. These processes will take 5 minutes to complete and you can remove your last name from your computer forever. We hope this guide was the answer you were looking for and hopefully, it fixed it.