The next-gen video compression standard H.265/HEVC might be superior to H.264/AVC in terms of video compression rate, size and quality, but the truth remains that very few devices and video editors support it. While it does use lesser bandwidth and reduces storage space; it does not work well with medium CPU memory, low battery or on computers with average speed and can be used for watching HDTV only. So H.264 remains the preferred choice because it is suitable for playback and has high performance on every device. If you own an Apple iPhone 7, 8 or X; Xiaomi Mi MIX 2S; GoPro action camera; or are simply looking to download or share a video that is 1080p or higher quality from YouTube, you need to convert it to H.264 first. There might be free online H.265 to H.264 converters that will do this for you, but they are not recommended because they usually support only really small size files and are also really slow. Additionally, you might end up with a virus or malware in your computer as well. To solve this problem of safe and fast conversion, there is a powerful, open-source program called HandBrake for Mac, Linux and Windows 10 that converts H265 to H264 for free. If you’re new to this, the software might seem complex but it is actually quite simple.
Contents
Here is a guide on how to convert H.265/HEVC to H.264 using HandBrake Software:
1. Download and install the latest HandBrake version on your Mac OS (OS X 10.7 or later), Windows (7 or 10 64-bit) or Ubuntu deb device from the official HandBrake website ( link : https://handbrake.fr/downloads.php ).
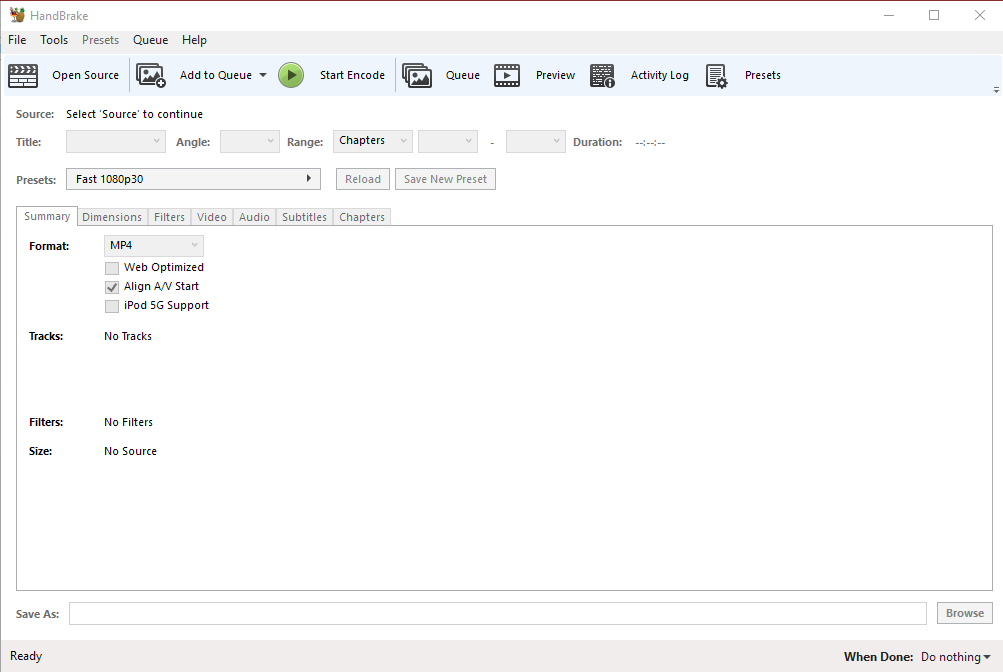
2. Install the application & open it. The application will look like the below image:
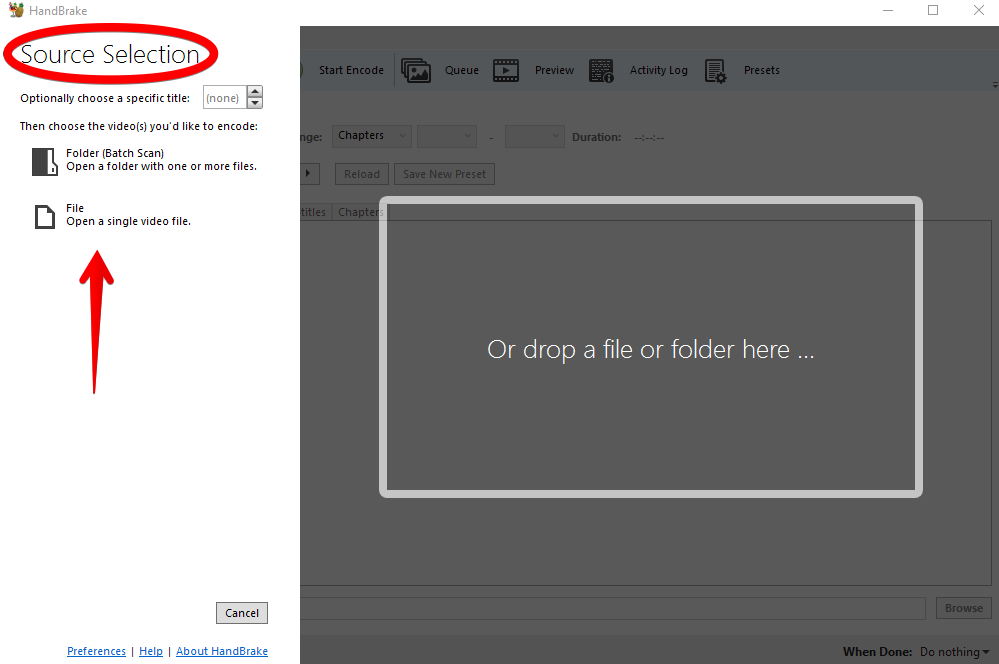
3. On the left sidebar, click on “Source Selection” and navigate through the pop-up to find the location of your saved H.265 files. You can open a single file or use the “Add to Queue” to add multiple video files at once. Confirm the file name by checking the field between “Title” and “Open Source”.
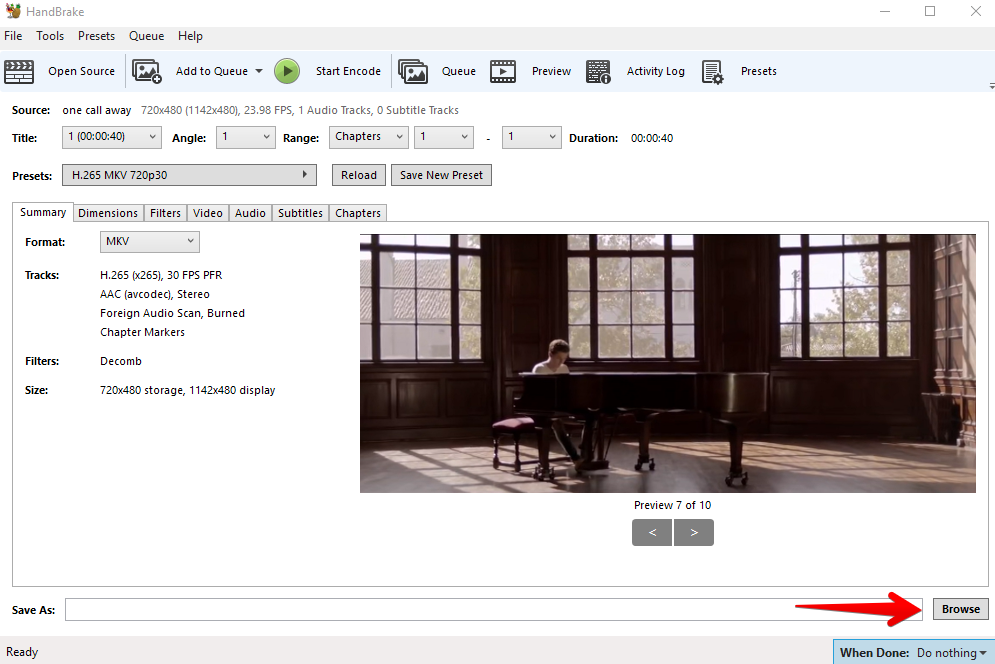
4. Click on “Browse” or “Destination” to set the export folder to where the converted H.264 will be saved. To avoid confusion, make a new folder instead of choosing the original source location.
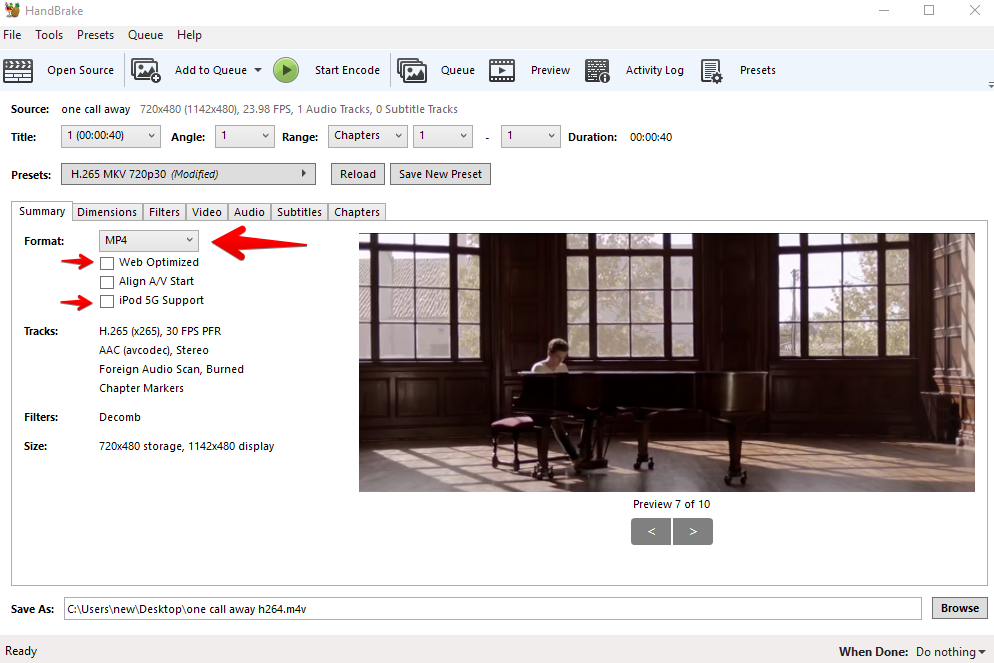
5. Under “Output Settings” > “Container”, you can select the desired file format. Choose MP4 or MKV for best results, especially if you wish to add external subtitles. Hovering over “iPod 5G Support” and “Web Optimized” will help give you a better idea about your result.
6. For more customized output settings, there are two options:
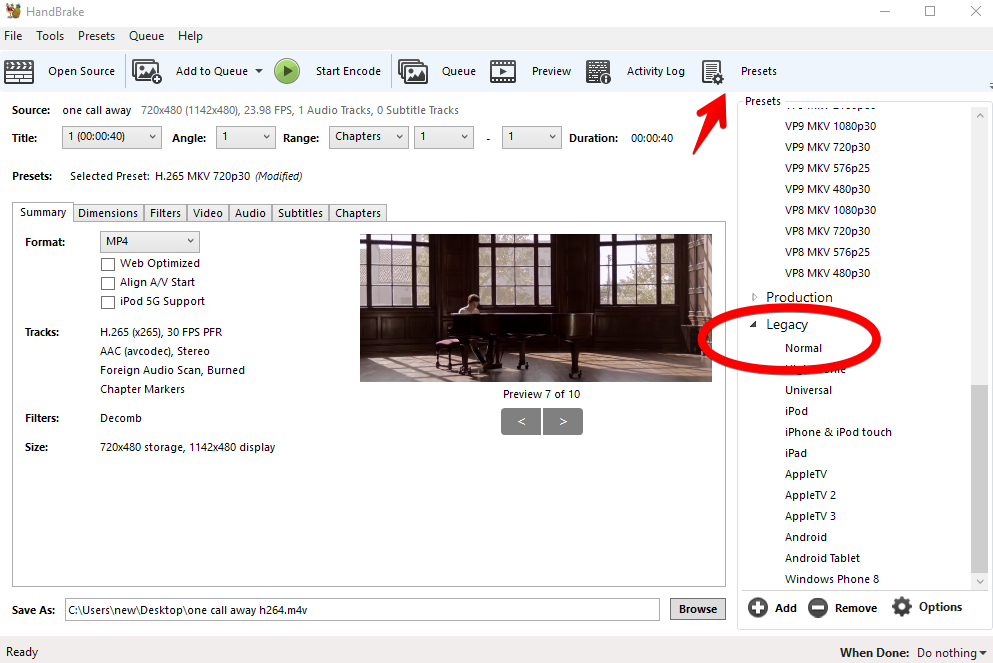
- On the right side panel, click on ‘Preset’. A number of options are available, each tailor-made for the device or software you will be playing the converted video on. Other settings, like audio, may also be changed.
- If you really know what you are doing, you can set your own options.
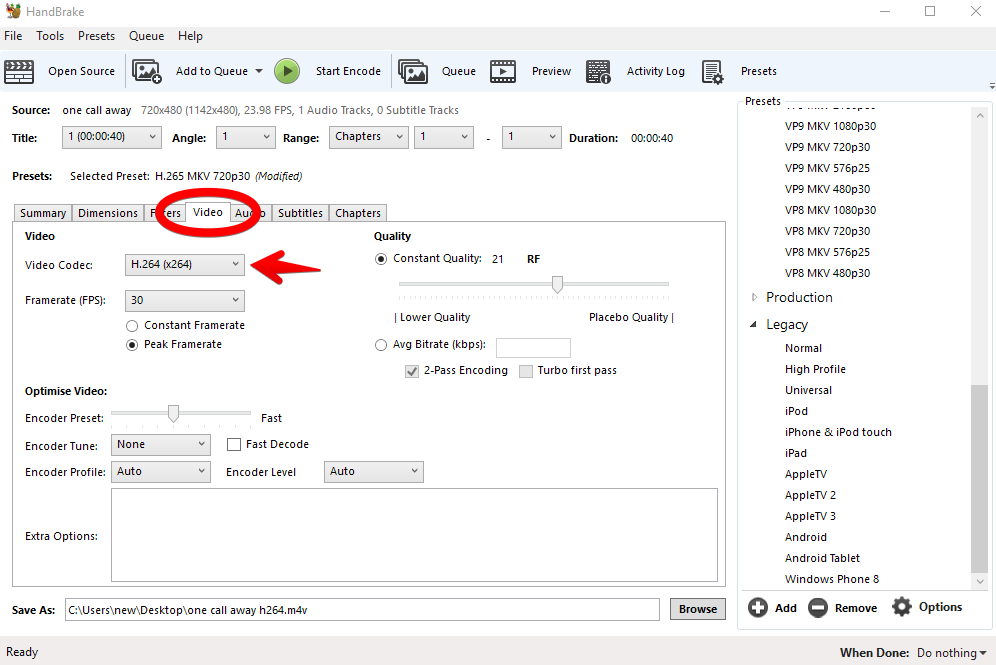
- First, choose ‘Preset’ from the right side panel and select “Legacy” under “Normal”.
- Under the “Video” tab, select Video Codec as H.264(x264).
- Under the “Video” tab, for a constant or variable frame rate, choose “Same as Source” under “Frame rate” and then make your pick.
- Under the “Video” tab > “Quality”, you can choose between 22-28 RF (2.7k/ 4k) and 20 to 24 RF (1080p). The lower the RF number, the higher quality your output video will be.
- Under the “Video” tab, “Encoder Preset”, you can choose Medium, Fast or Faster keeping in mind your system’s hardware. For older hardware computers, Faster is the best encoder preset, and for higher-end systems, Medium preset is best.
- Under the “Picture” tab, you can change video resolution. Unless you would like to decrease it, let it stay to be same as source video file.
- Under the “Picture” tab, set “Cropping” to “Automatic”.
- Don’t make any changes under the “Audio” tab.
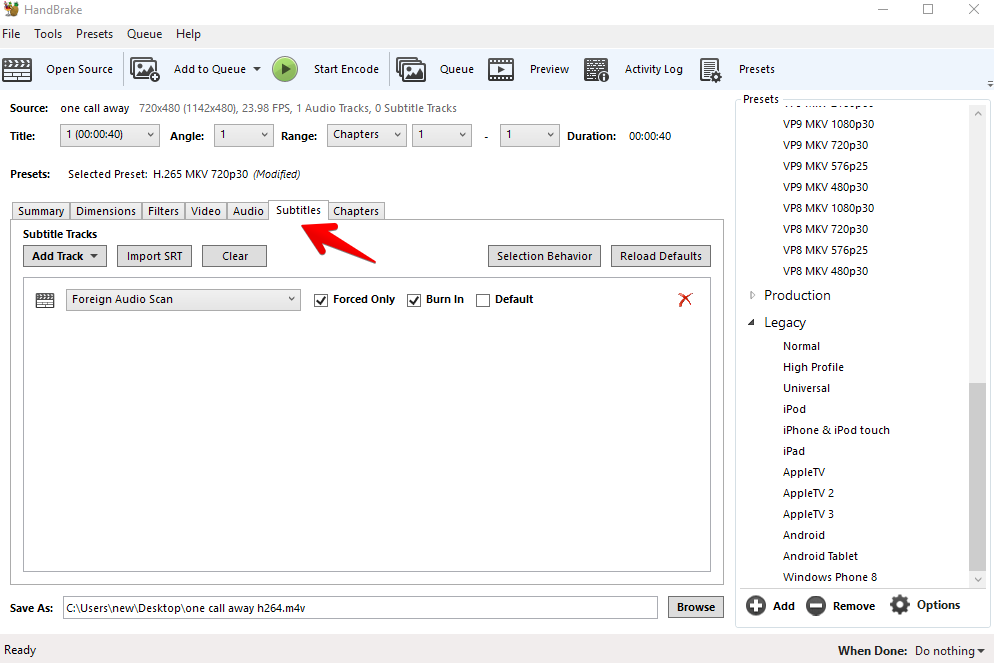
- Under “Subtitles” track, you can add SRT files.
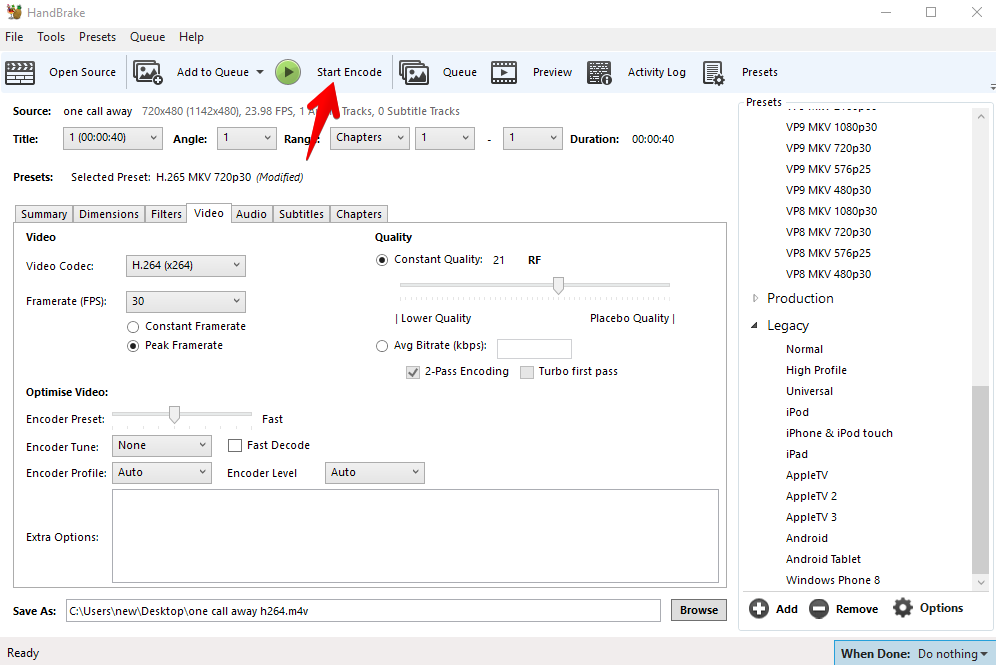
7. Click on the “Video” tab if you wish to adjust additional settings like bit rate, frame rate etc. Don’t forget to choose H.264 (x264) as output video codec. If your input video size is larger than 4 GB, check the “Large File Size” box.
8. When you’re done, click on “Start Encode” to start converting HECV to AVC. You can track progress at the bottom of the window, which will show you time remaining as well.
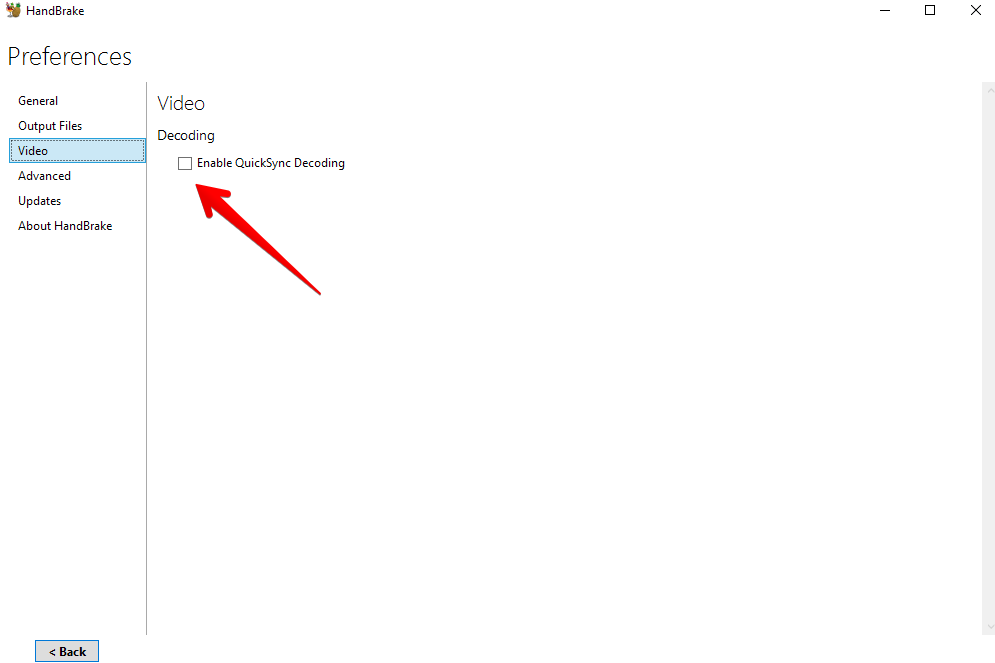
9. If you are converting a very large file and it seems slow, you can speed up the conversion. Just click on “Preferences” and then “Video” to enable Intel QuickSync encoder.
That’s all!
You can now stream your converted video on any Android or Apple device!
One question that many have asked us, can the file be played in LG, Samsung, Sony old smart TV ?
- Yes, in most cases the converted videos can be played without any issue. In Sony TV you will have to adjust the something more like frame rate, audio, video bit rate etc to make the file play.