 Do you have multiple email addresses? Do you think it is impossible to manage all of them at one place?
If you are nodding for the questions given above, I am sorry to say that you have got it wrong. You can organize and manage emails from all your account like a walk in the park.
Today, I am going to review one of the prominent email managing application for Android, BlueMail.
BlueMail Android App Review
In this BlueMail review, I will give you an overview of the features first. Then, you read how to add an email account on the app.
So without further ado, let’s get started.
Features of BlueMail App
The following are the features of BlueMai, which I found enticing. Of course, there are tons of features I couldn’t include in this article. Take it as a surprise and unveil them by yourself.
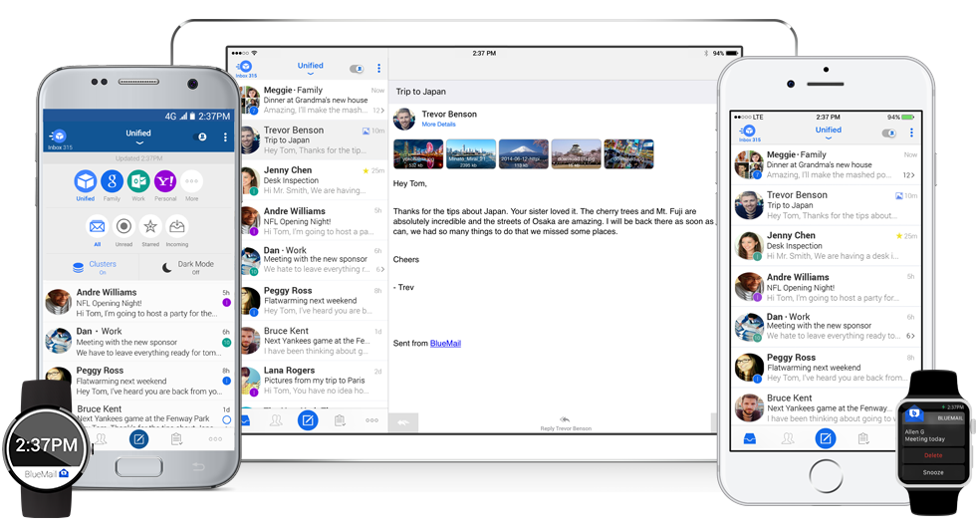
#1. Brings All Your Email Accounts at One Place
Switching between email accounts is the real pain. If you have multiple email accounts on the same provider (say Gmail), it will make the scene the worst.
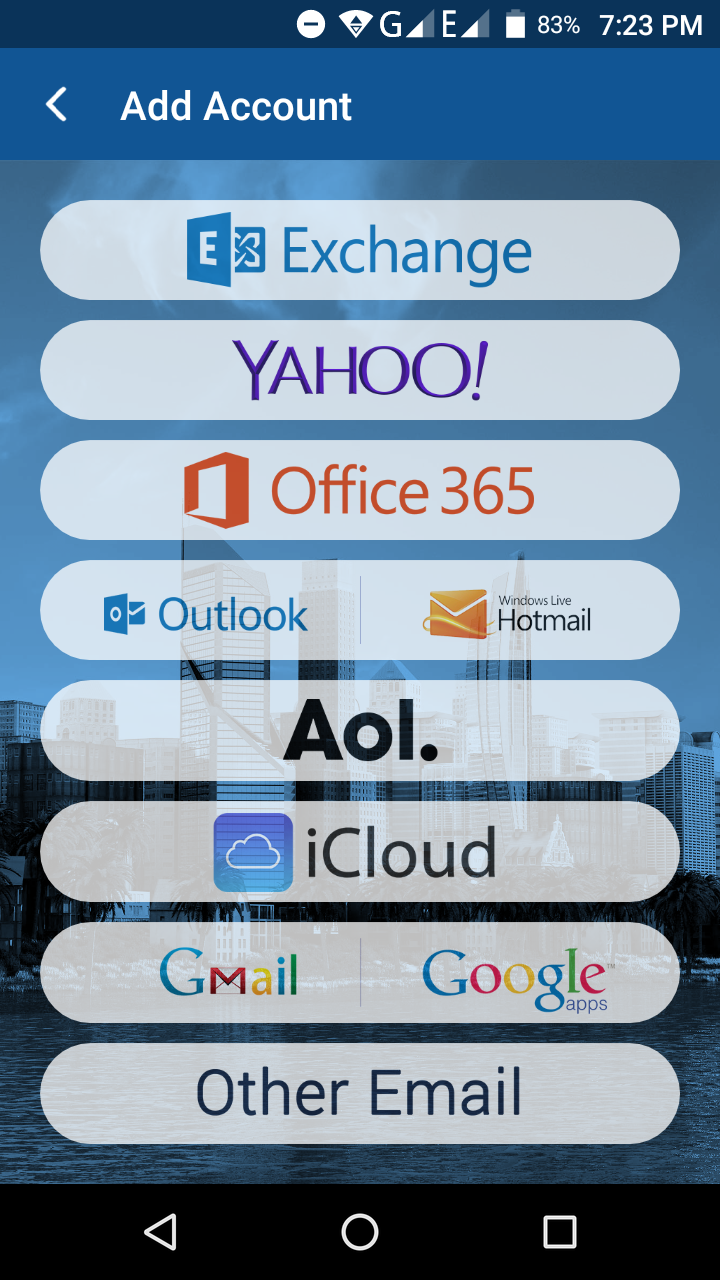
But you don’t have to worry about such issues on BlueMail. It supports multiple email service providers like Gmail, Yahoo, Exchange, Outlook, iCloud, Office 365, AOL, and also custom accounts (POP and IMAP) too.
 Once you install BlueMail, it shows the option to add an email account. Even after adding one, you can go on integrating more accounts as well. In addition to multiple email accounts, you can have multiple addresses for a given account when the provider supports it, commonly referred to as aliases.
 On the interface, you will get emails from all the aliases and at the time of sending an email, it will ask you to select a mail address, from which it is sent.
#2. Increases Your Productivity
If you ask a busy entrepreneur about the most time sucking activity, he will answer that it is nothing but replying to emails. So yeah, checking emails in term considerably decreases your productivity.
On the interface, you can find a special filter called People filter. Once you enable it, you will not see those bot generated emails. And, you won’t need to waste your time browsing through the unwanted mails. All you see is emails with highest priority.
You can turn the filter back to All Mails to check your bills and social media notifications etc.
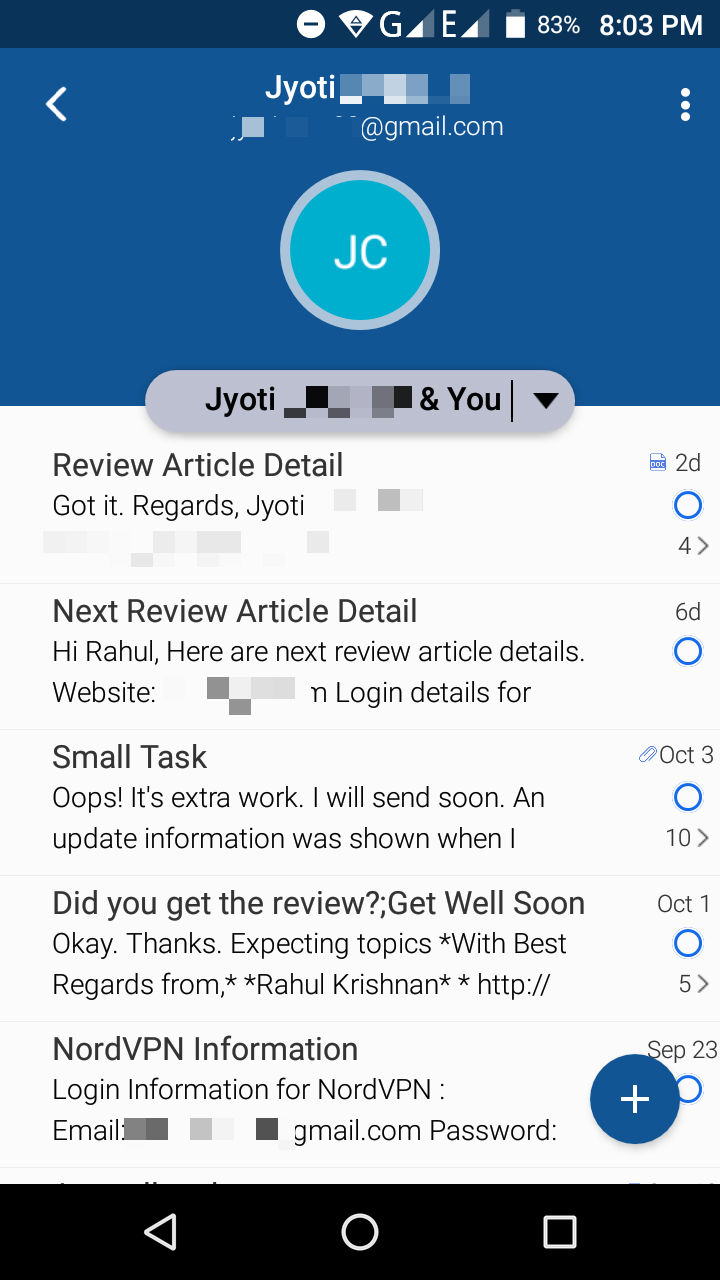
Next thing that increases your productivity is Tasks. You can assign emails to later so that the app will remind you about the same. For the same reason, you won’t miss replying to important emails.
Another important feature is group mail. You can create different groups for different purposes. The mails you send to such a group will be received by all the members. Obviously, it saves one heck of your time.
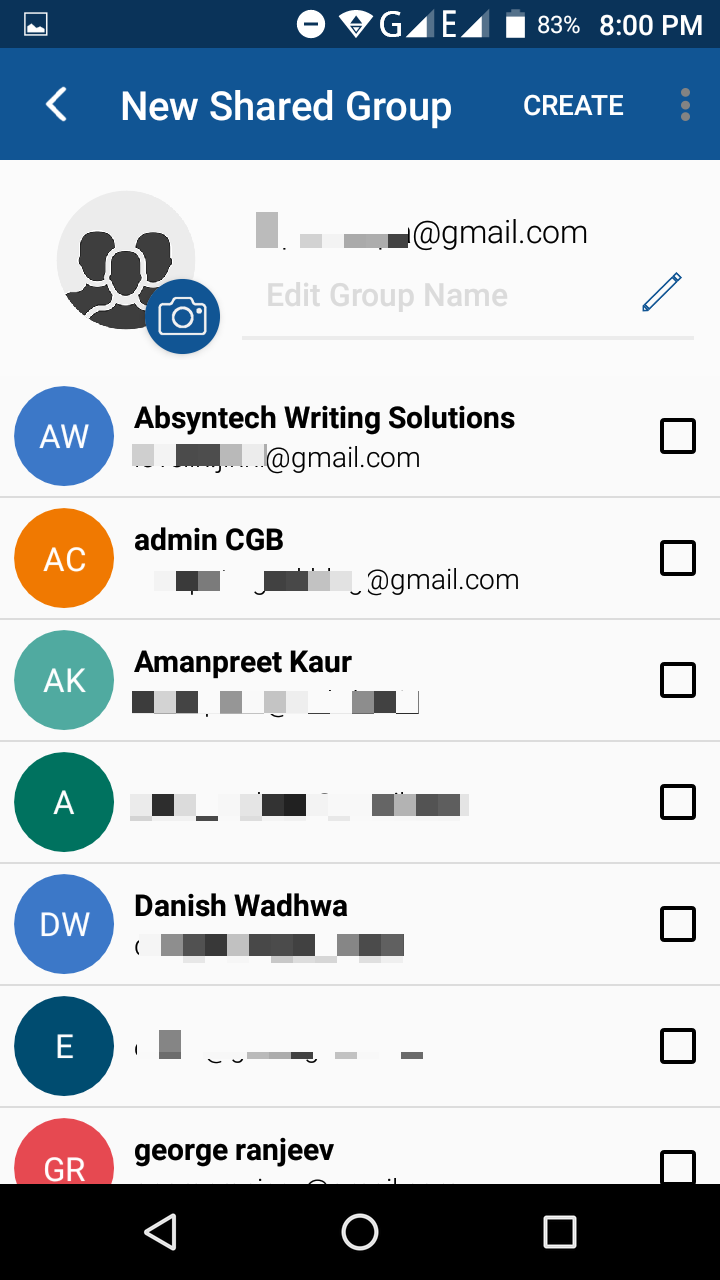 It is possible to classify those groups in terms of context as well.
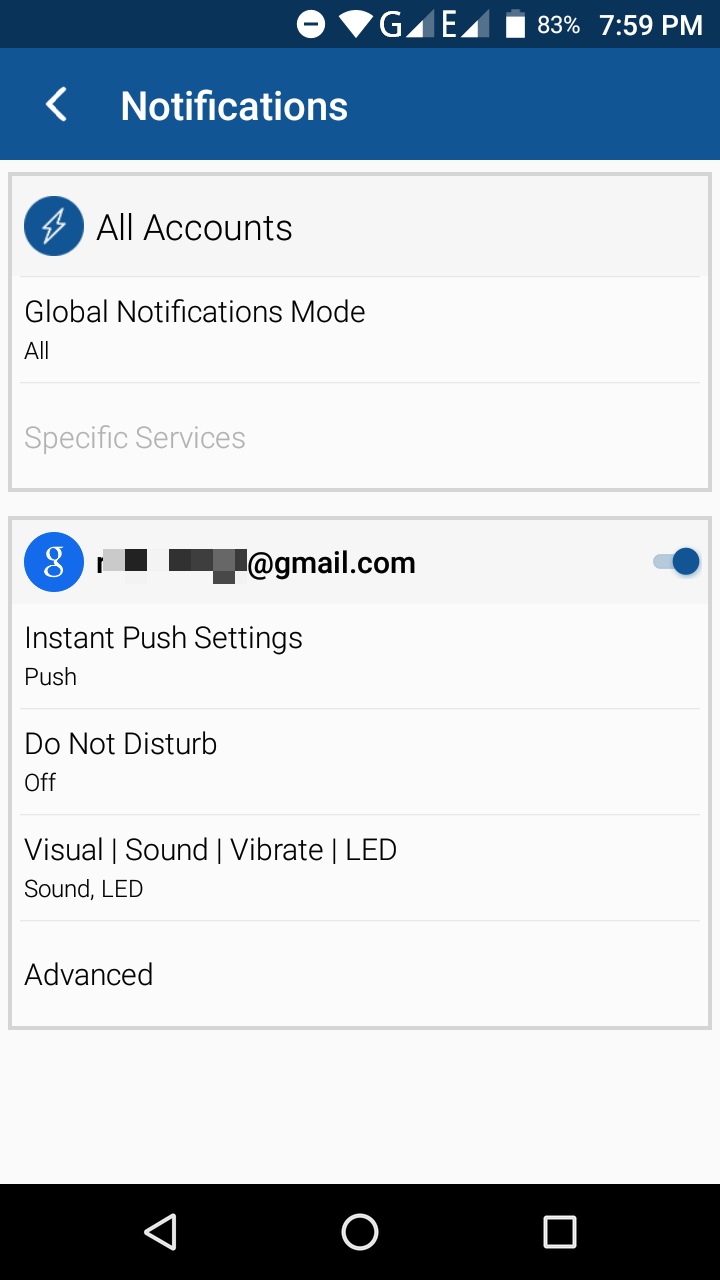
When you work, you can turn the notifications off for maximum focus too.
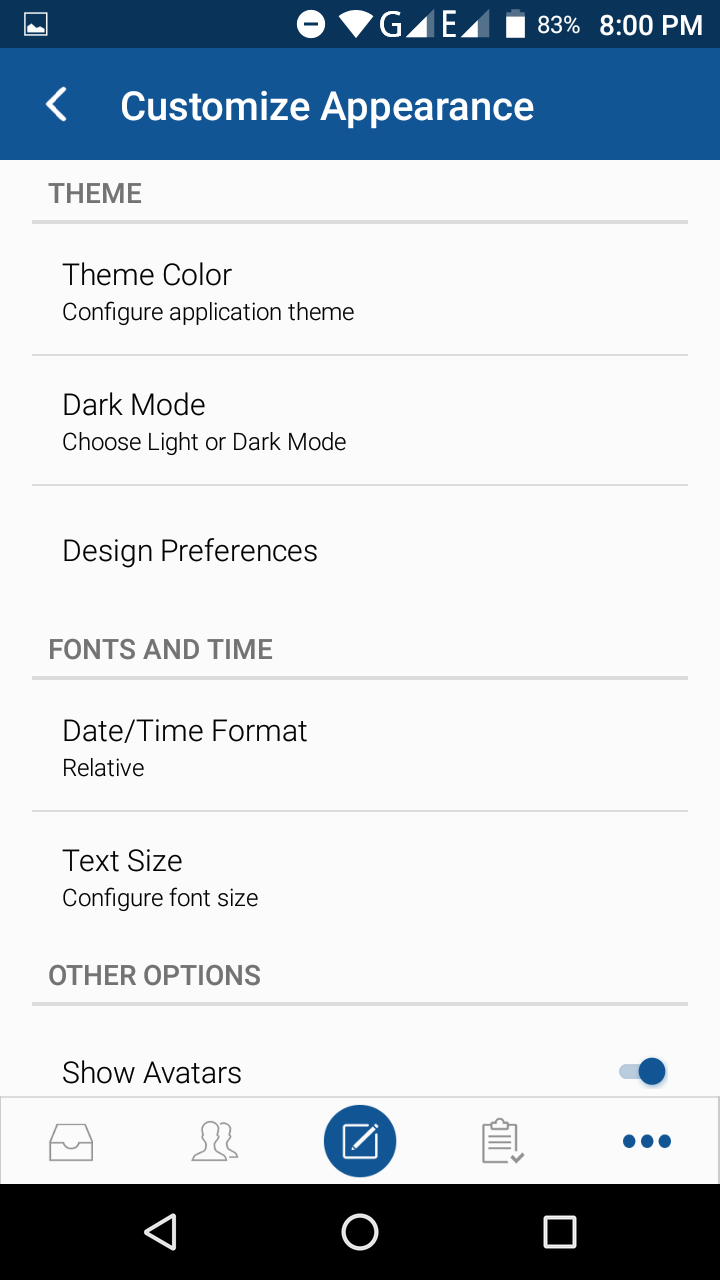
 #3. Best-in-Class Appearance
For each email sender, you can see a dedicated Avatar. In case a particular person doesn’t have one, BlueMail generates it for you according to the context. Hence, you can decide on the priority of the mail on the first glance itself.
 BlueMail provides you with the ability to choose between flat and materialistic designs. You can also choose from dark and light themes as well. That means the app offers complete flexibility in the design department.
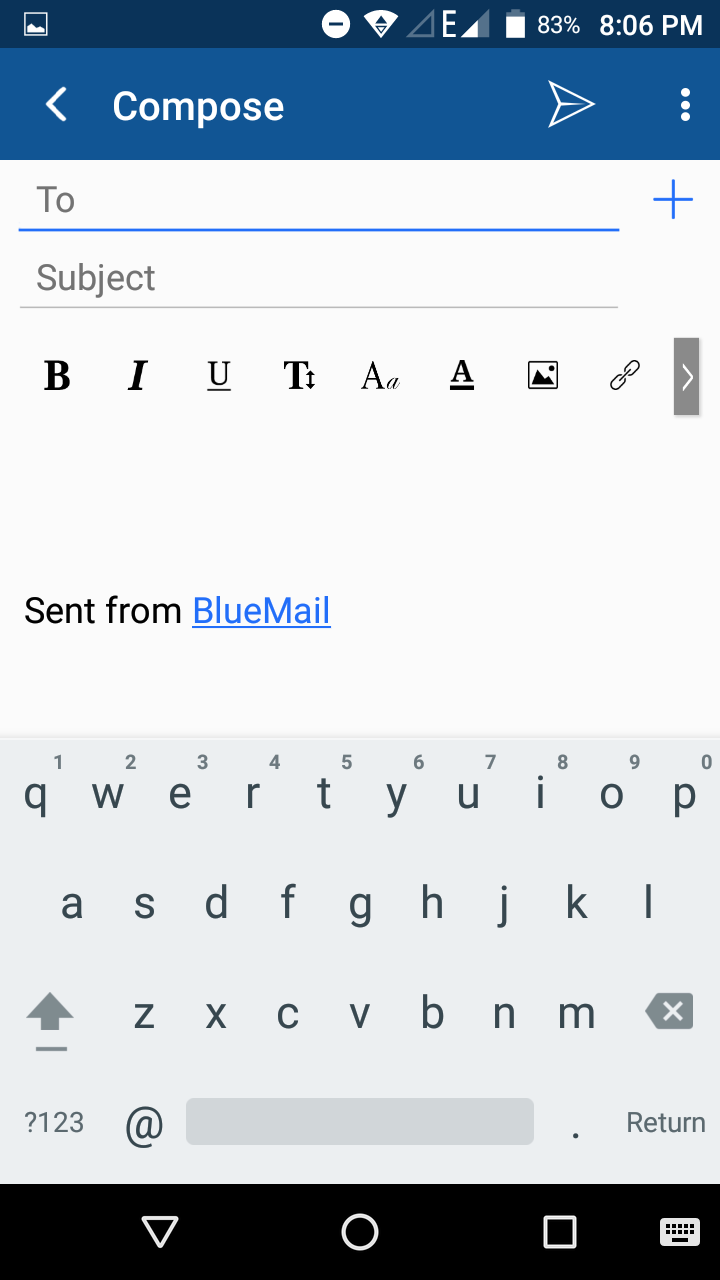
 The email composing screen is a sheer pleasure to have. You can format the content like you use MS Word. Changing the colors, sizes, and adding links can be done like a cakewalk. It is possible to brand the email by adding your own logo as well.
 The customization is at its peak that you can configure the menu on your own choice.
 They also give us a lock screen to protect the privacy.
#4. Provides You with Maximum Security
You don’t have to worry about the security. Each email sent from BlueMail client follows the same security guidelines from your real service provider.
And for the same reason, it isn’t prone to any threat.
How to Add an Email Account on BlueMail?
Step 1: First, you have to install BlueMail. You can do it by visiting Play Store and searching for the app.
Or use the link given below to get there at once.
Download BlueMail from Play Store
Step 2: The app weighs about 32 MB. I recommend you use a decent internet connection. Once the installation finishes, you can open the app.
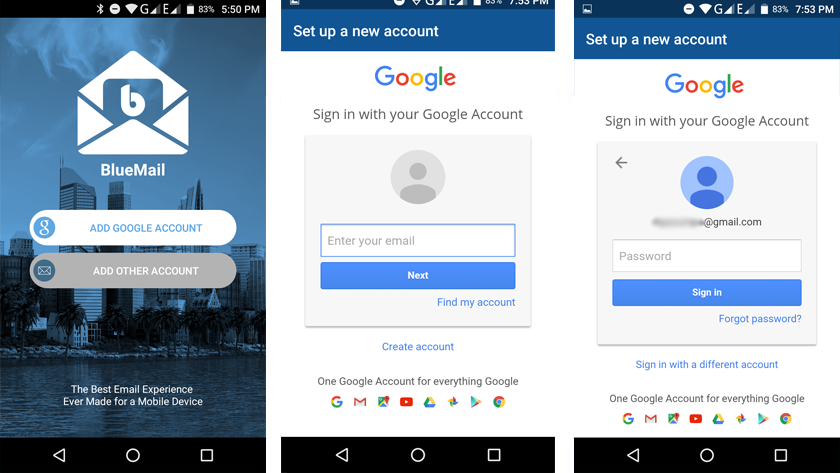
Step 3: Here, I am going to add a Google account. So, pressing on the first button itself.
Step 4: On the next screen, you have to enter your email address.
Once you do the same, you should provide the password as well.
 Step 5: You will have to wait a few moments to get it loaded. And then, it will ask you to authorize BlueMail to use your Gmail account.
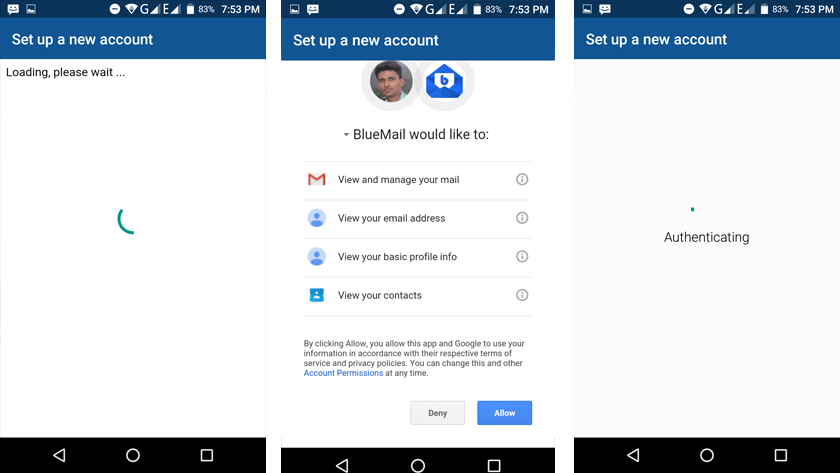 Again, you need to wait a few seconds to complete the authorization.
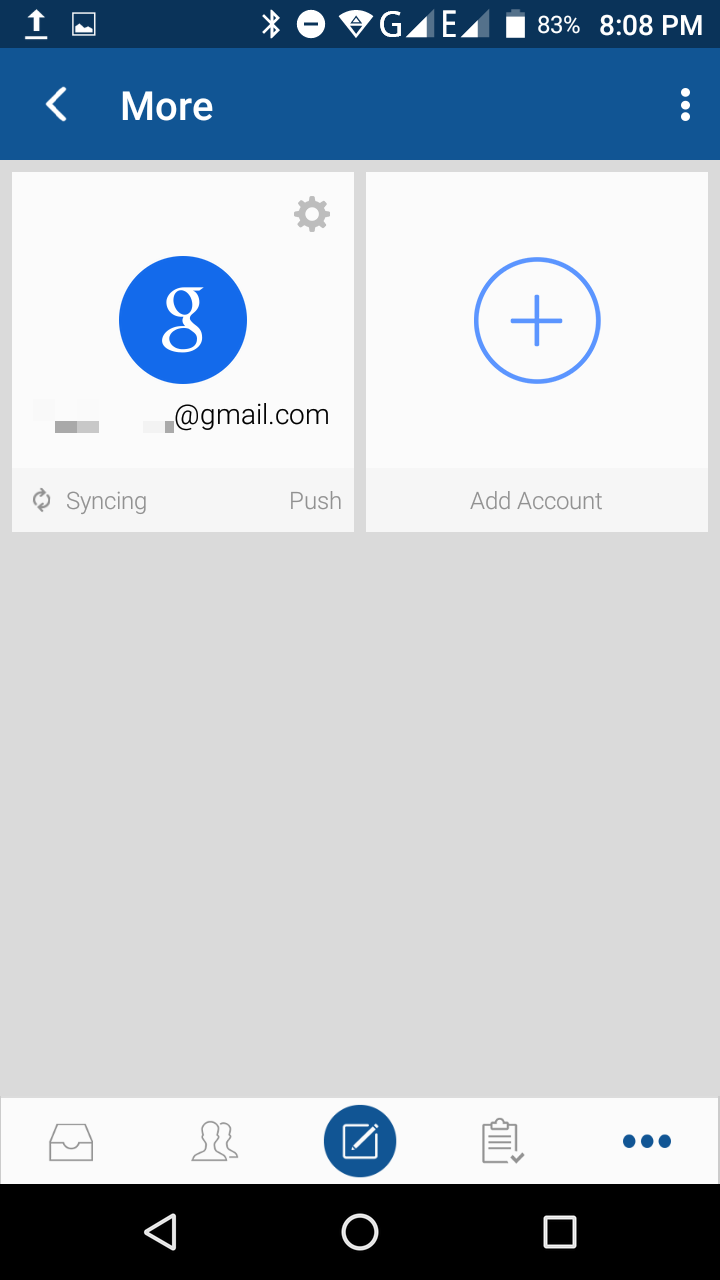
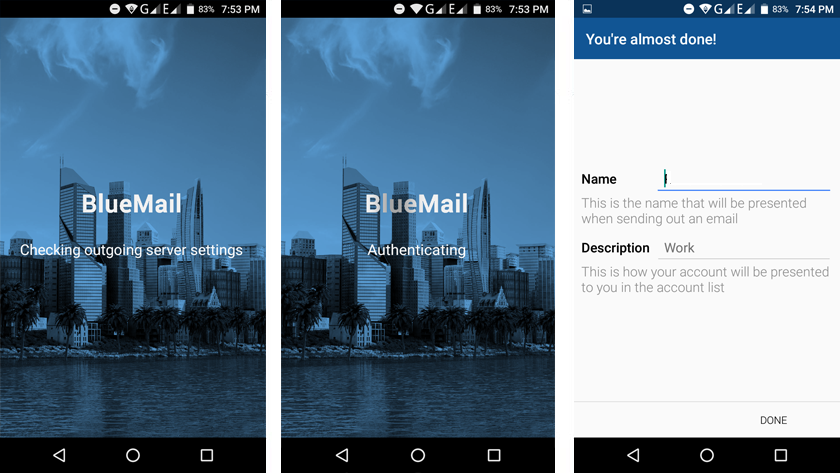 Step 6: At this step, you have to provide a name and description for this account. There you go! Skipping the next screen will give you the inbox view.

Updates
- This app now supports custom gestures
- Long and short swipes comes as a default feature
- Finger print security now added, you device need to support this to use it
Final Verdict
Now that you finished reading BlueMail review, I hope you made up your mind.
When it comes to me, I found the app to be functional and intuitive. As you read before, the developers have incorporated tons of features and, they are working on a desktop client at this moment.


BlueMail will not accept my gmail account and aol account. Message states that email address or password is not valid. Checked all even changed password . Same response.