The “ERR_NETWORK_CHANGED” is a common problem in the Google Chrome browser. Many users don’t know why the network change error appears on their computer. Every mainstream browser collects browsing history, cache, extensions, and corrupted files. Outdated files can create problems while visiting specific websites and databases. Unfortunately, privacy invaders attack mainstream browsers to steal users’ information. We will show you how to resolve the “ERR_NETWORK_CHANGED” on Windows 11.
Contents
Check Your Internet Connection
I won’t ask you to check the Wi-Fi or wired connection. I know you have already gone through the basic troubleshooting a while back. Let me show you a feature passed down through a few generations.
1. Open “Settings” from the start menu.
2. Choose the “System” option.
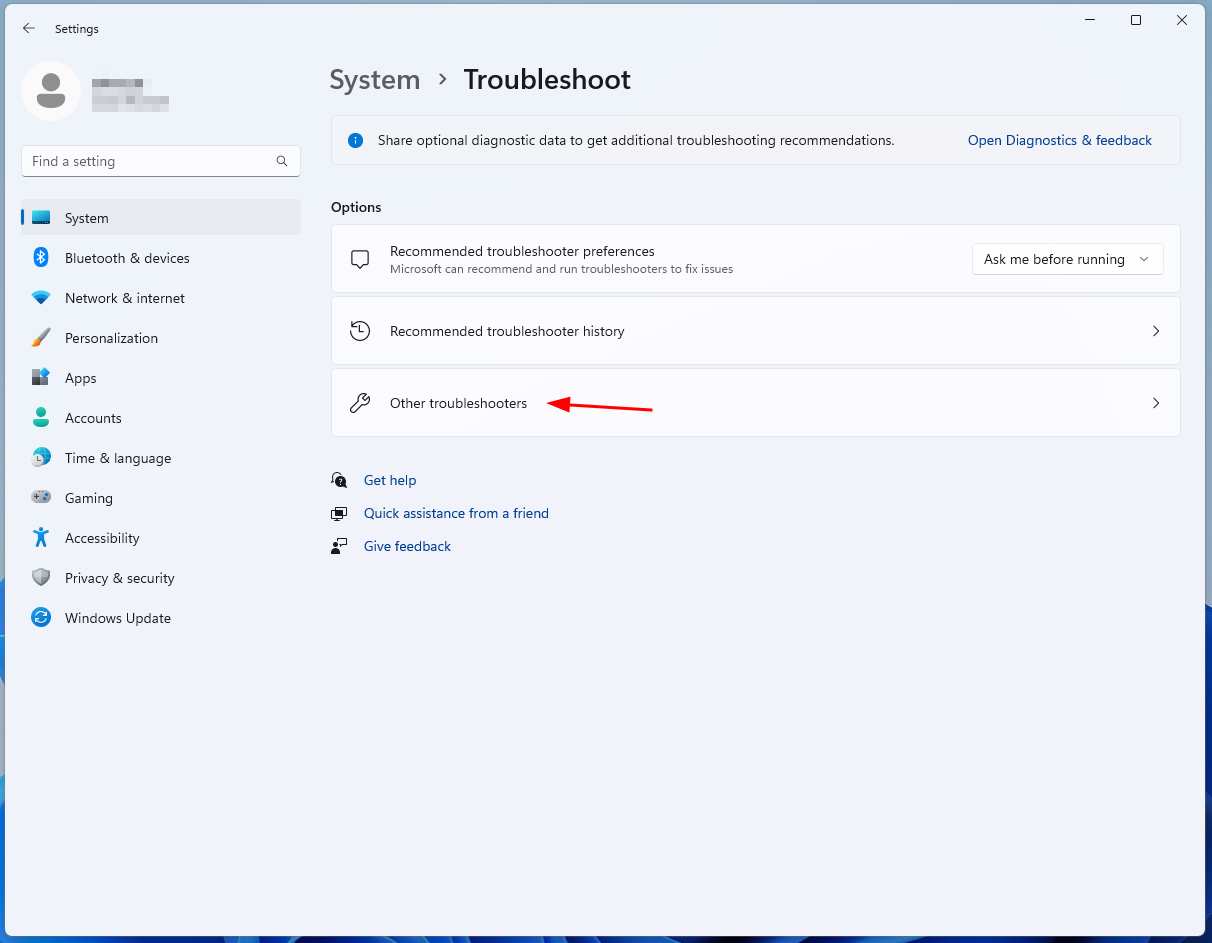
3. Scroll down and select the “Troubleshoot” option.
4. Select the “Other troubleshooters” option.
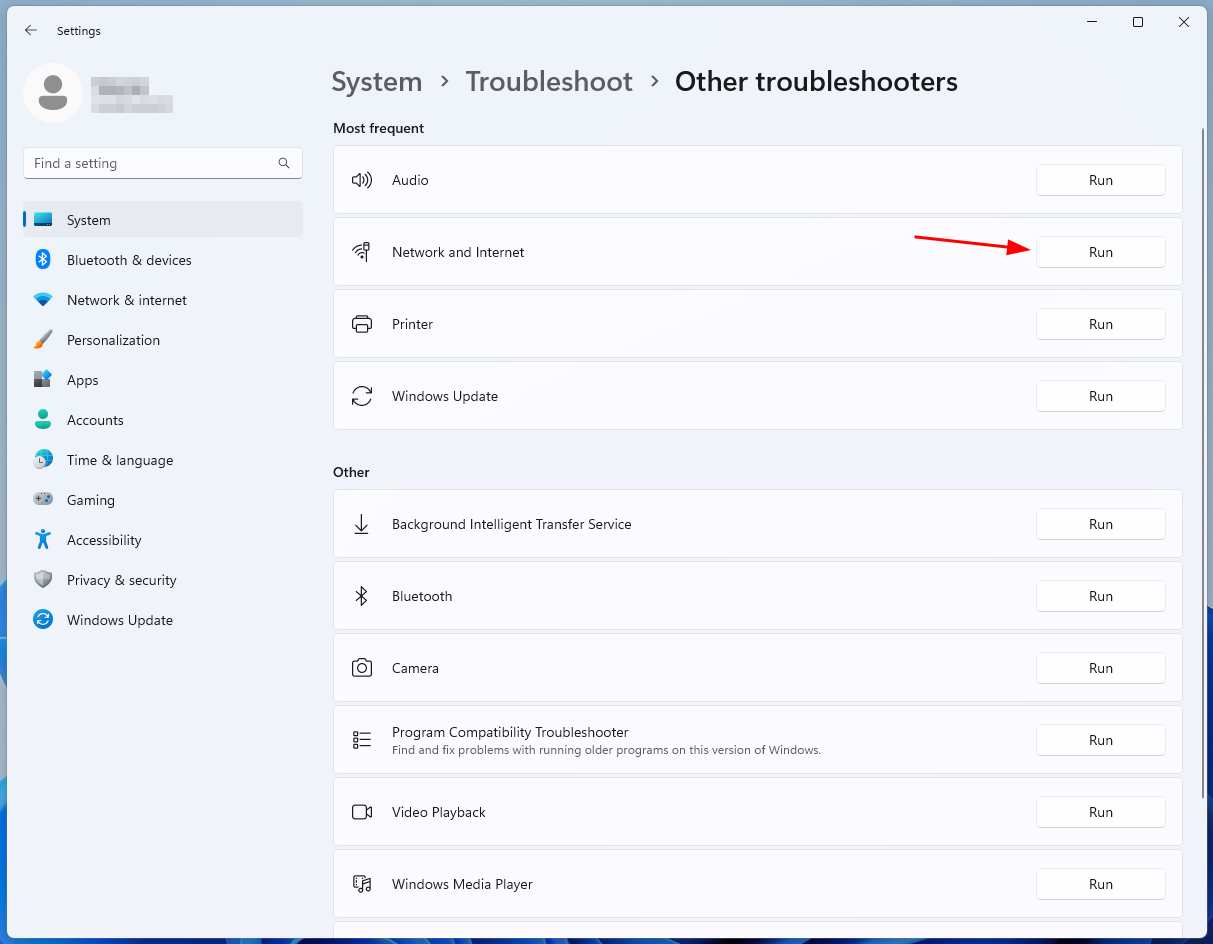
5. Tap the “Run” button beside the “Network and Internet” option.
6. You will get the results and recommendations.
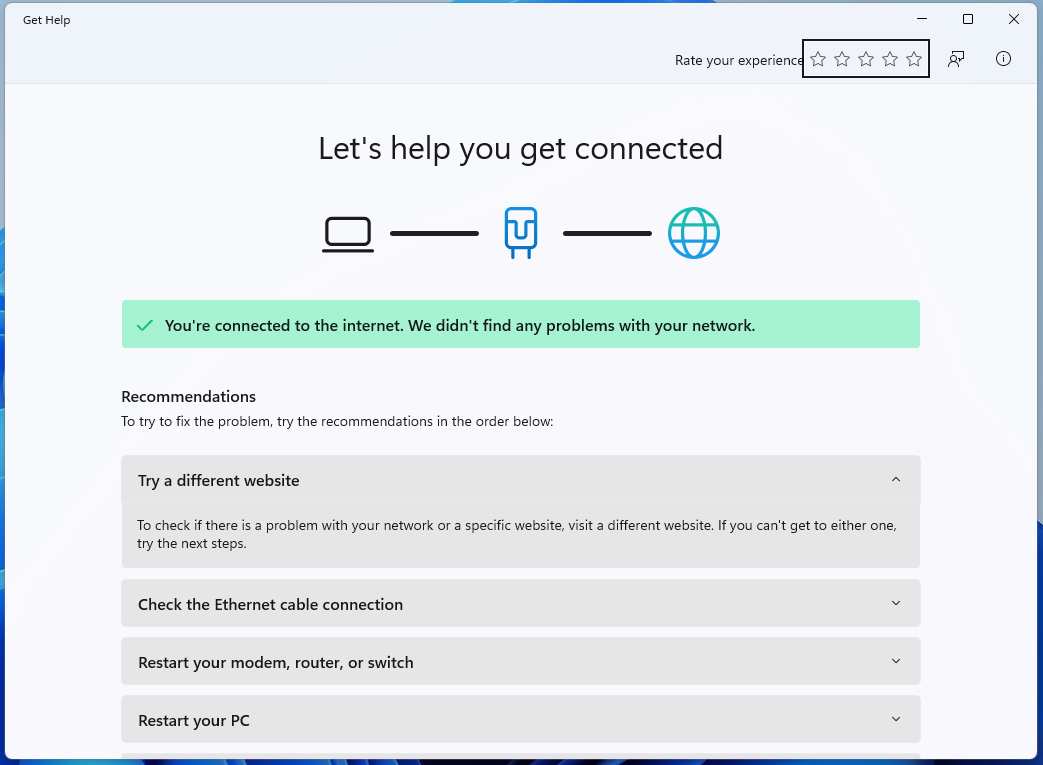
Move to the next methods if the “Err Network Changed” issue persists.
Turn Off Wi-Fi Router
We don’t give the Wi-Fi or modems a break for months or even a year. We have seen the hardware component run for 365 days without break time. Everything needs time to cool down and run on optimal performance.
1. Turn off the power switch and remove the adapter from the socket.
2. Give the Wi-Fi router and modem a few (ten) minutes rest.
3. Clean the hardware using a microfiber cloth. Refrain yourself from using water droplets while cleaning tough stains.
4. Plug the cord back into the power socket and turn on the switch.
The Wi-Fi firmware will restart and resolve the problem.
Finish Windows Updates and Restart Computer
Many Windows updates install the package in the system, but it requires a quick restart to make the changes. We recommend the users install the updates.
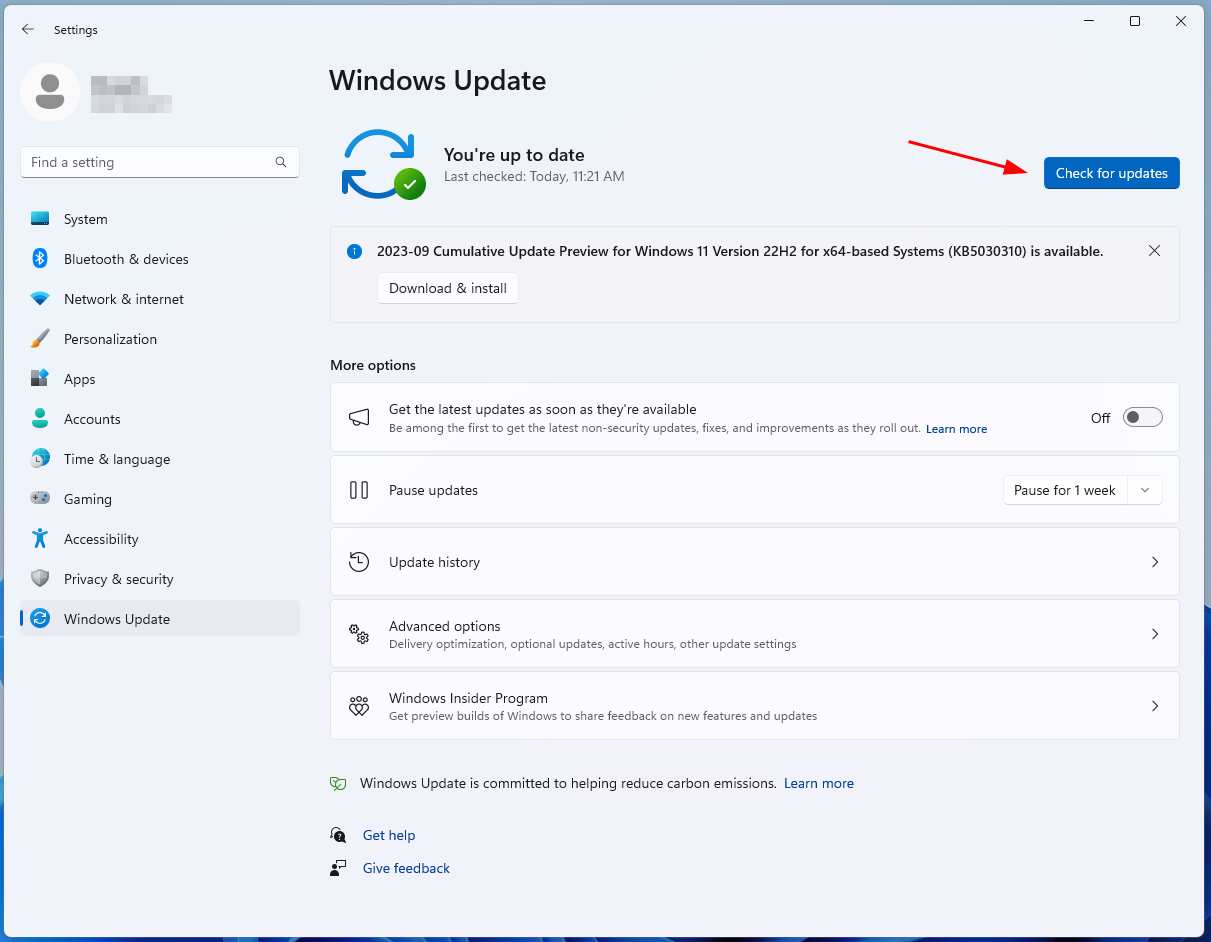
1. Open “Settings” from the start menu.
2. Choose the “Windows Update” option.
3. Click the “Check for updates” button.
4. Click on the “Download & install” button.
5. Click the “Restart” after all drivers and updates installed.
6. Give a few moments for the PC to install the updates.
Do not close or force shut down the Windows 11 machine. I request readers to focus on finishing other tasks while the operating system is working on the new updates.
Clear Collected Browser Data
You can get rid of the Chrome error by removing the browsing data.
1. Launch the Chrome browser.
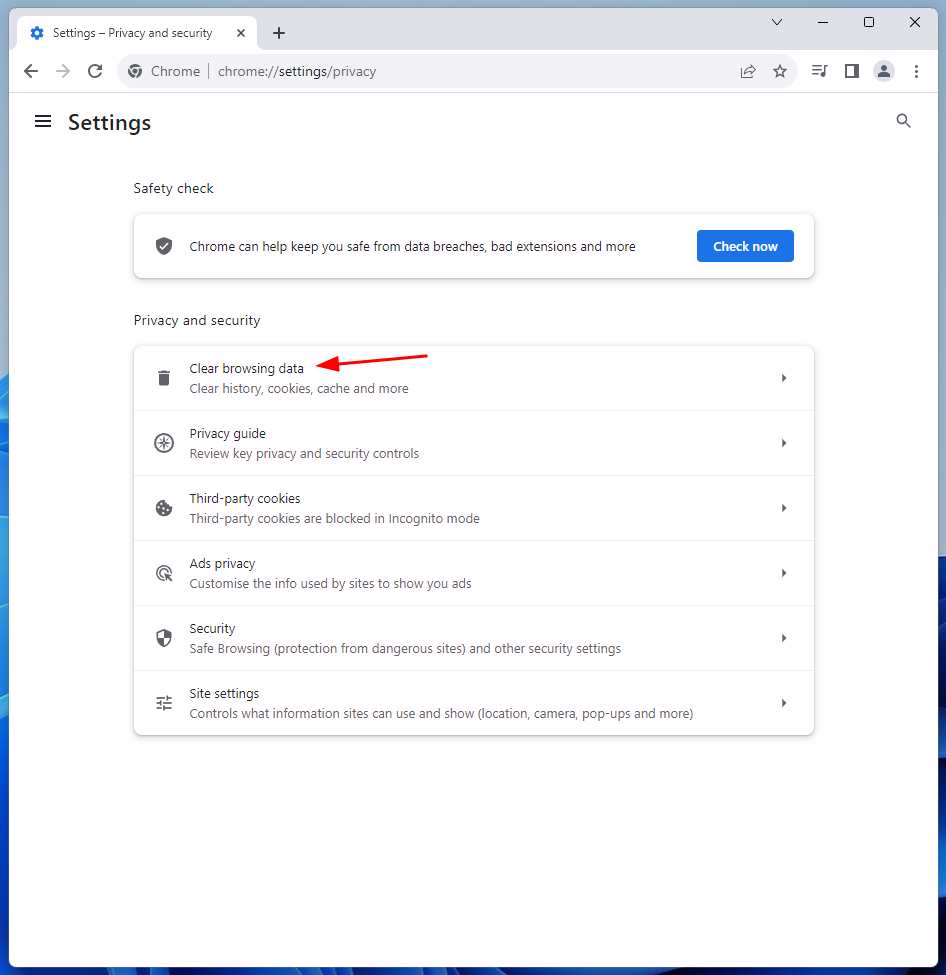
2. Go to the mentioned (chrome://settings/privacy) location.
3. Click the “Clear browsing data” option.
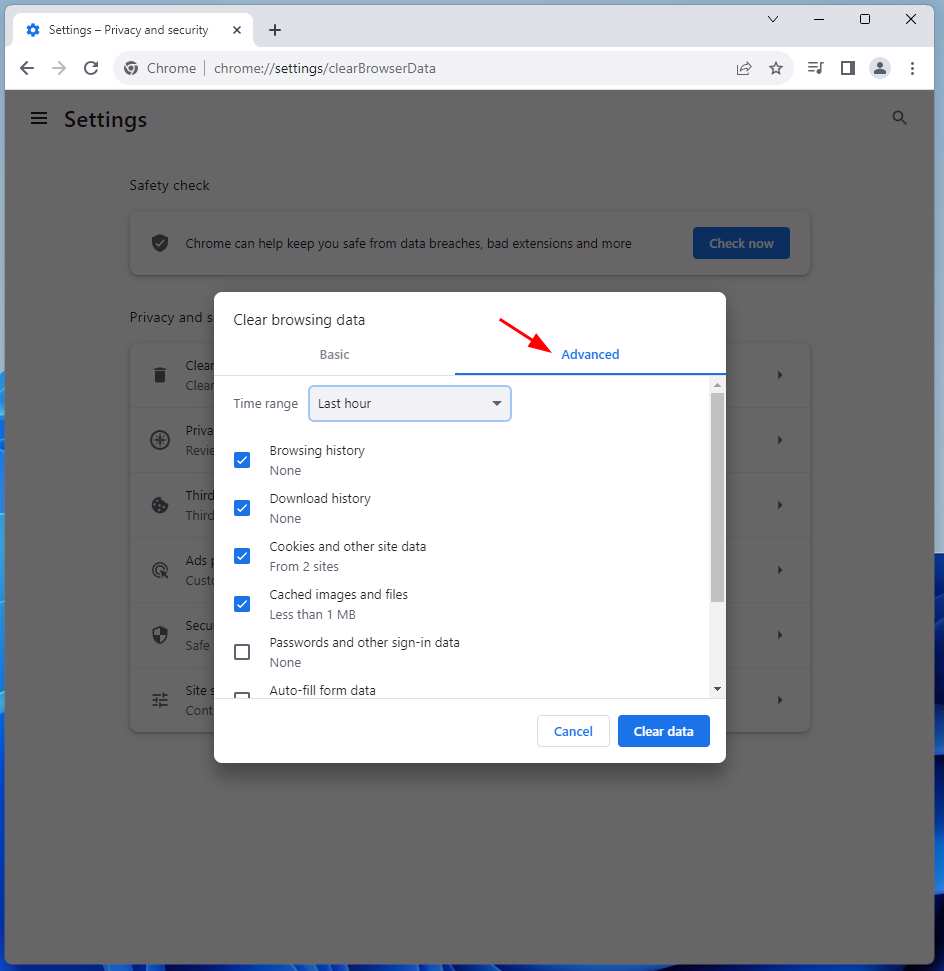
4. Click the “Advanced” tab from the pop-up options.
5. Change the time range to “All time” and select every option below.
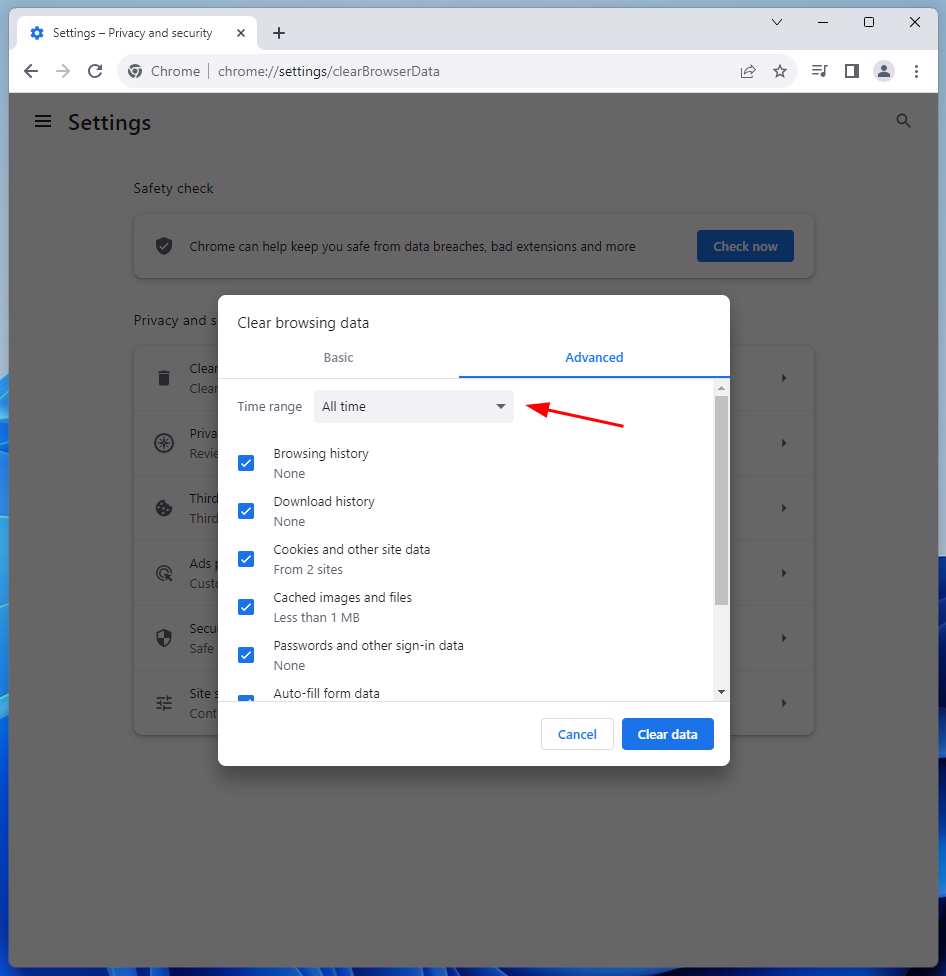
6. Click the “Clear Data” option.
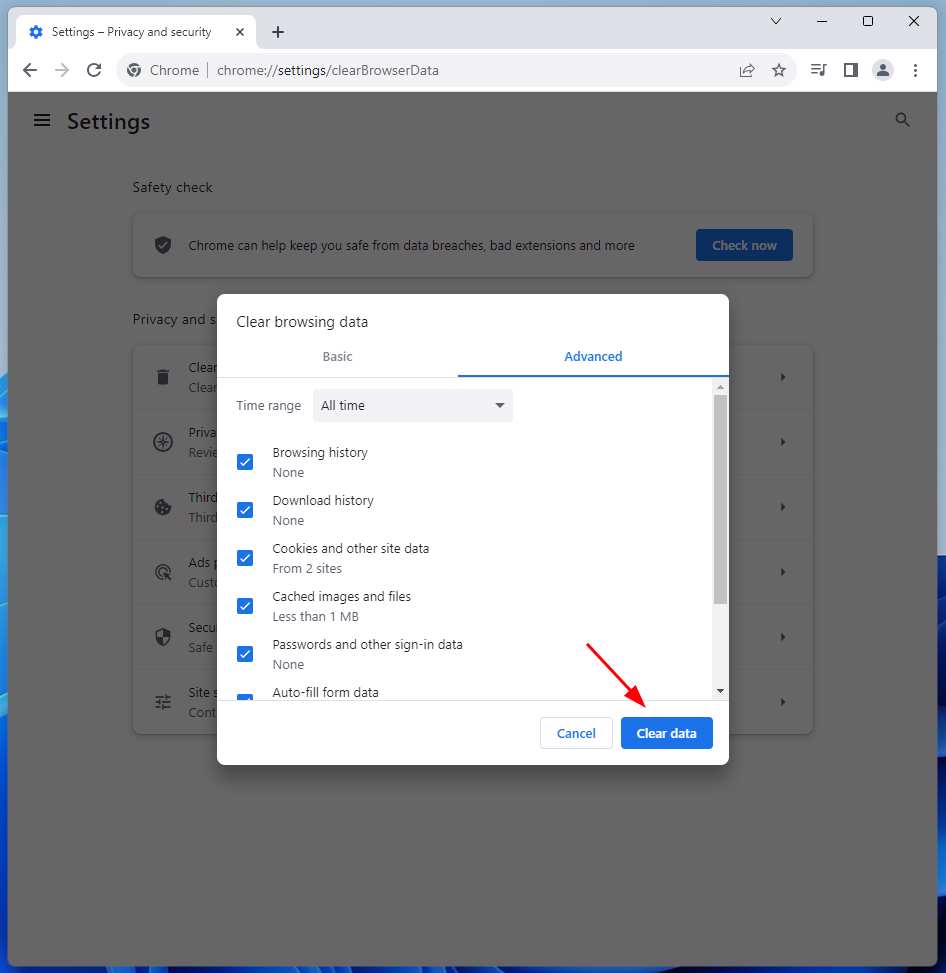
Chrome browser will remove the junk from the main folder. Restart Windows 11 and check the browser performance.
Use Chrome Built-in Scanner
Google has added a built-in tool to scan the program for issues. Let me show you how to use the Safety Check tool.
1. Launch the Chrome browser.
2. Go to the mentioned (chrome://settings/privacy) location.
3. Click the “Check now” button.
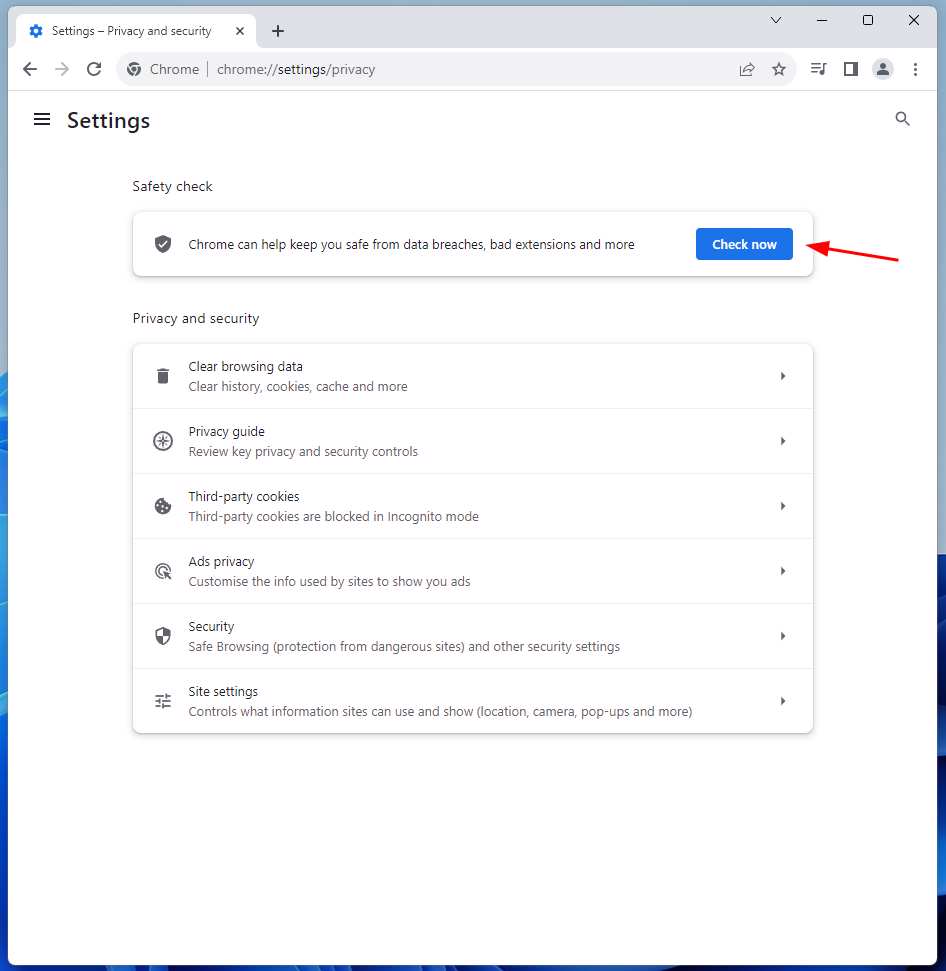
4. Give a minute for the built-in tool to run the in-depth scan.

Follow the suggestions after the results appear on the screen.
Disable Chrome Extensions
We install multiple extensions from the store and the outside of the store. One of the add-ons is creating a problem in the browser. Turn off all third-party add-ons at once, then try visiting the websites.
1. Launch the Chrome browser.
2. Go to the mentioned (chrome://extensions/) location.
3. Click the disable button.
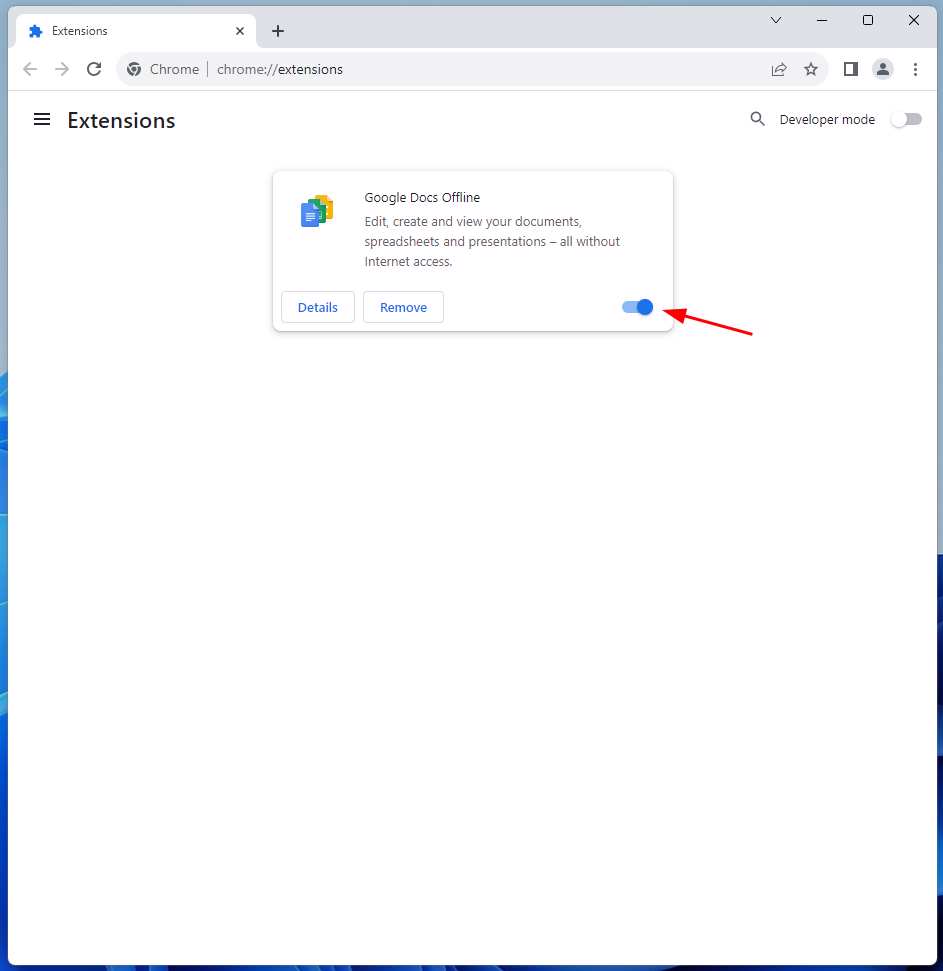
Turn off all extensions on the Chrome browser.
Reset Chrome Network Configuration
Chrome collects the DNS cache for a smoother experience. Remove the network configuration and auto-create new ones. Let me show you how to flush the network information.
1. Launch the Chrome browser.
2. Go to the mentioned (chrome://net-internals/#dns) location.
3. Click the “Clear host cache” button.
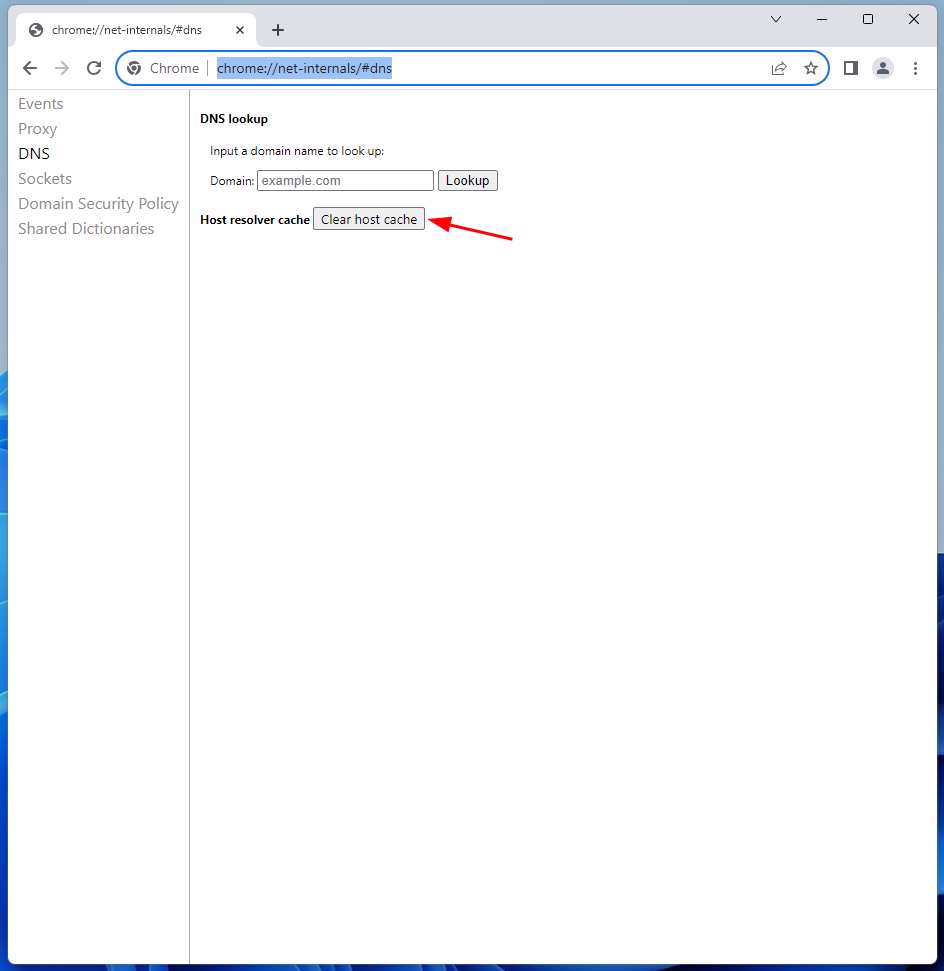
4. Close the browser.
Restart the Windows 11 machine.
Reset Google Chrome
Chrome browser allows users to reset the program and restore every setting to the original.
1. Launch the program.
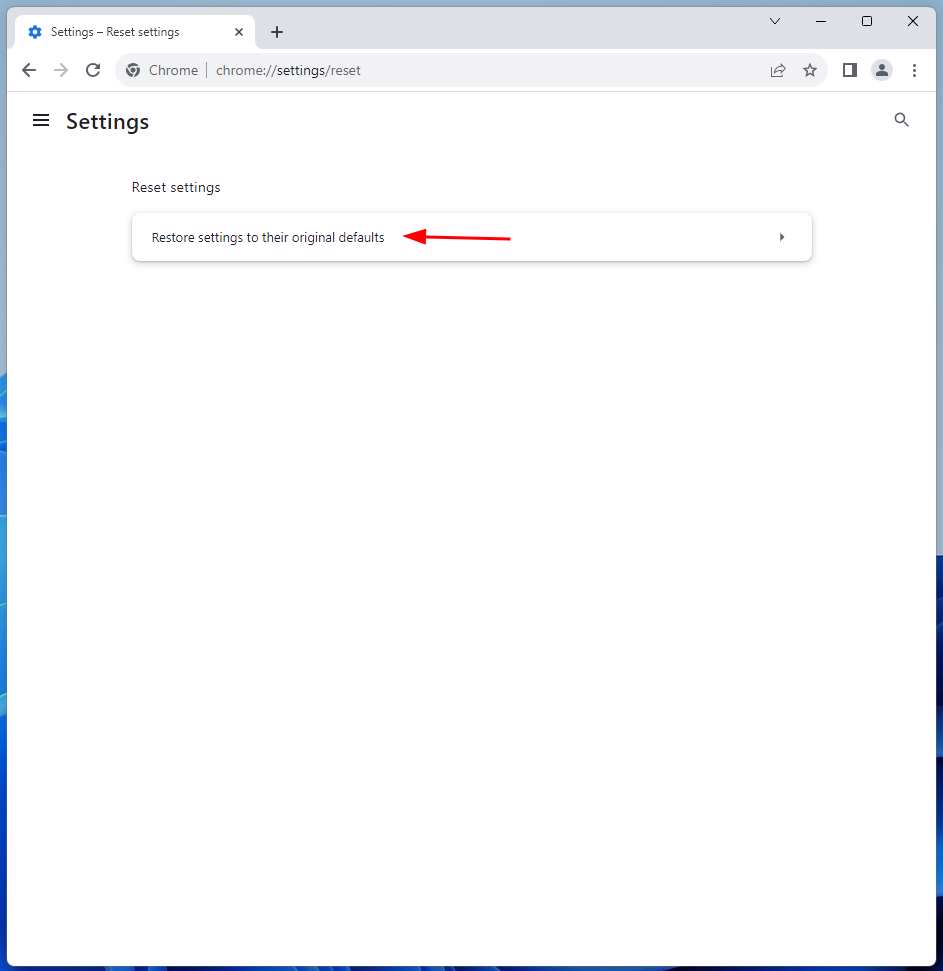
2. Go to the mentioned (chrome://settings/reset) location.
3. Click the “Restore settings to their original defaults” option.
- Click the “Reset Settings” option.
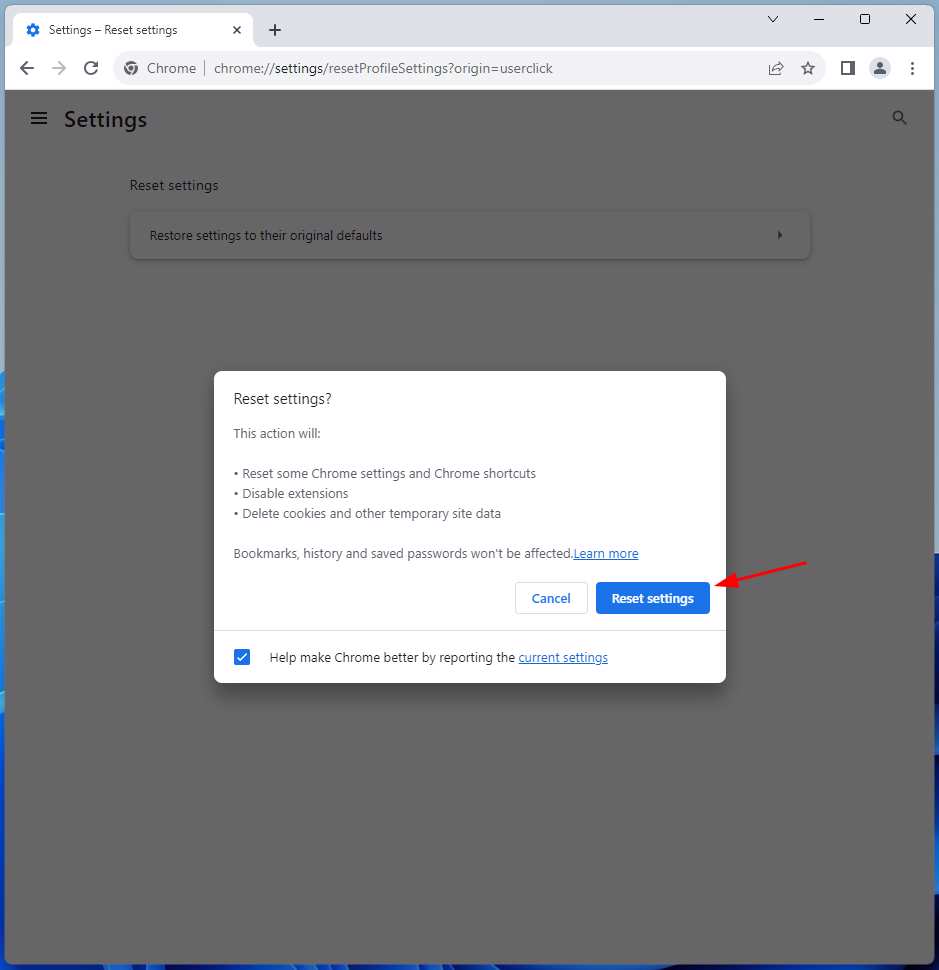
The program will delete the extensions, history, collected data, and others. Close all programs and restart Windows 11.
Try Firefox or Brave
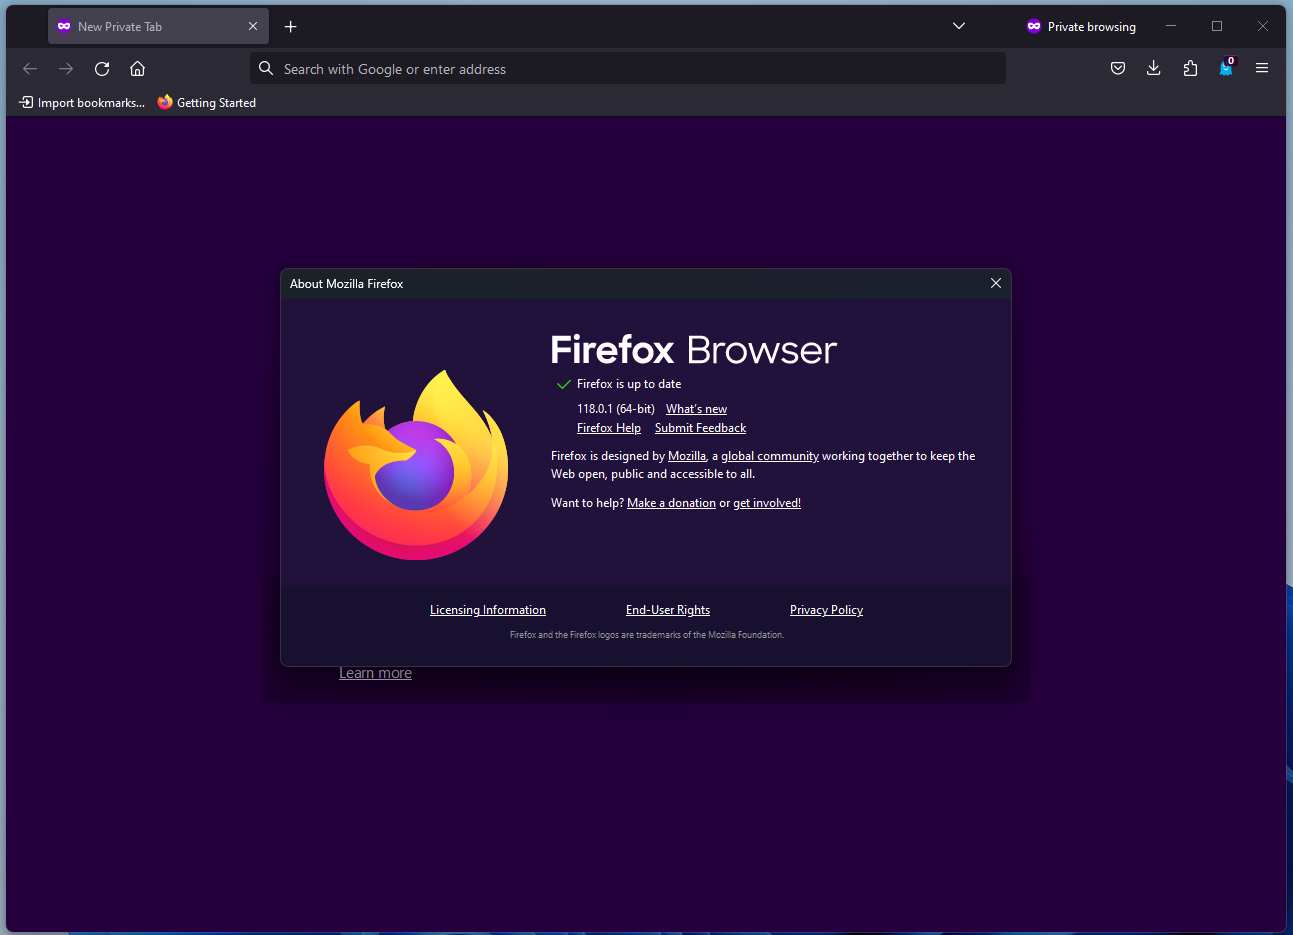
I recommend that readers download and install Brave or Firefox. I recommend Firefox because it’s an open-source project. Meanwhile, Brave is a privacy-oriented browser. You don’t have to spend time-solving the “ERR_NETWORK_CHANGED” error. I have suggested two recommendations and you have to make the final choice.
Conclusion
You can solve “ERR_NETWORK_CHANGED” by following the solutions. However, you should install Windows 11 if other programs are facing a similar issue. You can download the Firefox or Brave as an alternative. Let us know how you solved the Chrome network problem in the comment section.