Contents
What is ntoskrnl.exe?
Windows NT operating system kernel or ntoskrnl.exe is an indispensable, newly added Windows 10 process responsible for handling services like memory operations and hardware visualization. It runs quietly in the background and does its job.
How do I know if ntoskrnl.exe is causing a problem?
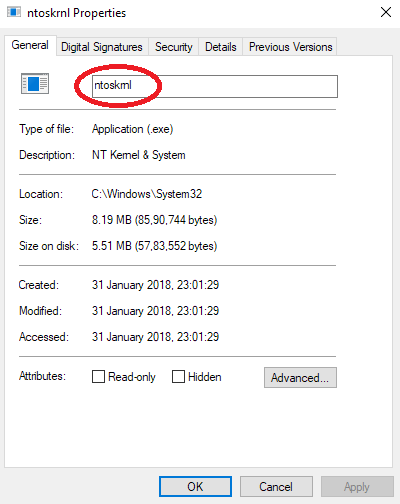
If your Windows 10 is constantly slow, open up Task Manager (Alt+ Ctrl+ Del) to see what could possibly be causing this. Click on the Processes tab. Right click on ‘System and Compressed memory’ and it will open up a new tab that says ‘ntsokrnl‘. If you see that is taking up a lot of your disk usage or shows high CPU usage, then ntoskrnl.exe is the culprit. If you have outdated or bad device drivers, malware, virus or a corrupt ntsokrnl.exe system file, they will all manifest as high CPU or disk usage on your Windows 10 and make the device insufferably slow. Thankfully, there are multiple easy fixes you can do yourself to have your fast PC or laptop back.
How do I fix this?
There is no one direct method to get your Windows 10 back to normal, but a series of things you could try one by one until you hit jackpot:
1). Make sure your drivers are up to date
The most common reason for this type of memory leak is that your network and graphics drivers may not be on their latest version. You can download an app to show you which drivers need updating, or you can do it yourself:
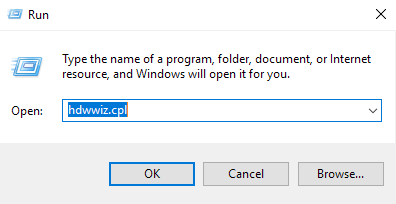
- Press the windows key and R together. Input ‘hdwwiz.cpl‘ in the text area and hit enter.
- Click on the “Network Adapters” tab and update all the drivers inside that tab.

- Set it to automatic so missing driver updates get installed from the internet on their own.
- Restart your Windows 10 PC or laptop.
2). Disable SuperFetch or other services
SuperFetch is a service responsible for caching your data but it sometimes ends up causing high CPU or disk usage in Windows 10. If it is the reason, disable it by following these steps:
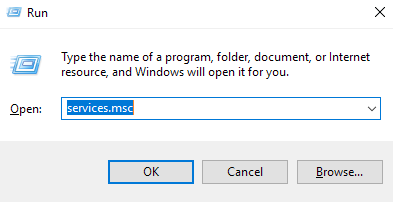
- Press the windows key and R together. Input “services.msc” in the text area and hit enter.
- This will open up all the Services that are running. Find SuperFetch and double click it. This will open the Properties menu.
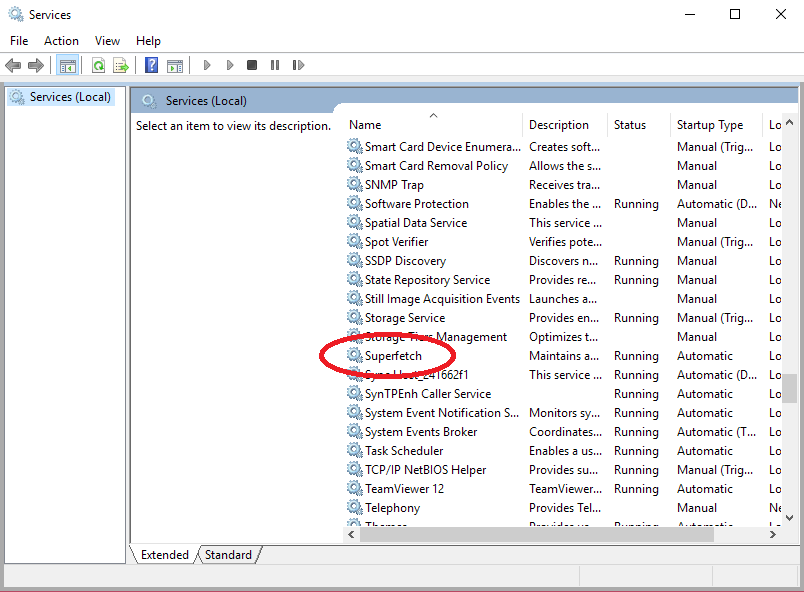
- Here change the Startup type to Disabled. Then click the Stop option under Service status.
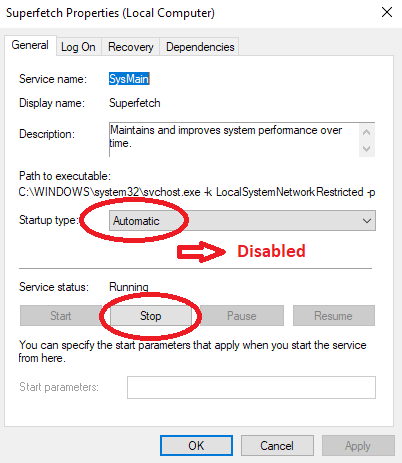
- Apply the settings and click OK to finish.
If this doesn’t help, you can also try disabling TCP/IP NetBIOS Helper, Offline Files, Remote Desktop Services, Windows Search, and User Mode Port Redirector by following the same steps as above.
3). Find which programs are causing the problem
The easy way to find what programs could be causing high CPU or disk usage is to use the inbuilt Windows Performance Toolkit (WPT).
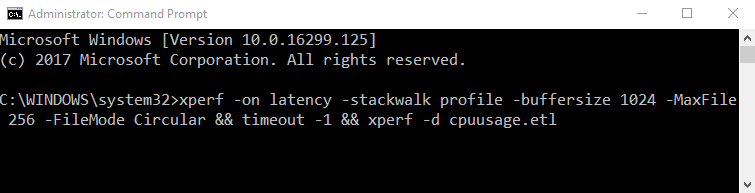
- Press the windows key and R together. Input “cmd” in the text area and hit enter. Or, open the Start menu and type cmd in the search box. Right click on Command Prompt and choose Run as administrator.
- Copy paste this command in to the black box:
xperf -on latency -stackwalk profile -buffersize 1024 -MaxFile 256 -FileMode Circular && timeout -1 && xperf -d cpuusage.etl
- Let the command run for about 60 seconds and wait till a prompt appears to indicate end.
- Go to C drive > Windows > System 32 through your file explorer or My Computer and find a file with the name cpuusage.etl. This is the log of your test.
- The diagnostic file will tell you what programs are responsible for your problem.
4). Create and run a registry file
Making changes to your registry might just fix your problem:
- Open the Start menu and type notepad in the search box. Click to open the application.
- Paste this in to it:
Windows Registry Editor Version 5.00
[HKEY_LOCAL_MACHINE\SYSTEM\ControlSet001\Services\TimeBroker]
“Start”=dword:00000003
[HKEY_LOCAL_MACHINE\SYSTEM\ControlSet001\Services\SysMain]
“DisplayName”=”Superfetch”
“Start”=dword:00000003
- Go to File on the upper left corner and choose Save As.
- Name the file ‘script.reg’ and choose any location and confirm save.
- Go to where you saved it and double click it to open it.
- A prompt or warning will open up asking you to confirm making changes to the registry. Click Yes to continue.
- The registry will be modified and your problem should be fixed.