 Sometimes we don’t have a Wi-Fi Connection in our place but we do only have a network (internet) to our Laptop that is through Ethernet or through dongle (which don’t have this feature) and without Wi-Fi router, it seems impossible to use this network on our devices like mobile, laptop, tablets, etc. But don’t worry, nothing is impossible in this world and in this post we are going to share a simple trick or we can say method to use the network (internet) via self created hotspot using laptop. In this post we will tell you how you can turn your Windows 10 laptop into a Wi-Fi hotspot. There are many applications to do the same but, we will believe not to use such applications as they can harm our computer working and privacy, hence in this post we will not use any type of 3rd party application to turn laptop into hotspot.
Things required to convert your Windows 10 laptop into a Wi-Fi Hotspot
1) A laptop.
2) An internet connection (through Ethernet or through dongle).
3) And some basic knowledge of computer like how to use the search option and how to open network settings. Yes, I know it is not a big deal.
Note: In this post we are using the network (that is internet) through Ethernet you can also use internet from your dongle or anything else.
Procedure
Here we are providing step by step guide to convert Windows 10 laptop into a Wi-Fi hotspot without any third party application. To make things better we are providing the necessary snaps too.
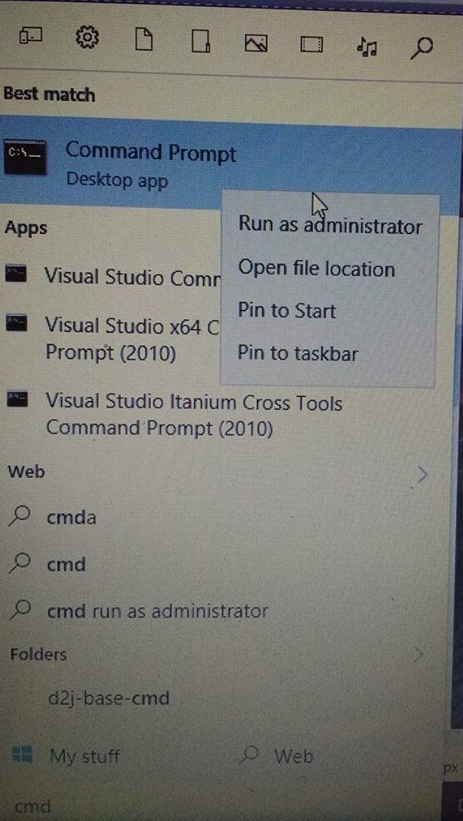
1) Open cmd as Administrator. Just type cmd in the search option and right click on cmd to run as administrator. For more idea have a look to below snap.
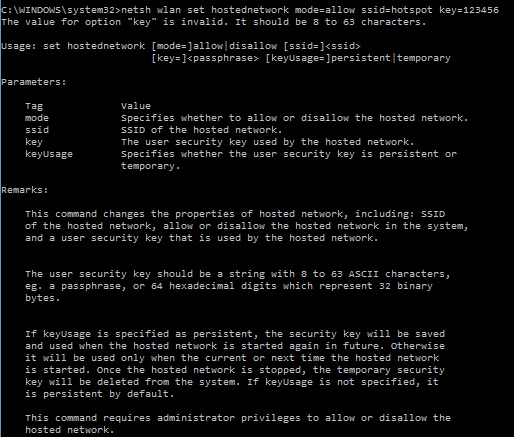
 2) After that copy and paste the following code into it “netsh wlan set hostednetwork mode=allow ssid=hotspot key=12345678”.You can change ssid according to choice and can also choose a password of your choice. But remember one thing password should be greater than 8 and less than 63 characters. If the password is less than 8 characters things would not work.
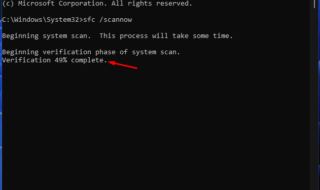
3) After entering above code you will get a reply just like shown in below snap.
 If there is some error in your commands you will get the following error.
 4) After that, enter the following code to start your hotspot.
“netsh wlan start hostednetwork”
![]() 5) After entering the above command your sharing network is created in your laptop. You can see it in Network Connections. Just as you can see from below snap.
5) After entering the above command your sharing network is created in your laptop. You can see it in Network Connections. Just as you can see from below snap.
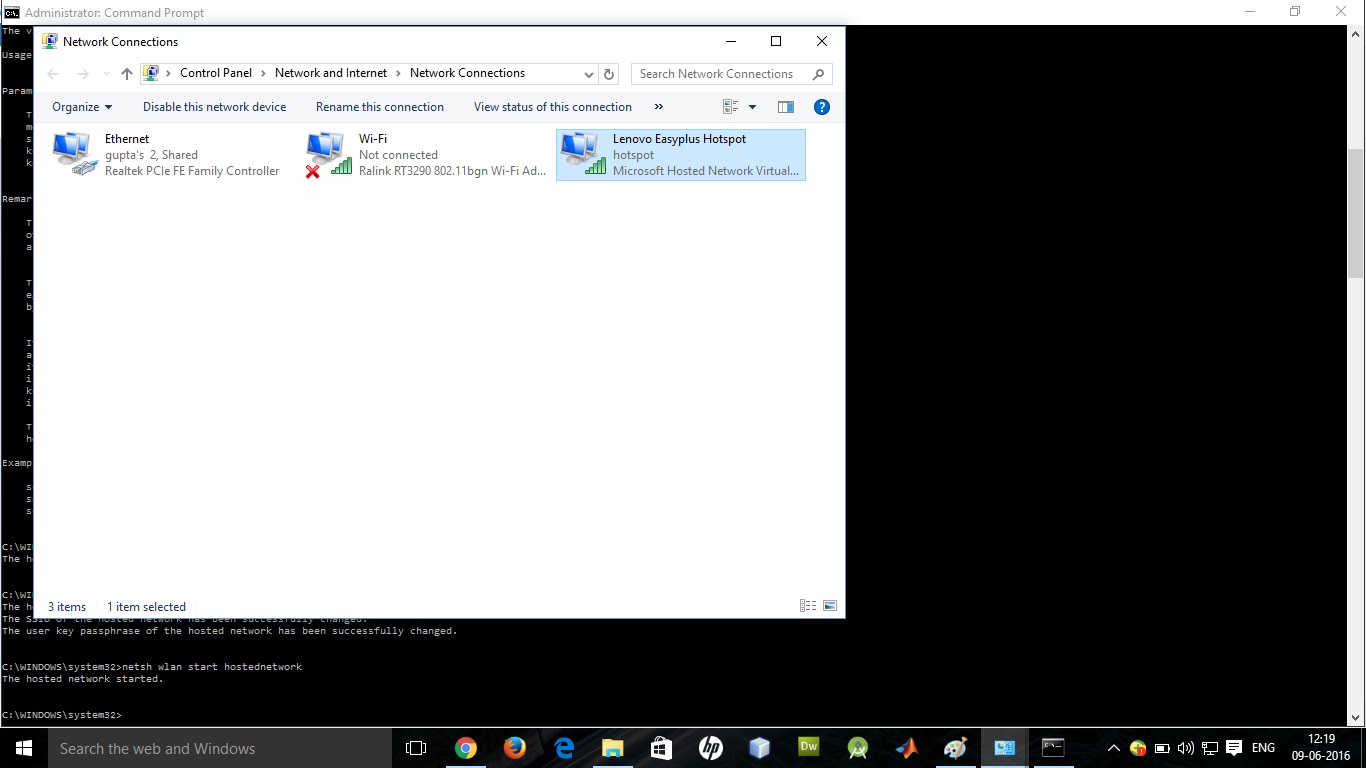 As you can see Lenovo Easyplus Hotspot (Hotspot) is created by us only.
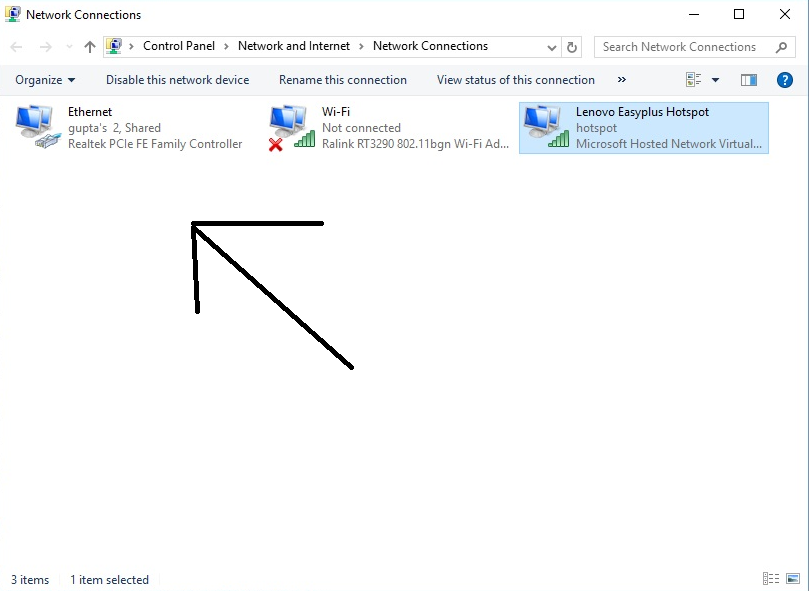
6) But things have not been done here yet you have to provide this Hotspot an internet connection and to do that we have do following settings.
I. Right Click on the network you are currently using. As shown in the below snap we are using Ethernet.
 II. After that, go to sharing option and check both the check box and select Lenovo Easyplus Hotspot in Home Networking connection option. For more idea follow the below snap.
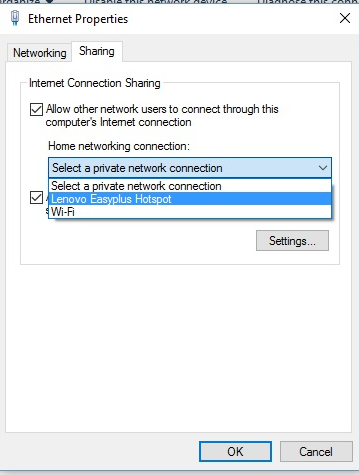 III. That’s it your Windows 10 Laptop is fully activated with this feature and is ready to use.
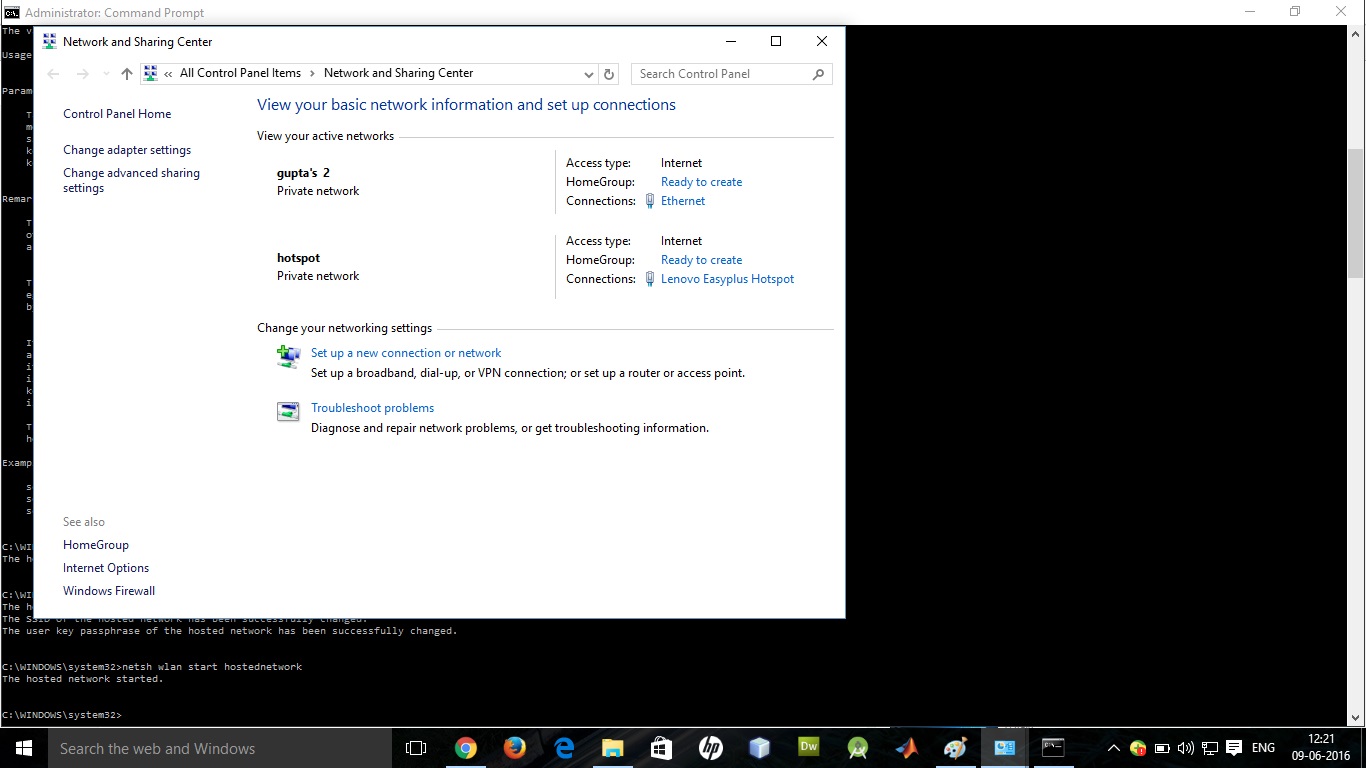
7) You can also check your Hotspot details in Network and Sharing Centre. As you can see in below image our Hotspot is fully activated and is ready to use.
 8) Now you can use this self-created network in your any of your device like Android, iPhone as shown below.
I. Choose the network: Choose hotspot here as it is the name set by us in the cmd setting.
II. Now enter the password: Enter 12345678 as it is the password set by us in cmd setting.
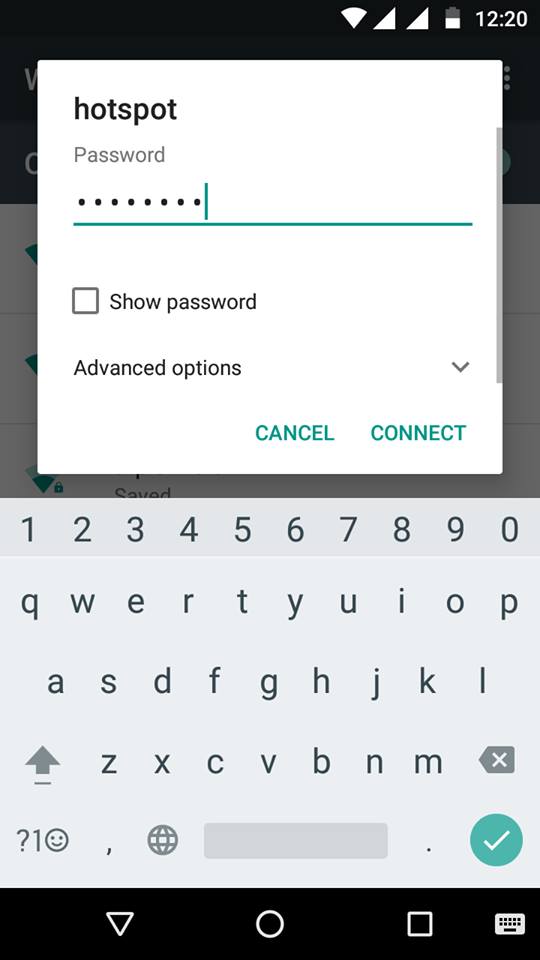 III. It’s all done now you can access internet.
Final Words
Hope you read all above points and will follow all the above steps carefully to turn your Windows 10 Laptop into a Wireless -Fidelity device. In case of any doubts, please don’t feel shy and contact us, we, are always there for your help. And please like and Subscribe us too it will help us a lot to improve.