 Windows 10 has been around for almost a year now and has been in the news since then. And unlike its predecessor i.e. Windows 8 and 8.1, it receives a very positive response from the users, but it still lacks some of the features that other operating systems have. And one of the features is, the ability to make a wifi hotspot with just a click.
Don’t get me wrong here! I am not saying that it cannot be done with a Windows 10 Personal Computer or Laptop, it just that it isn’t possible with a single click.
Contents
Need of creating a WiFi hotspot from your Windows PC:
Suppose you are in a place where there’s no WiFi network and all you have is an ethernet cable for connecting to the internet, in that case, you can use this method and turn you Windows laptop into a WiFi router. Using Hotspot, you can share your internet with any WiFi compatible device, such as an Android smartphone, another laptop, iPhone, iPod touch, wireless printer, etc.
So here’s a guide that shows some of the ways to do so:
But before that do note that, for some people, this feature might not work this may happen due to unsupported hardware for creating the WiFi hotspot and if you were able to do this on previous build or version of windows but aren’t able to do it now then this is because Microsoft have disabled this feature in the new version of drivers for the network card.
Workaround for solving these issues:
For the first problem i.e. having an unsupported hardware on your Windows PC there isn’t much that you can do, for resolving the issue you have to change your network with the wifi hotspot or Wireless Fidelity compatible one.
And for the second problem, this is mostly seen with the latest Build of Windows or the latest release of drivers from Microsoft. This method is for people who were able to turn on Wireless Fidelity hotspot before upgrading to Windows 10 (or before updating their drivers) but aren’t able to do it now. These people can try some older version of drivers compatible with Windows 8 or 8.1 for their respective network card and check if it resolves the issue.
1. Doing it without using any third-party software
This method has been there since the release of Windows 7 back in July 2009.
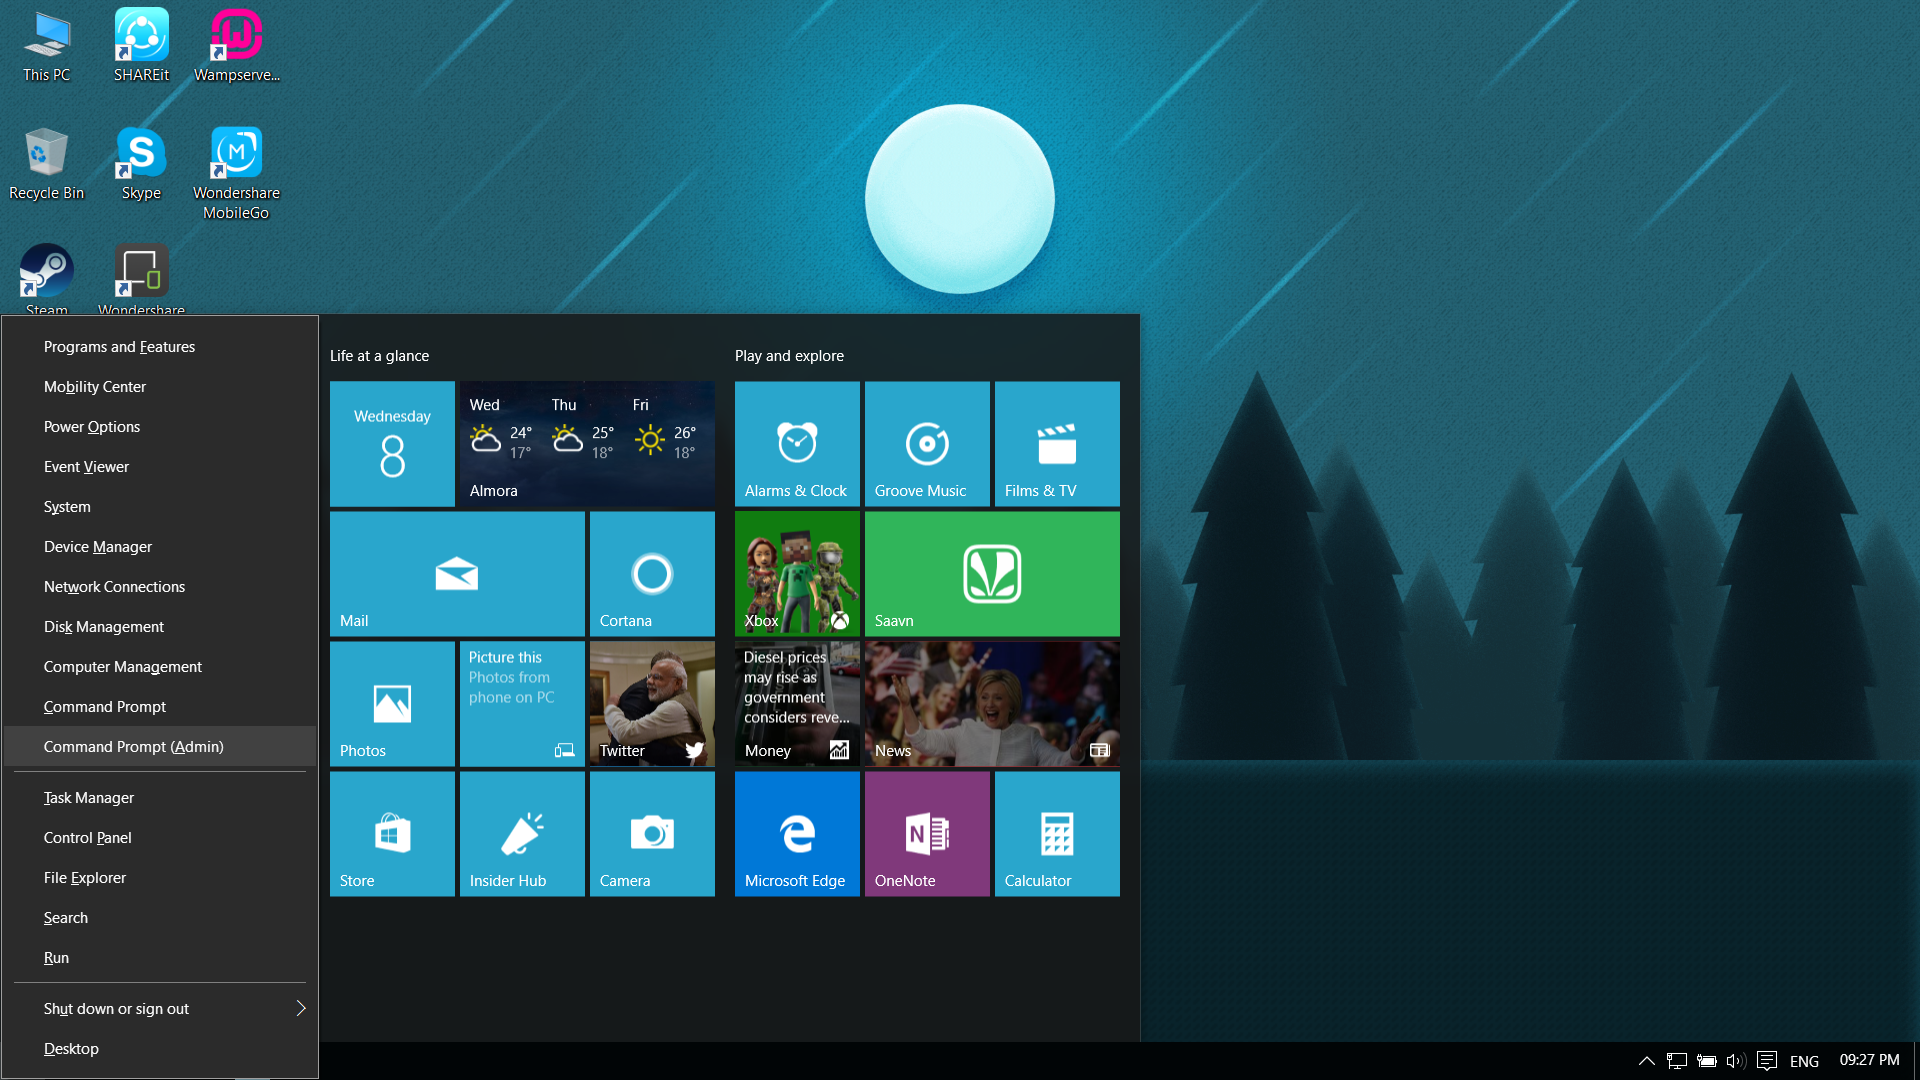
To check if this method works for you, you need to open command prompt with admin rights. This can be done by pressing Winkey+X and then clicking on ‘Command Prompt(Admin)‘.
 Enter the following command in Command Prompt:
netsh wlan show drivers
And if it says ” Hosted network supported: No“, then this method isn’t for you!
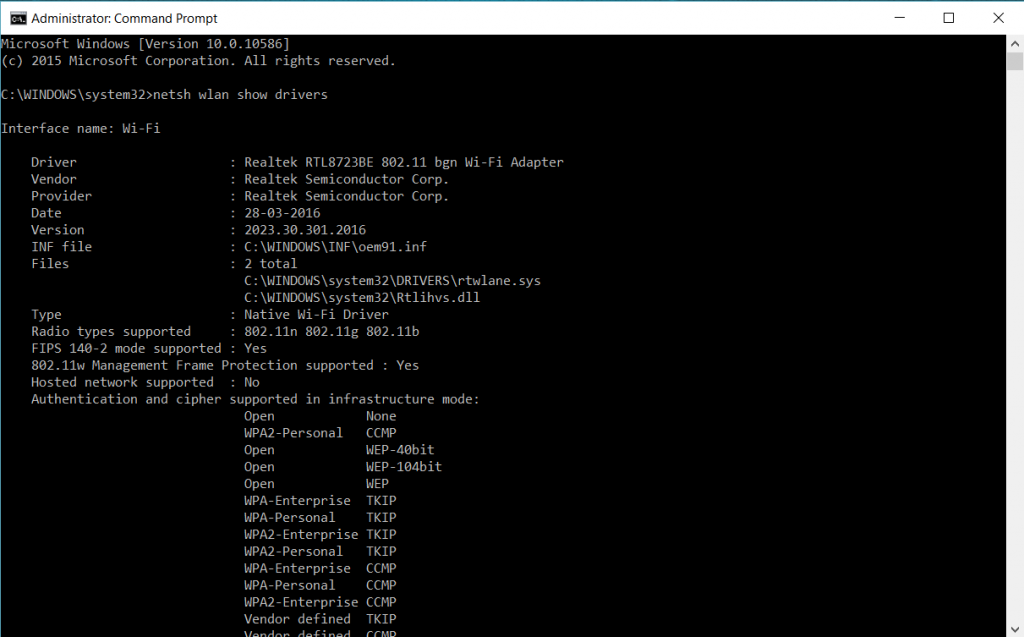 And if it says “Yes,” then enter these codes on command prompt (Admin) to get your Wireless Fidelity hotspot running:
NETSH WLAN set hostednetwork mode=allow ssid=Your_SSID key=Your_Passphrase
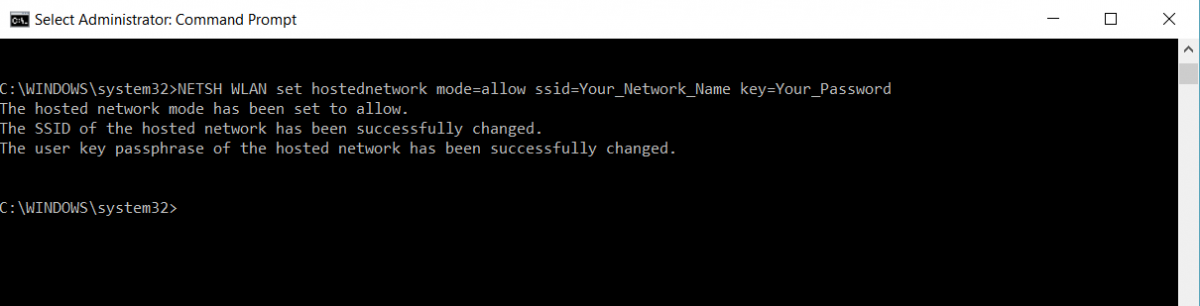 The above code will create the hosted network, and to activate it you need to enter the following command:
NETSH WLAN start hostednetwork
Congrats your network has been activated.
2. Using third-party apps to create a Wifi hotspot
While there are many third-party apps using which you can create a Wireless Fidelity hotspot from your PC, but some of the most used and highly rated apps are:
1.Virtual Router Plus
Virtual Router Plus is an open source hotspot service tool and for those people who loves to fiddle around with the code and customize the software in their way this is always a plus point. The only major requirement for this software is that you should have a “Certified for Windows” wireless driver or the network card/adapter driver installed on your PC.
It’s main features include:
1.Works on Windows 8 and above.
2.No installation needed.
3. It’s open-source.
4.Doesn’t start any background services.
Download links to the software:
Procedure:
1. Download the software from any of these links.
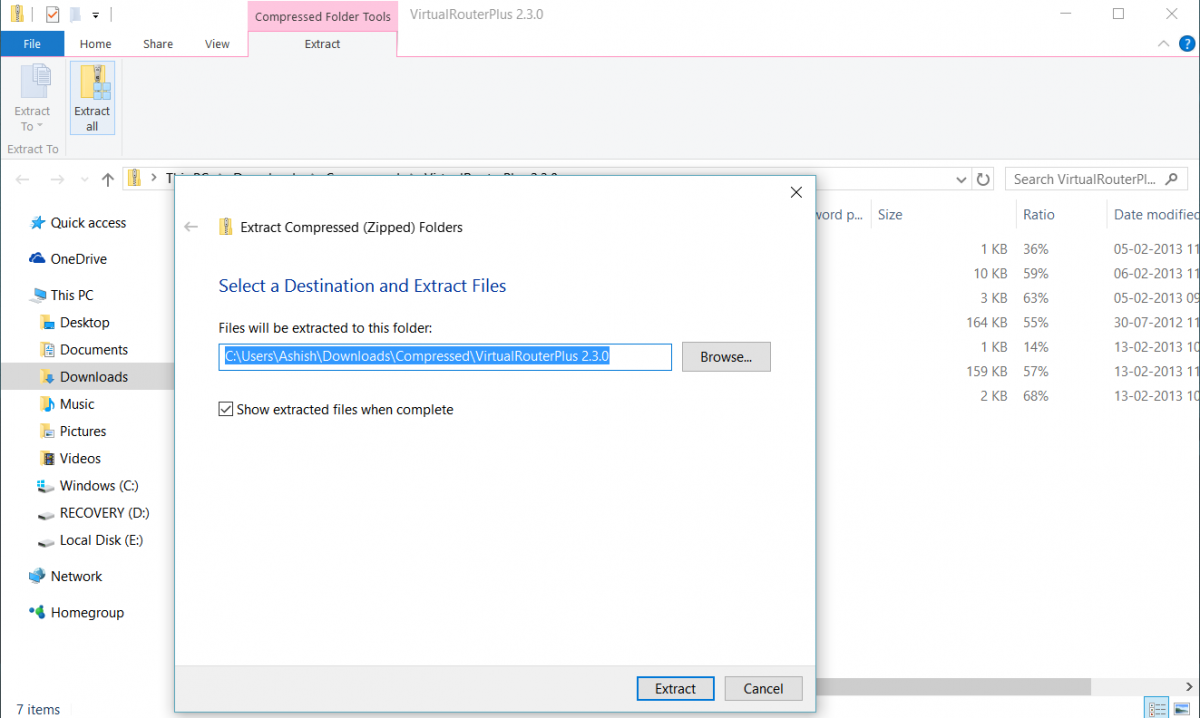
2. The software will be in the form of a Zip file, extract the Zip file to a suitable location.
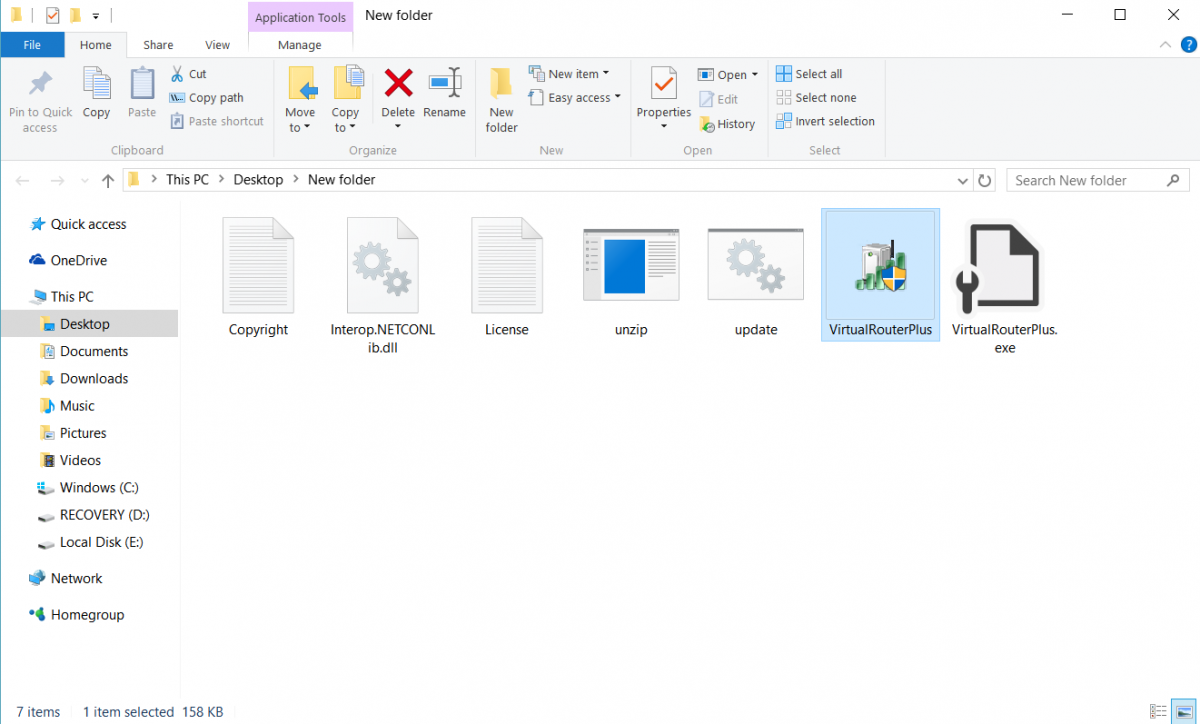
 3.In the extracted files, double click on Virtual Router Plus(application) to open the software.
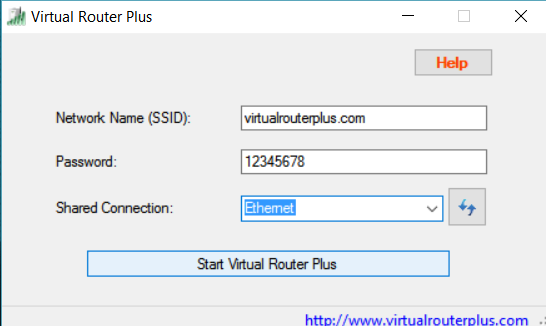
 4. After the application opens, enter your desired SSID(network name), password and select the connection you want to share. And click on Start virtual router and should be good to go.
 2.Connectify Hotspot
As far as popularity is concerned, this is the most favorite and most used tool for creating the WiFi hotspot from your Windows PC. It’s a great tool and has all the required features, but being a paid software can be a bummer for those seeking for free software. However, you can use this as a trial for some time.
Product video:
Installation:
1. Go to the download link mentioned above, and choose a product version as per your requirements(pro or the free version).
2. Install the application and reboot your device.
3. For those people who don’t wanna buy the product they can use it as a trial version for a while.
4. After completing the installation, start the application and you’ll get something like this:
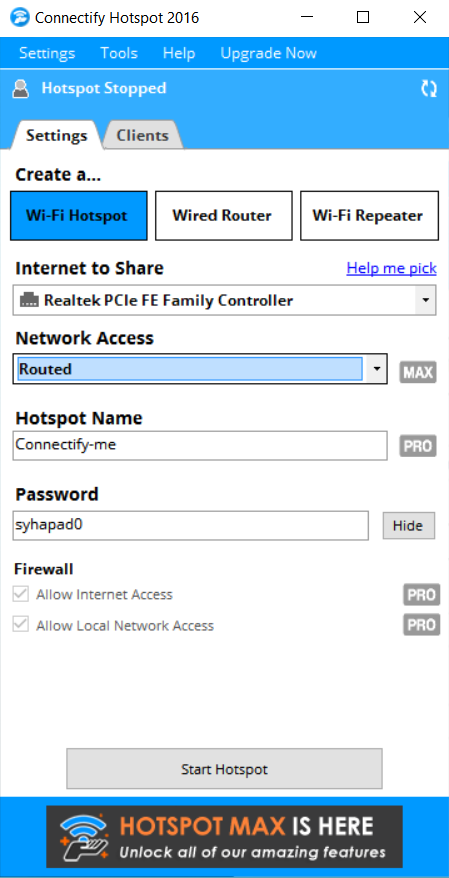 5. Set network access to routed.
6. Set any desired hotspot name(SSID).
7. Enter the password for your hotspot.
8. At last, click on Start Hotspot.
And after all these steps you’ll be done!
So that was a quick guide on how to create a WiFi hotspot on windows 10 PC and laptop. If you have any queries regarding the article then drop a comment below.