The world is evolving, and the technology is taking things to another level. I’m sure that most of are now depending on the latest technology to get the work done smoothly. There are too many things, which are available for free and you can try them for with regular updates as long as you need.
However, these software developers do ask you to do something in return for then, or else they won’t be able to make any income, which can cause the developer’s team to shut down the business, isn’t that true?
You are always in the assumption that this stuff you get for free, but do not charge you a penny. However, they do insist you install additional Plugins, Add-ons, Ads, Observe the data and more.
I know that some of you prefer to use the free stuff you get on the Internet and who doesn’t use it? The Add-ons which come along with these software’s are annoying and irrelevant.
How to Install AVG Free Antivirus without Zen
AVG is one of the popular antivirus program available in the market. If you have been using the AVG for a while, then you would know that they are providing a free antivirus program, similar to the Avast Antivirus.
They do ask you to register and buy the serial after 30-days of the trial period, but you can activate the version for a year if you register for one year program for free of cost. However, the fact does not change that the AVG does add unnecessary add-ons which majority of the users do not need because the AVG wants to be in the competition. The competitors are adding several options, which makes the AVG nervous. They do want to stand out in the competition and do not want to lose to the other developers.
One of the worst Add-on is ZEN, so today we are going to teach you the right way to Install the AVG without ZEN, let’s get started.
Step 1: Download the AVG program on your PC.
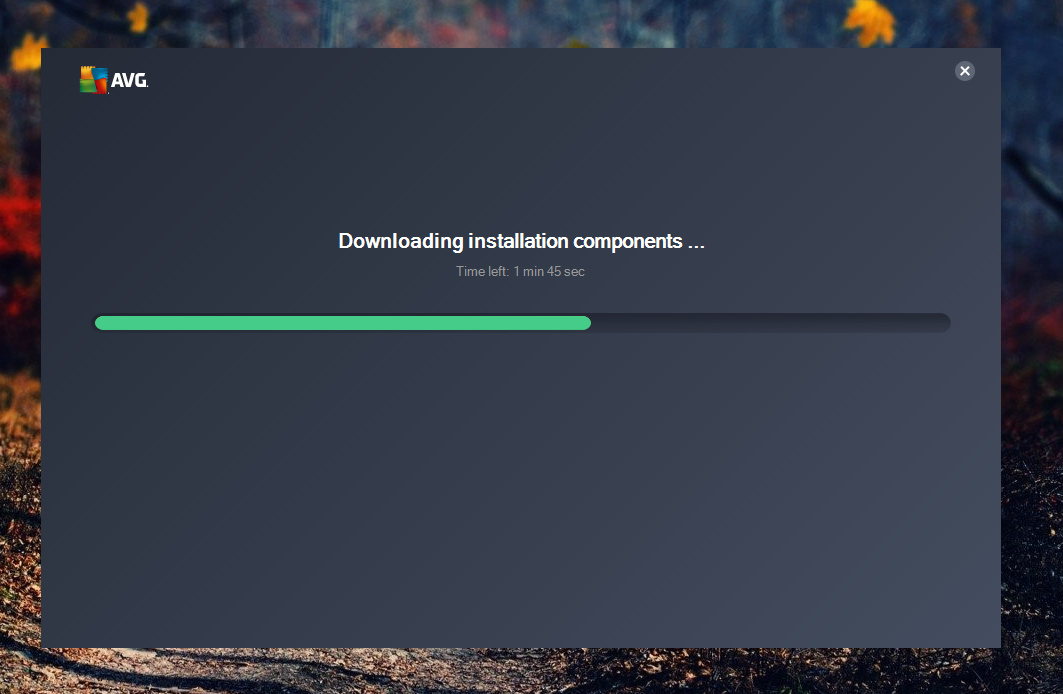
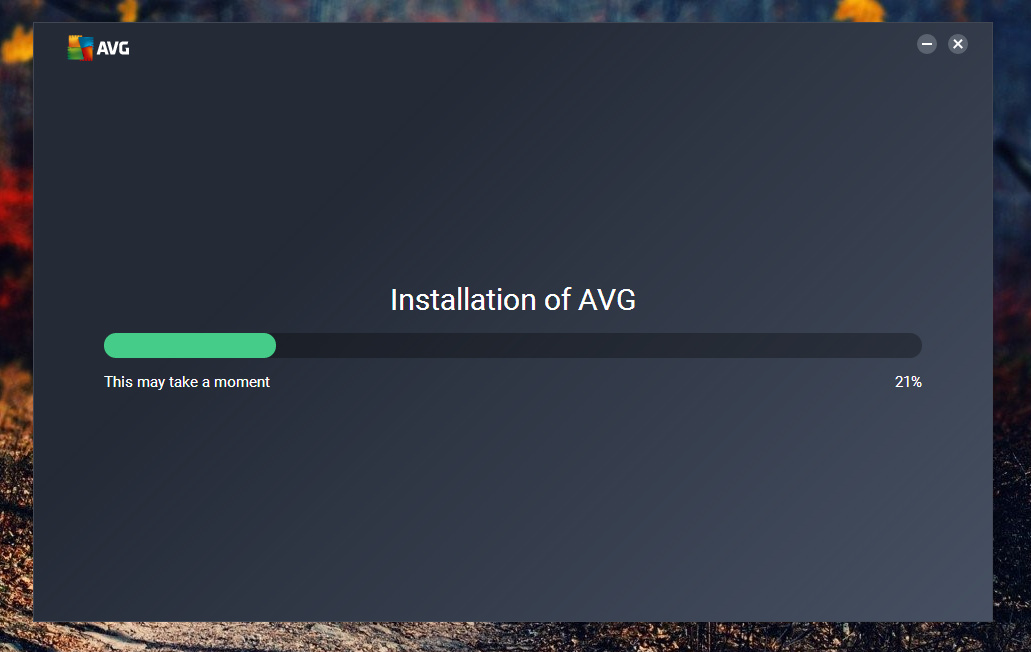
Step 2: The download takes around five minutes/1MBPS speed and this is what you should be on your screen after the download.
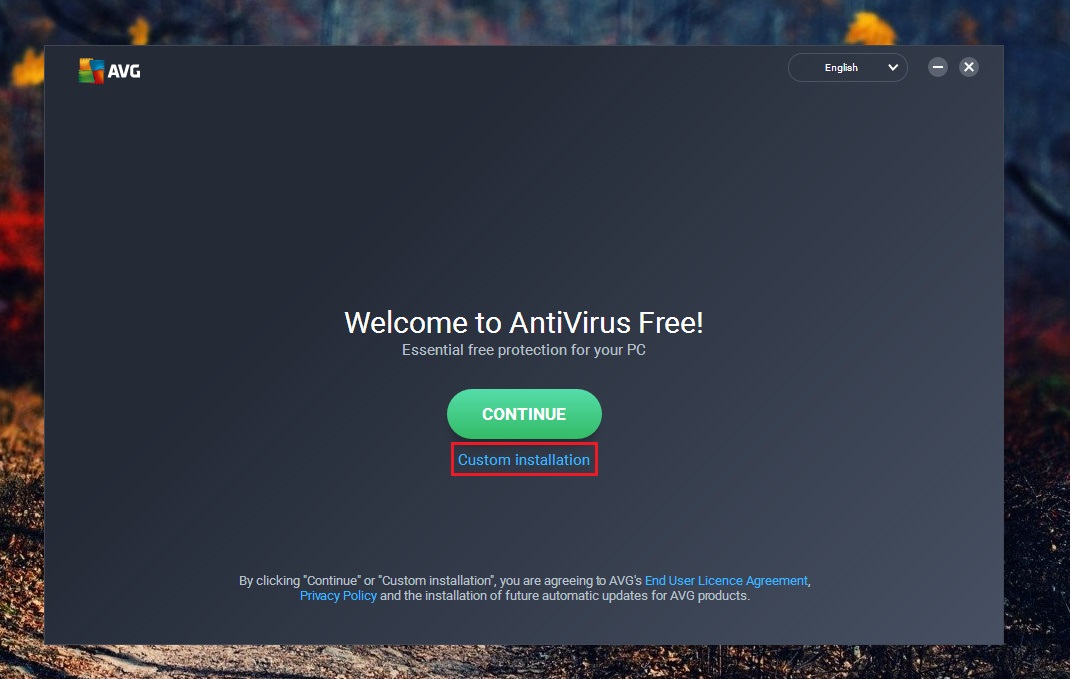
Step 3: Now as we have highlighted in the image, you have to select “Customize” instead of Install because this is where all Add-ons are installed by the AVG.
Step 4: You have to untick or Deselect the “Web & Email shield“.
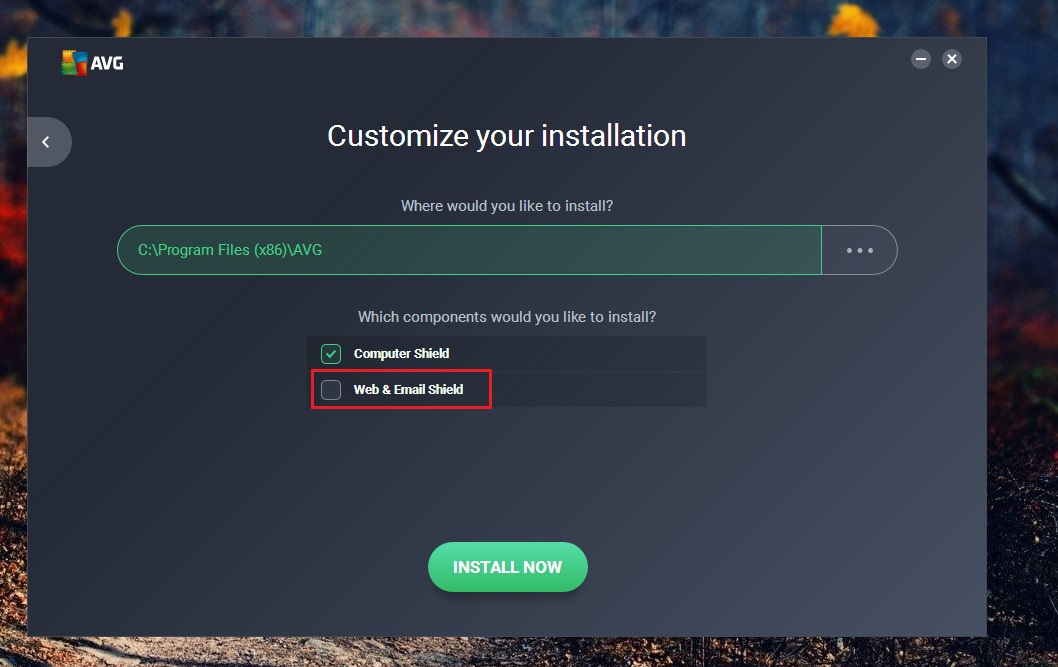
Step 5: Click “Install Now“.
Step 6: You have to wait till the download is completed and installed on your PC or laptop, usually, the download depends on your Internet speed.
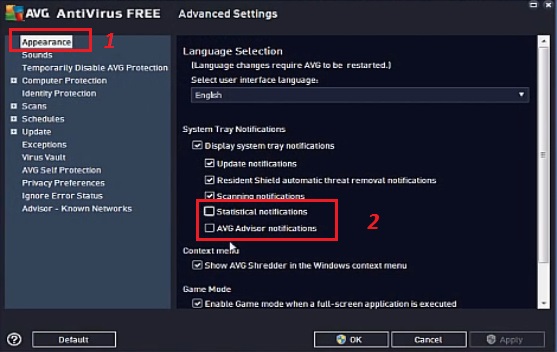
Step 7: After the installation is completed, you have to select “Advance Settings” from the menu on the top right corner. Check the image below for visual instructions.

Step 8: You have to go to “Privacy Preferences“. (You can find the option in the right panel of the AVG. Start from the bottom.)
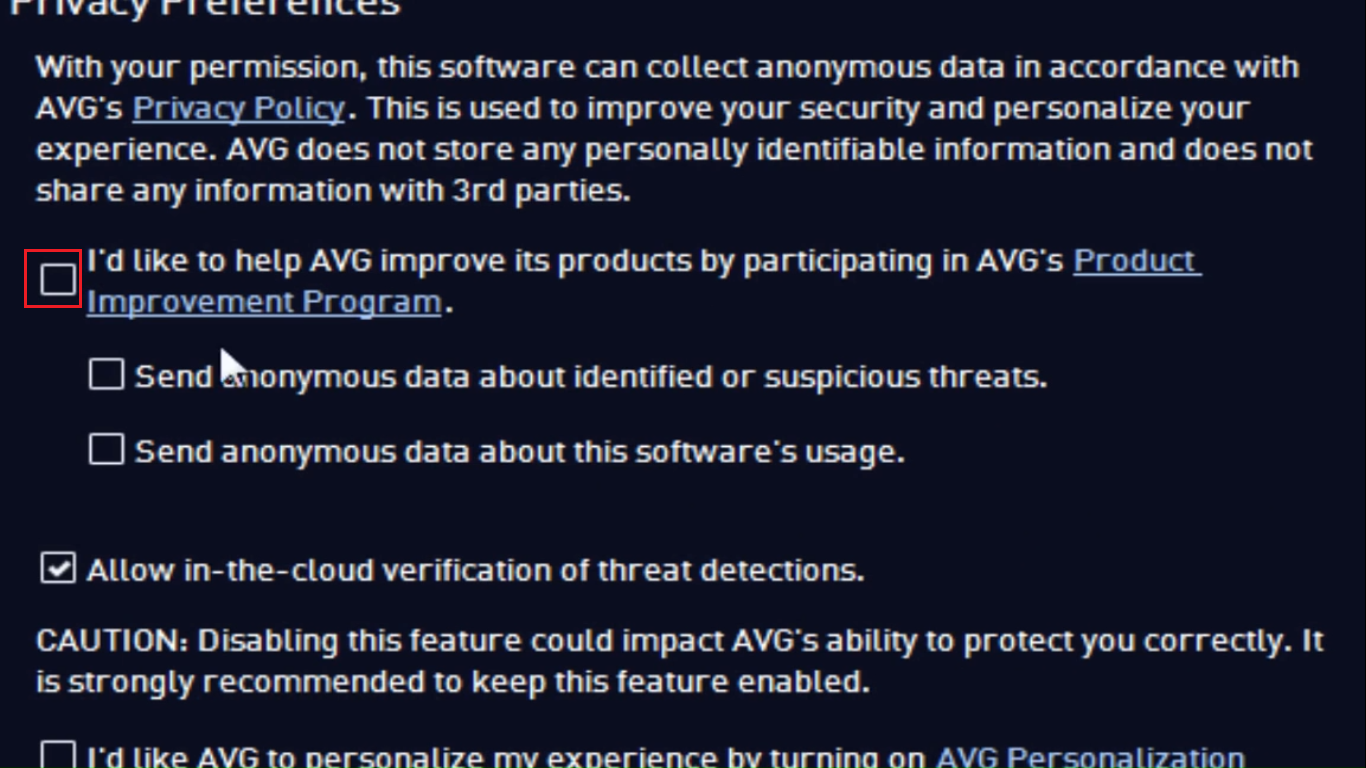
Step 9: Then (1) “Appearance > Unselect ” (2) Statistical Notifications and AVG Advisor Notifications“.
Step 10: Hit “Apply or Okay“
As you have seen in the image above that you have to unselect the both options in the Appearance, and it won’t stop or affect AVG functions, but it will keep ZEN out of the picture. You will be able to get rid of the ZEN options from the picture. So calm down, and you don’t have to worry about the unresponsive functions.
In the worst case, if there’s any problem occurs, such as an Error then the issue is not related to the ZEN add-ons because it’s just an additional feature, not a function. You can do a little bit of research online on the AVG forums on the Error you are receiving during the installation or after the installation and get things resolved.
Conclusion
AVG Antivirus is a popular program, which rivals the Avast Antivirus regarding features and services. Annoying Add-ons can be removed by taking simple steps and you will be able to use the services smoothly. If you are having issues during the process or have any other easier solutions, then you can let us and the community know about it in the comment section below.


It’s still on the puter but not bugging you either!
Simple fix to get rid of Zen!
Right click on AVG Icon and click on properties!
Change Target to read.
Make sure to use Caps as shown here
And exclamation marks as shown also!
“C:\Program Files\AVG\Antivirus\AVGUI.exe”
Change Start In to read.
“C:\Program Files\AVG\Antivirus”
Click “APPLY”
Then click on icon.