Windows 10 regularly roll out updates after its major release. One of the updates includes the replacement of the Favorites pane. The newer versions of Windows 10 have the “Quick Access” pane instead of “Favorites”. While the purpose of both panes is similar, some people have a sour opinion of Quick Access. So today we want to help you remove or get rid of the Quick Access from your Windows 10 Navigation pane. There are more than one ways to do this and we’ll be taking a look at some of the best ones.
What is Quick Access?
This section provides the frequently used and recently opened files and folders directly in your file explorer. The purpose of the Quick Access pane is to streamline your workflow. Moreover, it enhances the user experience of Windows 10. However, many people do not welcome this new option in the update. As a result, they are looking for ways to turn off this feature completely. If you are also one of those who cannot stand the “Quick Access” feature then stick around till the end of this guide.
Since this guide is about removing a Windows feature, we advise you to create a restore point for your system. In this way, you will be safe from any damage done in the process.
How to remove Quick Access in Windows 10
We want to emphasize two of the most effective ways to not see Quick Access anymore.
Method 1
This method will not remove the problem but hide it.
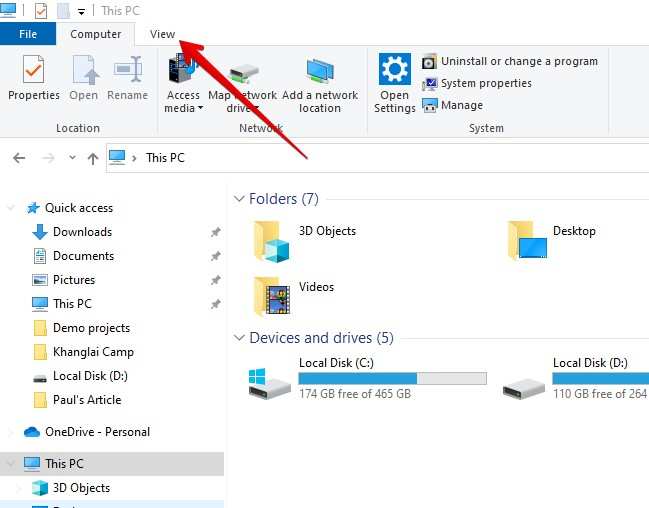
- Fire up the File Explorer by hitting the Win + E keys on your keyboard.
- Click on “View” at the top.
- On the right side, click on the little “option” button.
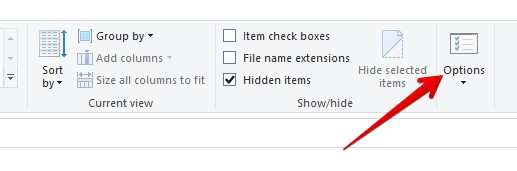
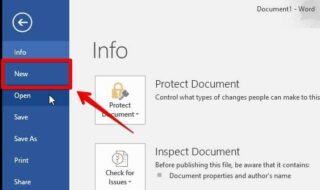
- After clicking on it, a new option will roll down as “Change folder and search options”, Click it.
- A new window prompt will show up where you have to be in the “General” tab.
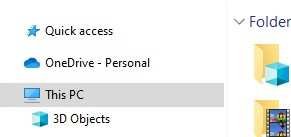
- Select “This PC” in the Open File Explorer option
- Click OK.
After this change, you will see “This PC” tab instead of “Quick Access”.
Method 2
This method is the one you want to look upon as it will remove the Quick Access altogether. To use this method, you would need to use Registry. Before you proceed further, we want to give you a heads-up on creating a system restore point to avoid any system damage.
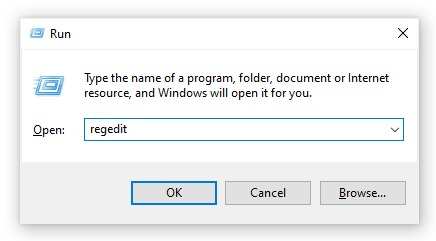
- On your Windows computer, hit the keys “CTRL” + “R” on your keyboard. It will open up the Run prompt.
- Type “regedit” in the prompt and press enter.
- Registry Editor will now open up which is already installed on all Windows devices.
- Inside the Registry Editor, copy and paste the following in the path: HKEY_LOCAL_MACHINE\SOFTWARE\Microsoft\Windows\CurrentVersion\Explorer/
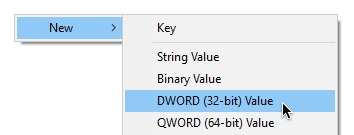
- After that, in the blank area, right-click to see the “New” option.
- Hover your mouse cursor on “New” and select DWORD (32-bit) Value.
- Put the new value as “HubMode”.
- Now do a double left-click on “HubMode” to open properties.
- Change the Value data to “1”.
- Now click OK and restart your computer.
After restarting your PC, the Quick Access navigation pane should be removed and you won’t be able to see it. There is also a way to turn off the “Quick Access” with Registry Editor. There you have to go to HKEY_CURRENT_USER\SOFTWARE\Microsoft\Windows\CurrentVersion\Explorer\Advanced and change the data value of DWORD (32-bit) Value.
Conclusion
With these methods, you can remove or alter many options in Windows 10. The users have a lot of flexibility in their own Windows devices. Similarly, you can remove or hide Quick Access using the methods above. There are a few more ways to gain the objective of this guide but the ones we use are the most effective. Lastly, we want to remind you again to create a restore point to avoid any mistake in the Registry Editor.