Windows PC is known for full control over your system and gives you the personalization like no other operating system in existence. It is also one of those functions, which allows you to add more security your Windows-PC when it is idle, or you are away from your keyboard.
However, not many users are aware of the various methods by which you can accomplish this. We are going to cover that gap for you to make users experience flawless. So, let’s begin.
3 Simple Ways to Auto Lock Your Windows 10 PC or Laptop
We aren’t going to include any third-party programs or functions to give you the ability to do it automatically, instead of roundabout methods, we are going to show you conventional methods to lock your Windows-PC away automatically.
*1 Dynamic Lock
With every release, Microsoft keeps up with the latest technology and use them to make your life easier. This is one of those features, which uses your Bluetooth enabled smartphone.
The Windows 10 version will be connected to your smartphone Bluetooth and when you leave the mobile will go out of range, which signals the Windows to lock the system down, quite thoughtful, isn’t that right?
Note: Do not worry, the sync between smartphone and Win 10 won’t consume a lot of battery charge.
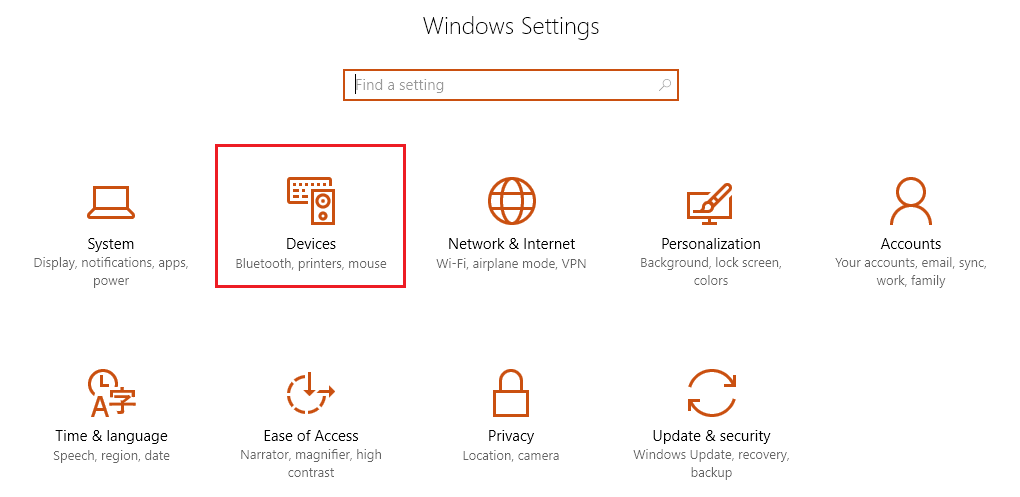
Step 1: Go to settings, then select Devices.
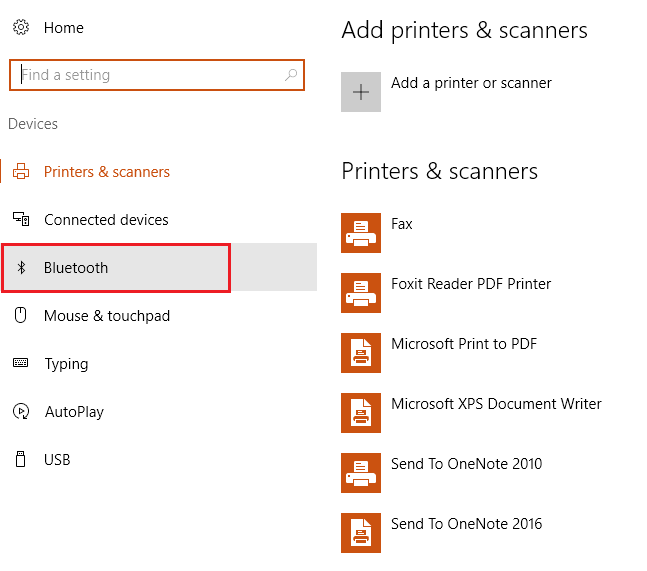
Step 2: Now select Bluetooth, which is the third row.
Step 3: Proceed in paring your smartphone to your Windows 10 PC.
Step 4: Follow the instructions (It will be similar to the earlier versions) your mobile should appear in the list if paired correctly.
There are two more steps to enable it.
Step 5: Go back to the Settings and click on “Accounts.”
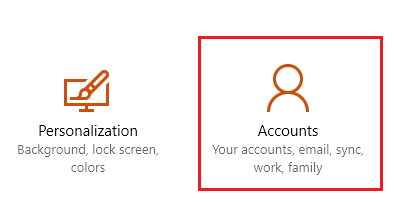
Step 6: Select Sign-in options.

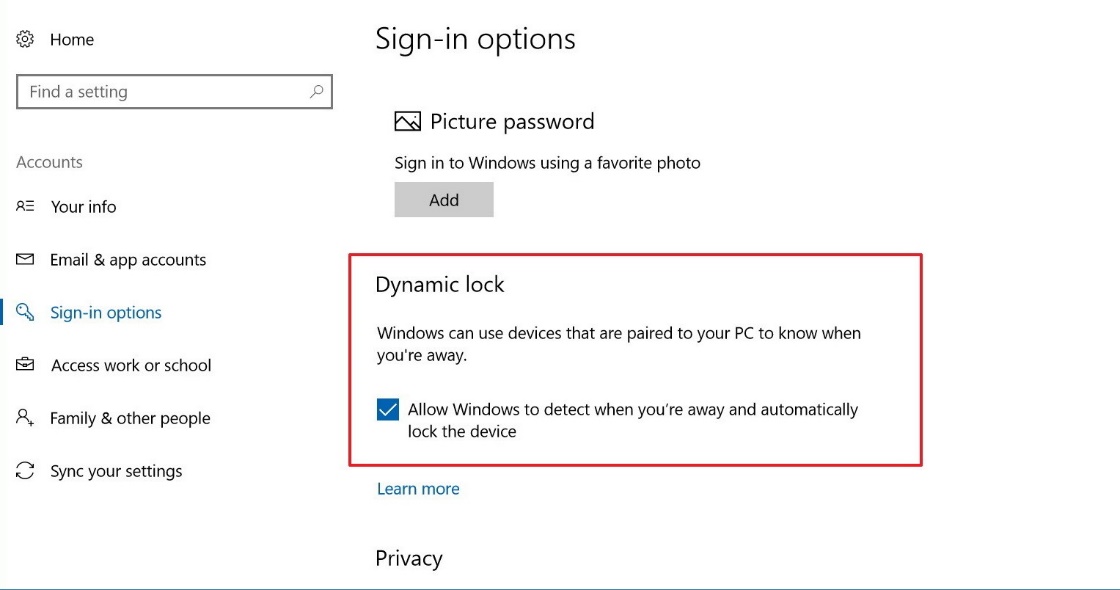
Step 7: Now you can see that there is an option called Dynamic lock.
If you are using an earlier build version of Win 10, then no issues because we have two more options for you.
*2 With Screen Saver | Method 2
Adding a screensaver is a traditional feature, which has been around for a while. You can lock your PC after a particular period, and the timer starts from one minute, so you have full control over the timer. It’s super easy, and you do not need any control panel experience.
Step 1: Go to settings, then Personalization.

Step 2: Now select Lock screen or you can go with spotlight images.
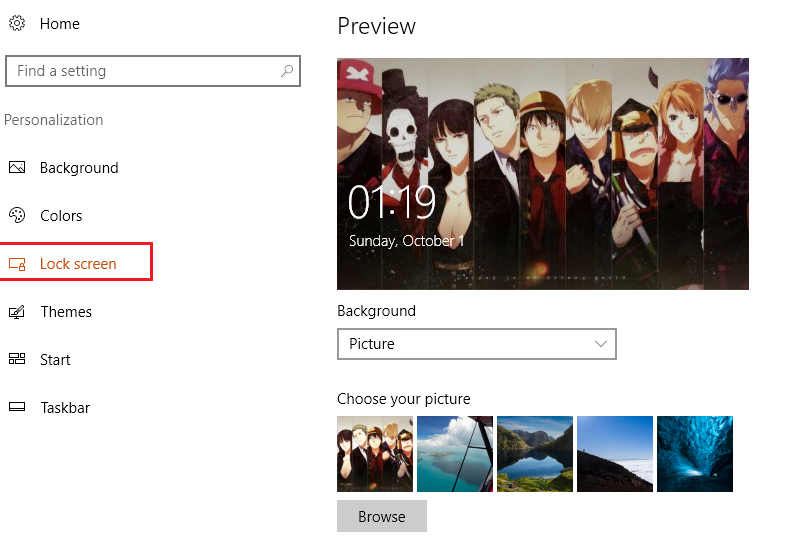
Step 3: Scroll down till you can find “Screensaver settings.”
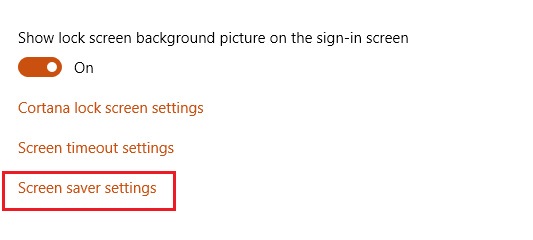
Step 4: A window will pop-up and tick the “On resume, display login screen,” then you will be able to set some minutes in that field.
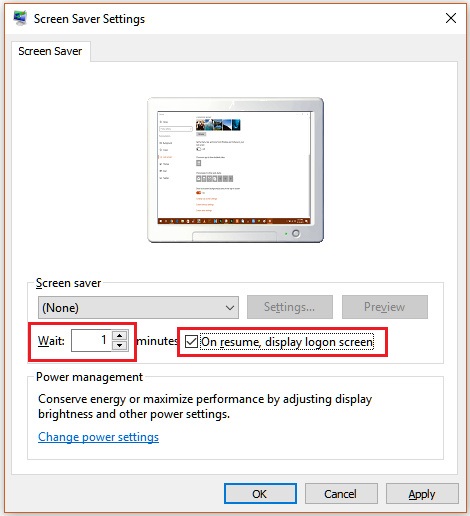
Step 5: Click on “Ok,” then “Apply.”

*3 How to Enable it with help of Cortana
I consider this as an add-on, but when you are serious about the saving battery life when not in use, then Cortana is perfect for you.
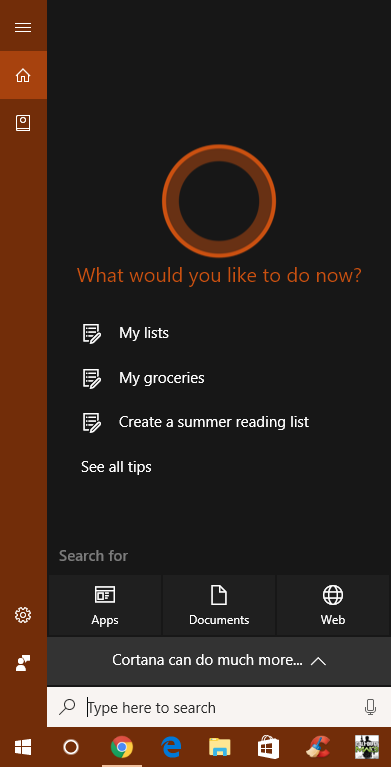
Step 1: Click on the Cortana icon or search box on your taskbar.
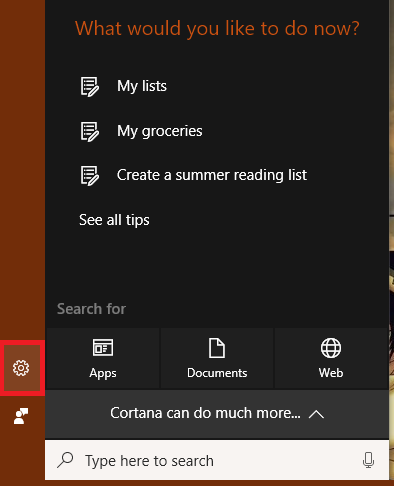
Step 2: Click on the Settings icon.
Step 3: Bunch of options will appear, and you have to select
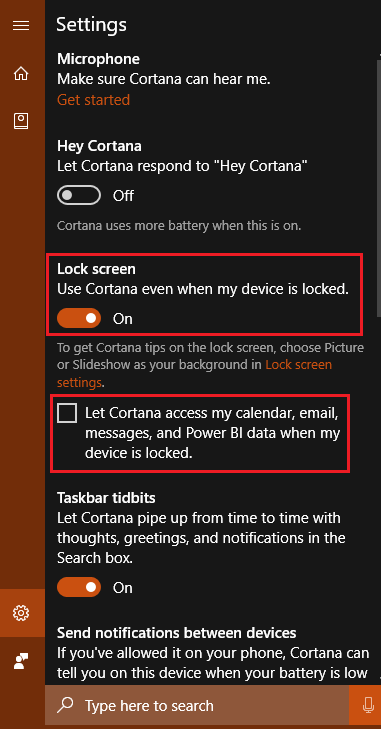
- “Use Cortana even when my device is locked under Lock screen.”
and,
- “Let Cortana access my calendar, email, messages, and Power Bi data when my device is locked.“
Or, we have an alternative, which has been extremely useful since Windows Vista edition. It’s simple, but it requires your attention, which is why it landed on the last in the list. However, many of you are aren’t aware of the traditional feature.
Step 1: Click on Control+Alt+Del.
Step 2: You will be redirected a special tab called “Taskbar.”
Step 3: The first option is “Lock” now you know what to do.
We have shown you features, which are provided by the Microsoft themselves, so you don’t have to worry about the messing up the settings or any other features. You can proceed with making these changes and in case if you are not satisfied at any point, then you can revert the changes by following the same procedure backward. It shouldn’t be that difficult for you.
There are several other programs available in the market offering you better solutions for few bucks, but they do come at a price, if you are willing to invest, then go for it. We do recommend you to stick to the pre-installed features because they won’t slow your PC down and optimized to consume less battery, which would be a different story on third-party programs.
Shoot your Questions, Opinions, and Doubts in the comment section below.