A file called VSServer.exe is connected to the VisiSat program and It is frequently installed on Windows computers. Although it’s a valid part of the VisiSat program, there may be times when users need to remove it because of problems or security concerns. This post will explain what VSServer.exe is, explain why you might want to remove it, and give you step-by-step instructions on how to do it.
Contents
What is VSServer?
An executable file associated with the VisiSat program that is used in some of its primary operations is called VSServer.exe. VisiSat is used for many different things, especially for graphic representation of Windows programs. But occasionally, users might need to remove VSServer.exe from their systems for a variety of reasons, such as system errors, security issues, or other issues.
How to Remove VSServer.exe In Windows PC
These methods are useful when you want to get rid of VSServer.exe.
Method 1: Uninstall the VisiSat Program
The VisiSat program must be completely removed from the system in order to be uninstalled. Adhere to these specific instructions:
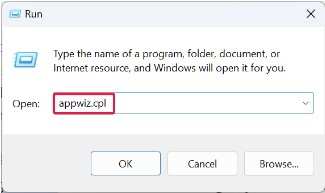
- Launch Access and Run Programs
The Programs and Features window can be opened by pressing Windows + R and typing “appwiz.cpl”.
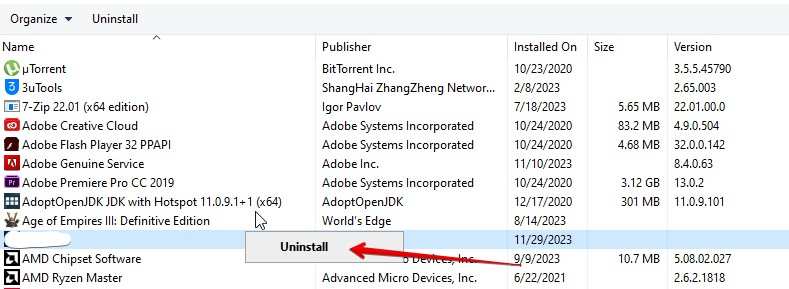
- Click on VisiSat to Uninstall
In the list, find VisiSat, pick it, and then click “Uninstall.”
- Comply with the on-screen directions
Do whatever the screen is instructing you to do to remove VSService.
- Remove Extra Components
Do the same to uninstall VisisatCETStyle if you see it on the screen.
- Restart your computer
Make sure the modifications take hold by restarting your computer.
Method 2: Manually Delete The Process
Locating and eliminating VSServer.exe manually requires searching through the system files. Adhere to these specific instructions:
- Launch File Explorer
To view the files on your system, press Windows + E to launch File Explorer.
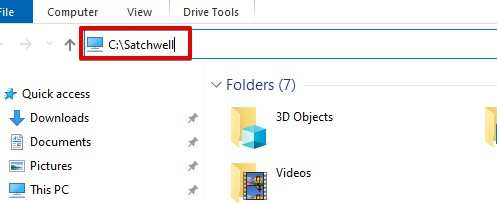
- Open C:\Satchwell
Go to the C:\Satchwell directory on your Windows computer.
- Find the file VSServer.exe
Look inside C:\Satchwell’s subfolders to locate the VSServer.exe process.
- Get rid of VSServer.exe
After being located, pick VSServer.exe and use the right-click menu to select the delete option.
- Recycle Bin and Confirmation
If prompted, confirm the deletion and make sure the Recycle Bin is empty.
- Crucial Information
Be mindful that manual deletion may impact the VisiSat application during future updates, possibly leading to functionality issues.
Method 3: Antivirus Scan
An antivirus scan is an essential first step in locating and eliminating potentially dangerous files, such as VSServer.exe. Observe these thorough guidelines:
• Security for Open Windows
Look up “Windows Security” online, then click on the Virus & Threat Protection area.
• Options for Access Scan
Select Scan options to view available scanning options.
• Complete a Scan
Start a Full Scan to examine all the files inside your local system.
• Restart After the Scan
Restart your computer as instructed when the scan is finished.
• Prompt for Automatic Removal
You will be prompted automatically to remove VSServer.exe if Windows Security finds it to be malicious.
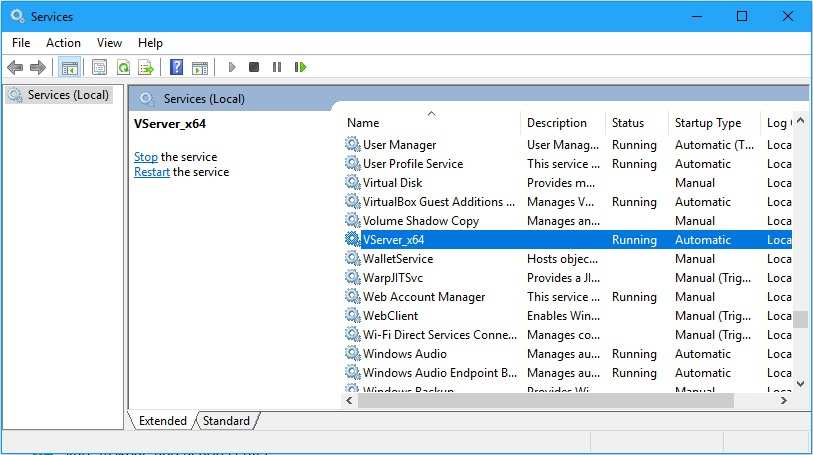
Method 4: Disable the VSSGateway Service
To make changes in system services and disable the VSSGateway service, you need to perform this task as an administrator. Adhere to these specific instructions:
- Services of Access
Type “Services” into the search field, then select the appropriate result.
- Properties of VSSGateway Services
The VSSGateway service can be selected with a right-click, then “Properties.”
- Select “Disabled” for Startup
Go to the dropdown of Startup and hit “Disabled.”
- Close the Account
To eliminate the service of VSSGateway, click the Stop button.
- Apply Changes
To ensure changes stay like this, click on Apply > OK.
Method 5: Registry Cleanup
To avoid system instability, exercise caution when cleaning the Windows Registry. Adhere to these specific instructions:
- Launch the Registry Editor and Run
To open Run, press the Windows key + R. After that, use the word “regedit” in the blank space and click “OK” to launch the editor of registry.
- Make a Registry backup
To make a registry backup, select File from the menu and then Export.
- Go to the entries for VSServer.exe
Examine entries pertaining to VSServer.exe under root keys using the pane on the left.
- Get Rid of Questionable Entries
Any suspicious entry can be selected with a right-click, then “Delete.” Be mindful about what you are removing in the system parts.
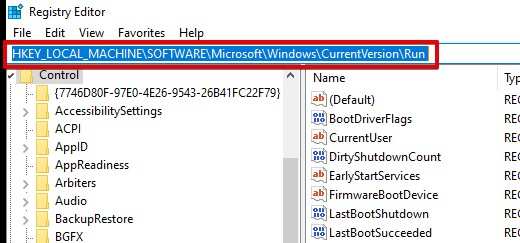
- Verify the Startup Locations
Check the VSServer.exe startup entries, particularly those in HKEY_LOCAL_MACHINE\SOFTWARE\Microsoft\Windows\CurrentVersion\Run and HKEY_CURRENT_USER\Software\Microsoft\Windows\CurrentVersion\Run
- Delete Registry Entries Permanently
To remove deleted registry entries permanently, right-click on the Recycle Bin.
- Give Your Machine a Restart
To activate the registry modifications, restart your computer.
Method 6: Reset the PC
It is possible to fix VSServer.exe problems brought on by recent updates or changes by running a system restore. Adhere to these specific instructions:
- Make Use of Windows Repair
In the Windows search box, type “Windows Restore” and hit Enter.
- Click on Reset PC
In the section that shows information about resetting, select the “Reset PC” option.
- Comply With the System Restore Guidelines
To start a System Restore, adhere to the on-screen directions.
Users can successfully resolve VSServer.exe-related issues by carefully following these comprehensive steps. which walks them through the difficult process of restoring their PC to a previous state.
Conclusion
These methods are the only way to remove VSServer from your Windows system. To avoid facing Windows errors caused by VSServer, you can regularly check your computer using malware programs. For other related issues, take advantage of Resource Monitor to fix problems.