The Nvidia Control Panel is not opening on Windows 11. The control panel gives the users maximum features and advanced options. Gamers and professional users tweak the graphics card for performance and clarity. Many have complained that the GPU user interface is not opening on the latest Windows operating system.
Contents
What Is Preventing the Nvidia Control Panel From Opening on Windows 11?
Almost every user faces the GPU user interface launch issues once in a lifetime. Many reasons are contributing to the launching issues. We will look into the problems and solve them through viable solutions.
Outdated Operating System:
Update your Windows to the latest version and install the missing components.
Conflicting Processes:
We install multiple programs and drivers for the connected devices. Some of them may conflict with the Nvidia Control Panel. Unfortunately, I can’t suggest a few culprits. You have to identify them manually. Uninstall the unnecessary drivers or programs from the system.
Outdated GPU Drivers:
Nvidia releases new driver updates to support the latest software and hardware demands. Many gamers downgrade the drivers because they are getting better performance on a game. Take the step forward to move on to the latest driver version.
Corrupted or Wrong Driver:
GPU drivers are corrupt due to corrupted system files or malware attacks. You may have installed the Windows Update drivers and not the package downloaded from the Nvidia website. The Windows Update GPU drivers don’t come with the GUI.
#1: Update and Restart Windows 11
You haven’t installed the necessary Windows Updates yet. Let me walk you through the updating process.
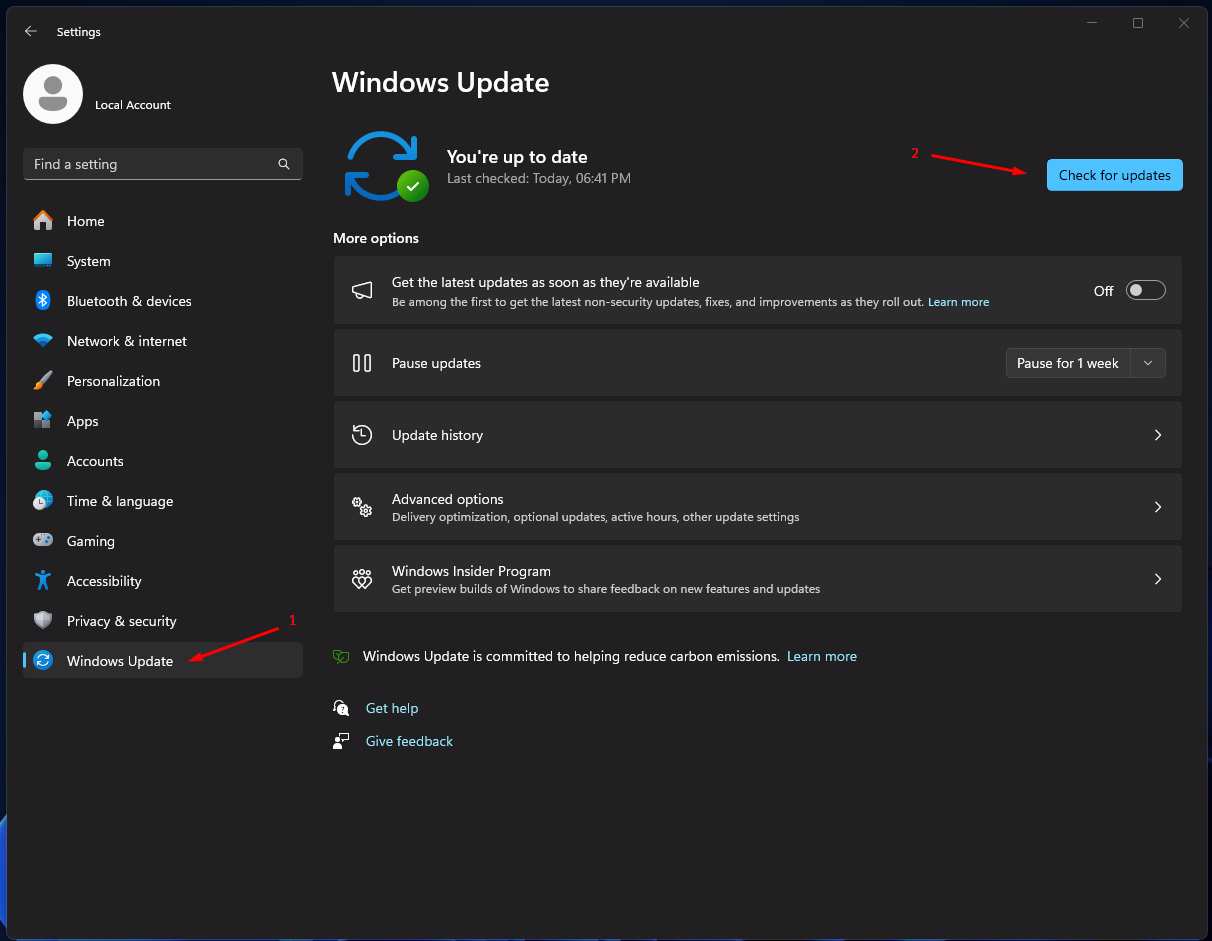
1. Press the Windows Key + I to launch the Settings.
2. Click the “Windows Update” option at the end.
3. Click on the “Check for updates” button.
Leave the computer idle and let the operating system automate the rest of the task. Do not skip the restart part even if Windows suggests twenty minutes to install the updates.
End Conflicting Background Processes
Gamers install multiple tools on the PC to tweak the performance. Some programs control the CPU and GPU performance. Uninstall the overclocking tools to fix the Nvidia Control Panel launch issues. Also, remove the previous GPU drivers from the PC.
1. Press the Control + Shift + Escape keys together.
2. Click the “Processes” on the left sidebar in the Task Manager.
3. End conflicting or old drivers from the system.
Restart the computer, and do not hesitate to remove the useless folders from the program data. Do not delete the folders unless you know what you are doing.
Update NVIDIA Graphics Drivers
Outdated Nvidia graphics won’t perform at maximum capacity with the latest Windows OS. Many game developers are using modern elements to improve the graphics and performance. You have to keep the Nvidia GPU drivers updated.
1. Go to the GeForce Drivers official page.
2. Download the program.

You can download the drivers manually.
3. Install the latest drivers.
Gamers won’t be happy about the news. But everyone must move on with the latest updates to support the games.
Wrong Graphics Drivers (Reinstall)
You may have installed the Windows Update Nvidia drivers. Unfortunately, Microsoft servers don’t have the Nvidia GUI in the package. The graphics card works flawlessly, but you can’t access the GUI features. Uninstall the drivers and reinstall the package from scratch.
1. Download Display Driver Uninstaller.
2. Download Nvidia GPU Standalone Drivers.
3. Turn off Wi-Fi or remove the internet LAN cable from the system.
Boot the system in Windows Safe Mode and uninstall the driver using the DDU tool.
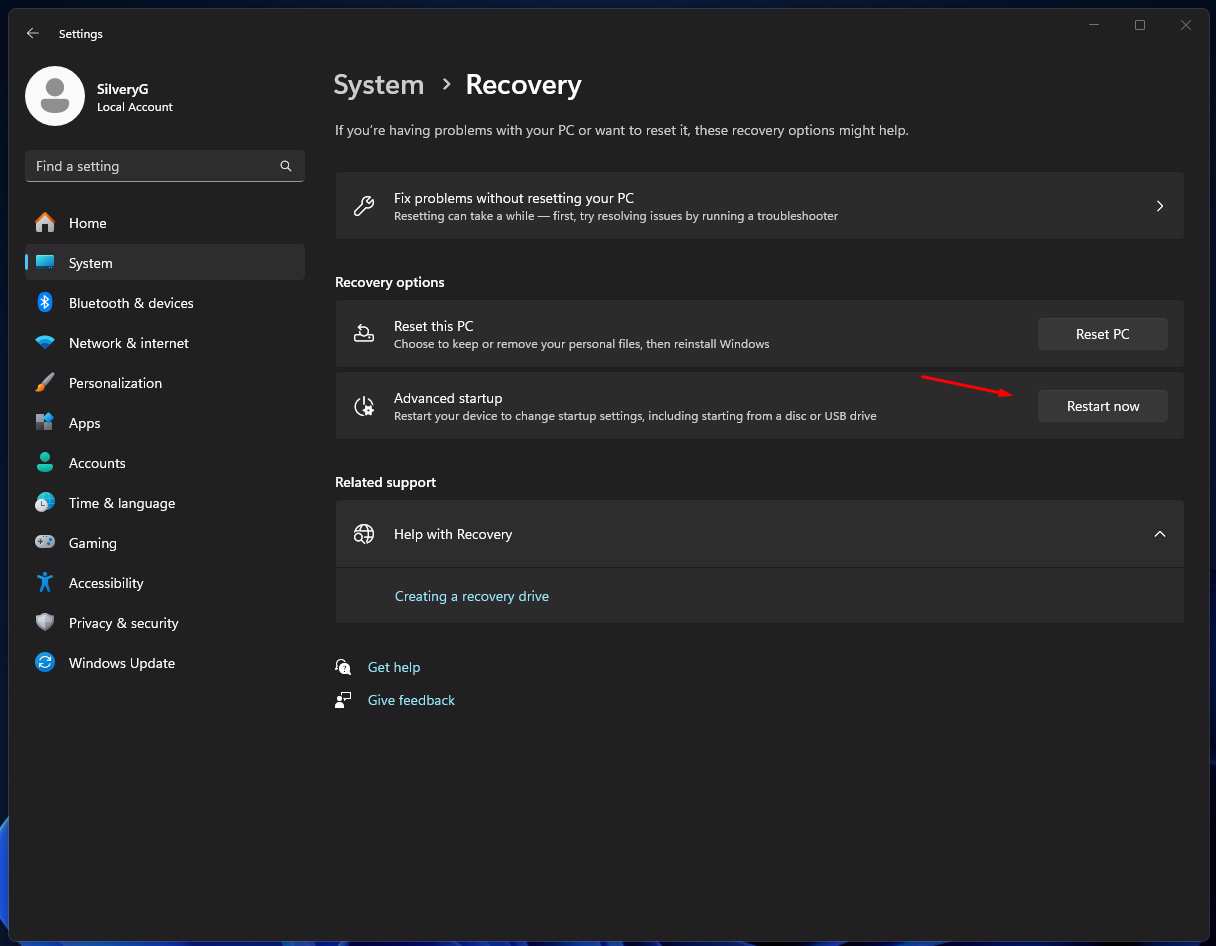
4. Press Windows Key + I to open the Settings.
5. Select “Recovery” under the “System” options.
6. Click the “Restart now” under the “Advanced startup” option.
7. Select “Troubleshoot” after the system boots into Safe Mode.
8. Select the “Advanced option” option.
9. Select the “Startup Settings” option.
10. Click the “Restart” button.
11. Press the 4 key upon restart.
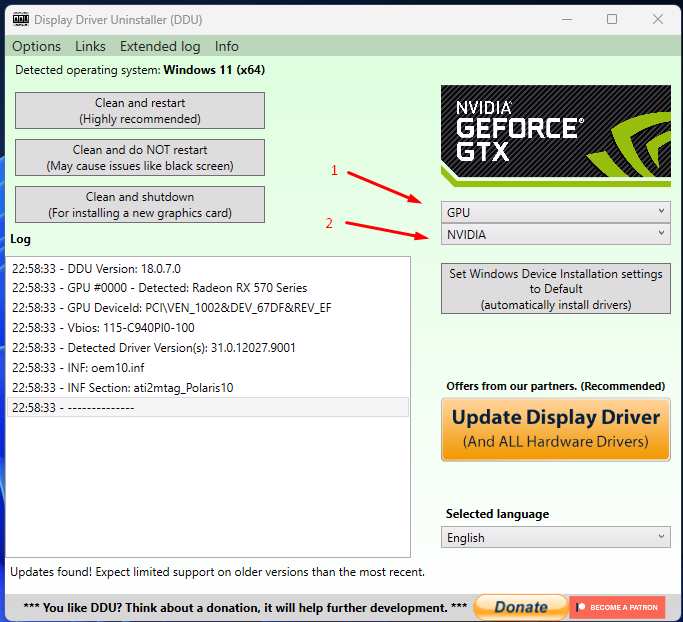
12. Launch the DDU program.
13. Select the “GPU” option.
14. Select the “Nvidia” option.
15. Click the “Clean and restart (Highly recommended)” button.
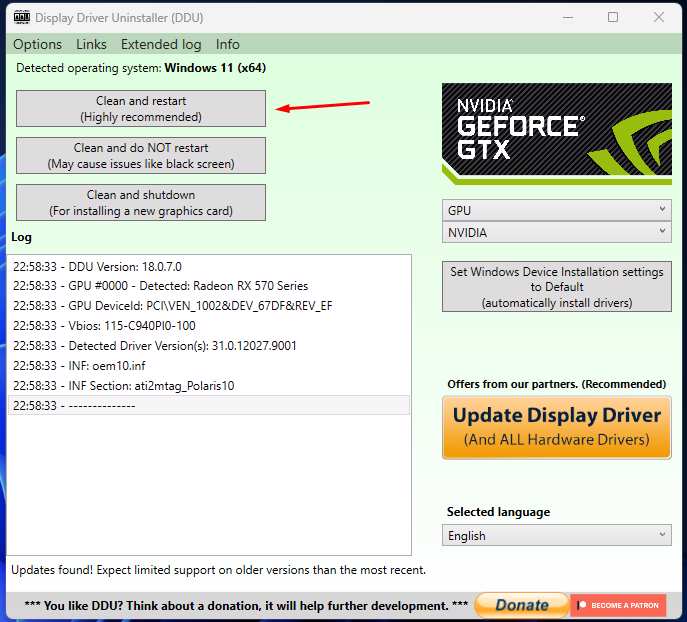
16. Reinstall Nvidia GPU drivers after the restart.
Do not reconnect the Windows PC to the internet. Install the fresh Nvidia GPU drivers with the GUI, then connect the PC to the internet.
Bottom Line
Reinstall the Nvidia Control Panel to fix the corrupted files. I request the readers reinstall the Windows OS if similar issues are happening on other programs. Let us know how you solved the GPU drivers issues in the comment section.