Microsoft has become one of the major platforms for PC, Laptops and even Tablets now. They were not able to scale that much on a smartphone platform, but Windows did a fabulous job when it comes to taking heavy tasks like Designing, Media, Entertaining and more.
However, even Windows has few flaws or should I several flaws occur in one year. The flaws are known as “ERRORS,” which forced Microsoft to gather incredibly talented programmers, who love Windows and use it to complete the daily task.
Data Recovery Software?
I use Windows 10 on my Laptop and PC, I have faced more than 100 Errors in a year, which is insane considering the number of teams the Microsoft has gathered to resolve the issue in the form of Update.
Data is something, which we store on any laptop but when your Laptop dies because of errors or hardware failure, then you are in a devasting situation. We are going to show you how you can recover the lost data from any Windows running PC or Laptop step-by-step.
#1 – Download & Install
Step 1: You need to download a software called EaseUS Data Recovery Wizard Free. Which is available for free of cost and the file size is only 16MB.
Step 2: Once the download is finished, let’s begin the installing process.
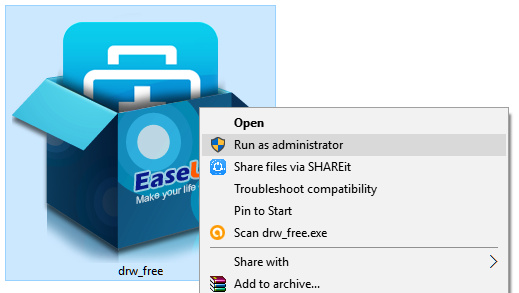
Step 3: Open Downloads > Programs > DRS – Run the program as Administrator.
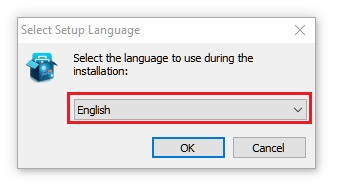
Step 4: You have to select your preferred language.
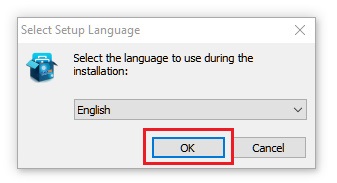
Step 5: You have click on “Ok.”
Step 6: The Main Window will pop-up, and you have click on “Next.”
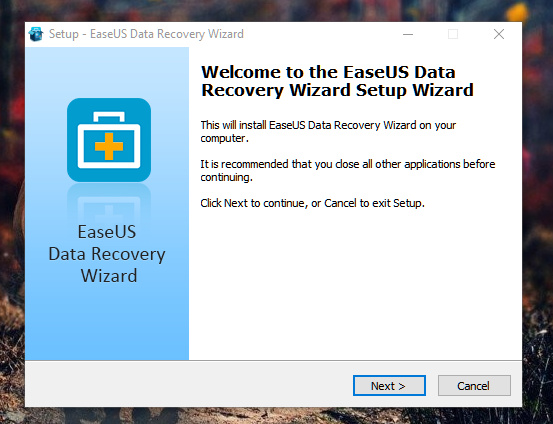
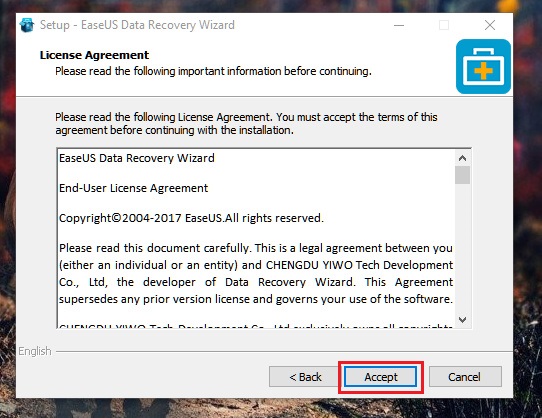
Step 7: Make sure to read the Terms and Conditions before you begin. Once you have read the Terms, then hit “Accept.”
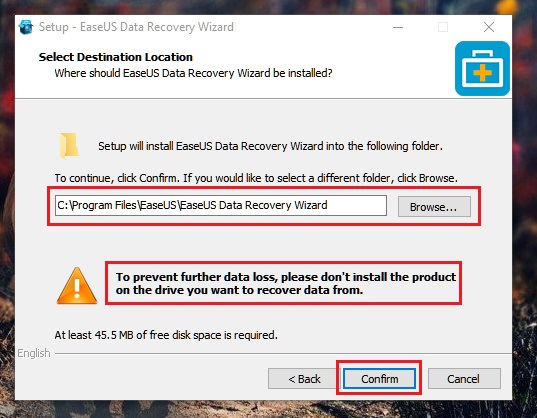
Step 8: You should not install the program on the partition, which you want to recover. You can change the location to another partition by clicking on the BROWSE, then hit “Confirm.”
Step 9: Install.
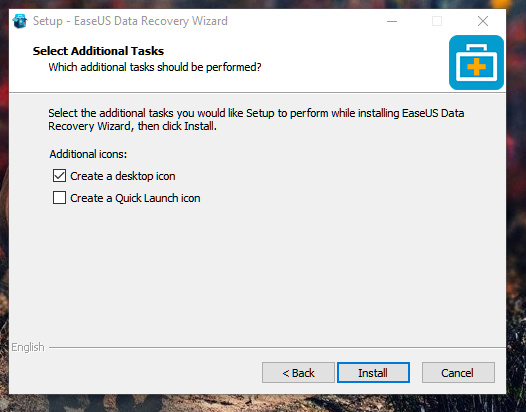
Step 10: The installation will begin.
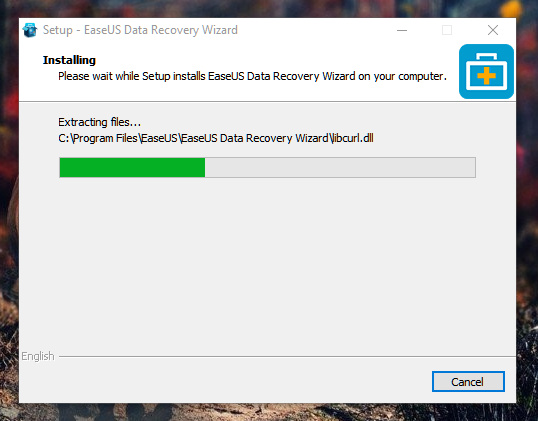
The program will be installed within one minute so be patient.
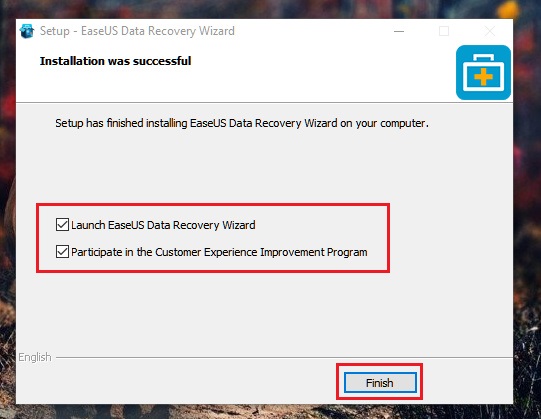
#2 – Recovering Data
Step 1: You can find all partitions on your Windows PC (Make sure you have installed the program in the same Partition, where you installed the EaseUS Data Recovery).
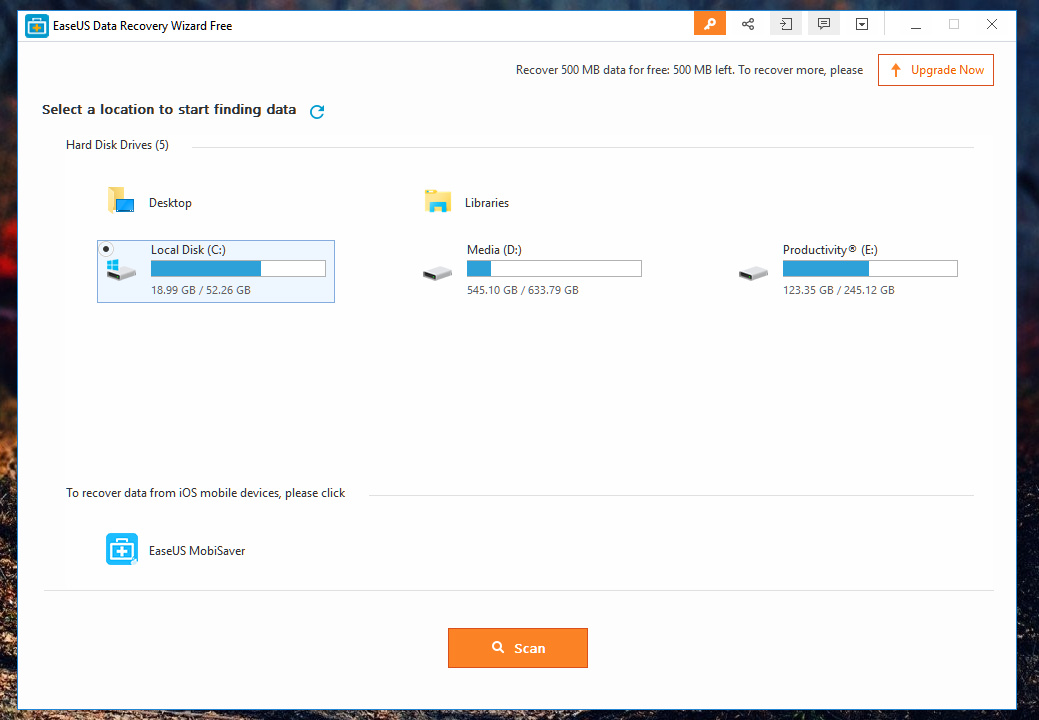
Step 2: You have to select the Partition, which you want to recover the data.
Note: I would recommend you to create a separate partition for recovery software if you have only one partition for all uses.
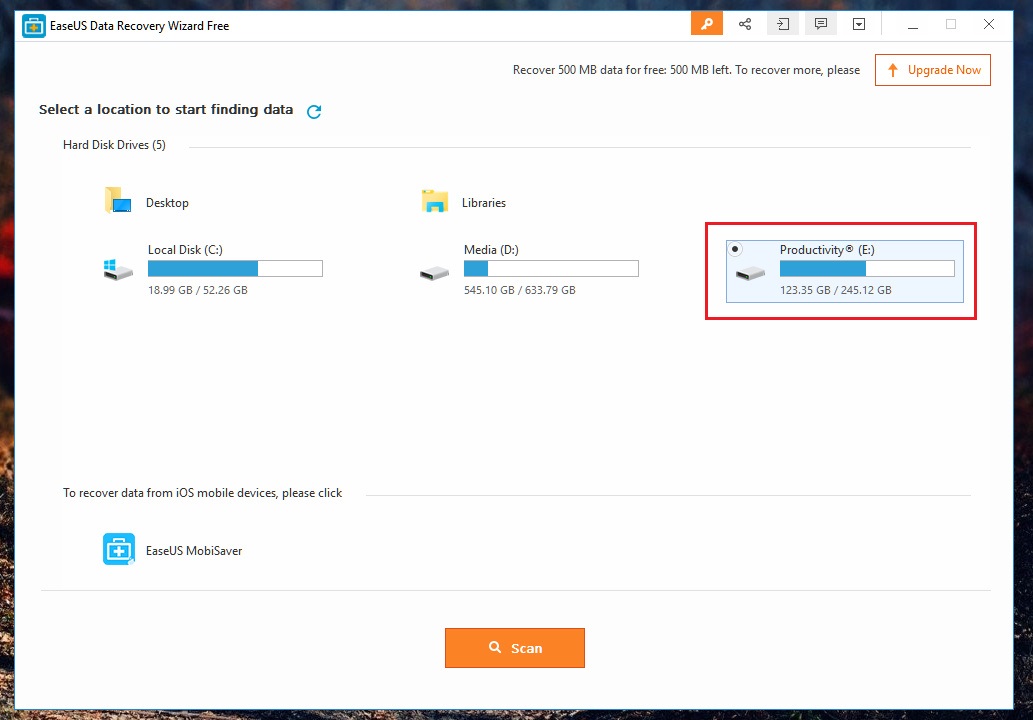
Step 3: Once you select the partition then click on “Scan.”
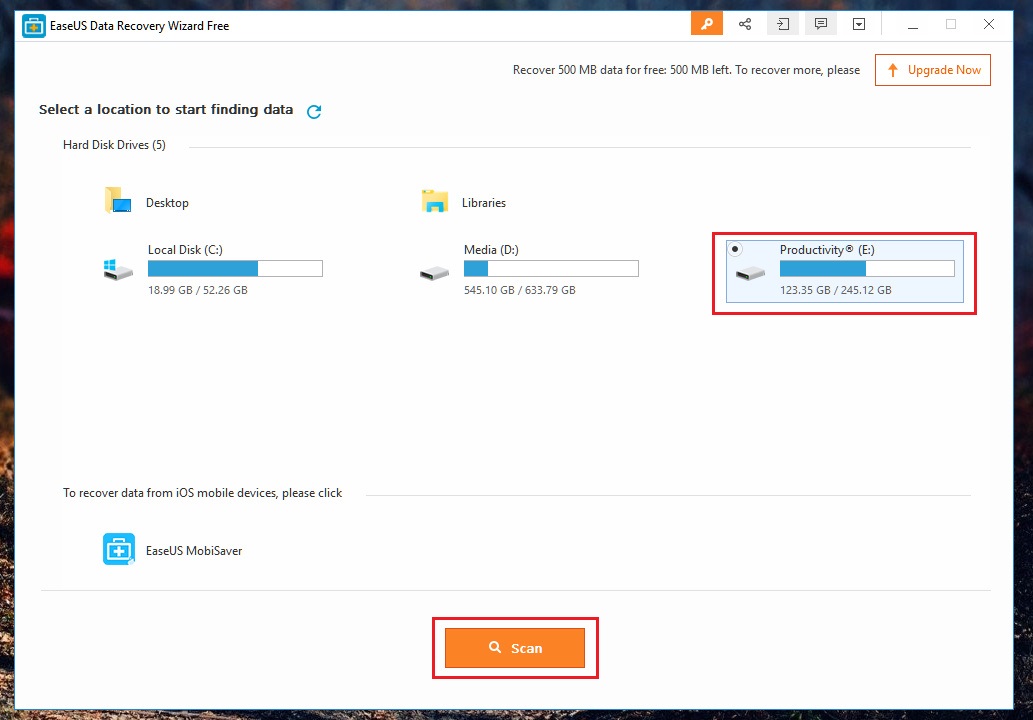
Step 4: The scanning of that selected partition will begin.
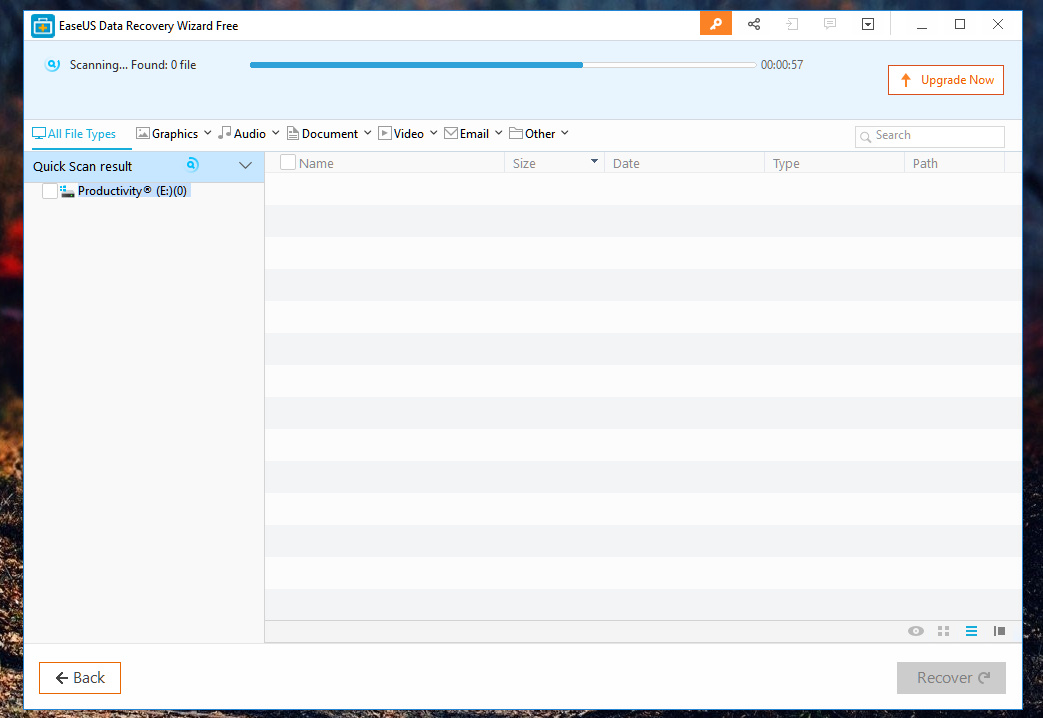
Scanning will take more than half an hour to complete, but you will find the files you are looking for within minutes.
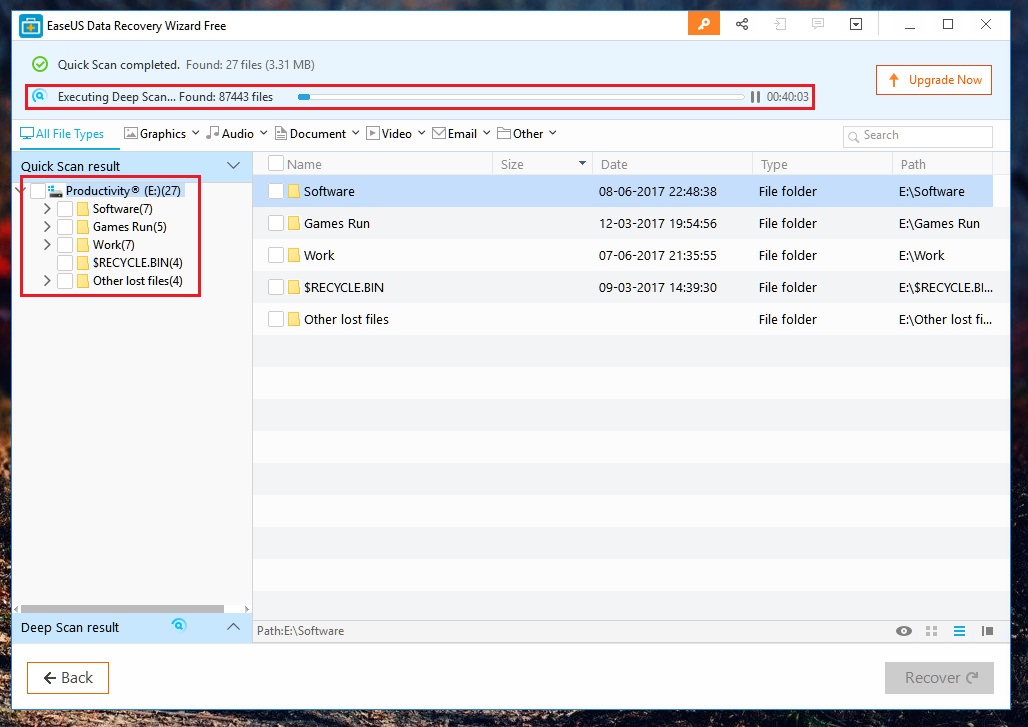
Step 5: Once you found the file you are looking for then,
- Select the folder (i have selected “Other Lost Files“),

- Choose the file you want to recover,

- Now you have to “Mouse-Right-Click” and click on “Recover.”

- A Window will pop-up, and you have to “Save” the file, you can browse the folder or destination path to save the file.

- You can repeat the same process until you find the file you want to recover.

Things You Need To Know About?
The EaseUS Data Recovery is a freeware, which comes with a Pro version or you can call it a Premium version unlocks some of the premium features that can help you recover data after a deep search.
The whole process (Setup and Installation) will take you five minutes to ten minutes depends on your speed, but if you follow my steps correctly, your progress will be faster. Not only that, you can multiple files fast once by using ALT + Left-mouse-click,
Remember, once the scanning is started, you won’t be able to see complete DATA until the scan is finished. The average time the scanning took to complete is half an hour and i was to recover more DATA than i have anticipated.
Conclusion
I liked the EaseUS Data Recovery because it does come in handy when you need a professional software to take of Recovering Data from your PC, which will also save your time with you are going to spend with an expert.
We know that you had doubts and lost somewhere in between of the steps, do not panic, we’re always here to guide you. Shoot your Opinions and experience in the comment section below.


