Microsoft has been working on optimizing the Windows latest version so that they can give the customers what they want under a minimum system requirement. It is a challenging task for them, but they are now moving towards adding more inbuilt programs and options that will give your insight and access to the features like Edge.
Windows 10 comes with an inbuilt Mail program, which comes with several basic and advanced functions. You can add your email and password to start Viewing and Sending emails. One of the reasons why you should go for it because you don’t want to open the browser and log in every time to take a look at your unread emails.
Quickly Configure Custom Domain Email in Windows 10
Those users with basic knowledge can quickly set up a Gmail, Yahoo, MS, and more account but set a custom domain email in the Windows Mail requires guidance. We are going to fill that gap and help you set up your custom domain email in the Windows 10.
We are going to guide you step-by-step and make sure to read the whole process, then try it.
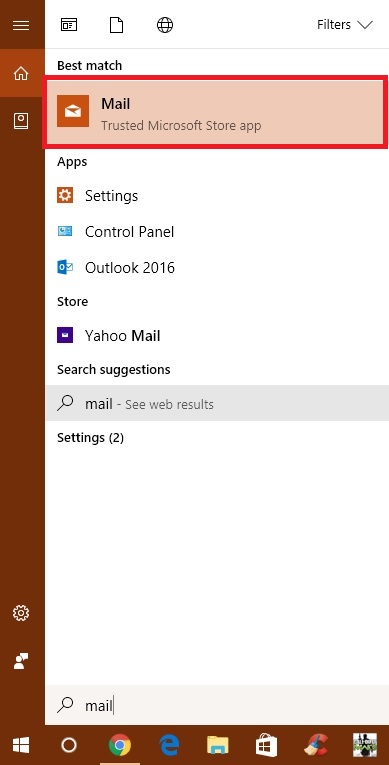
Step 1: Type “Mail” in the search bar and Run as administrator by clicking right-mouse. You can even open the Mail program from the start menu, if you have disabled or removed it from the start menu, then Cortana or search will come in handy.
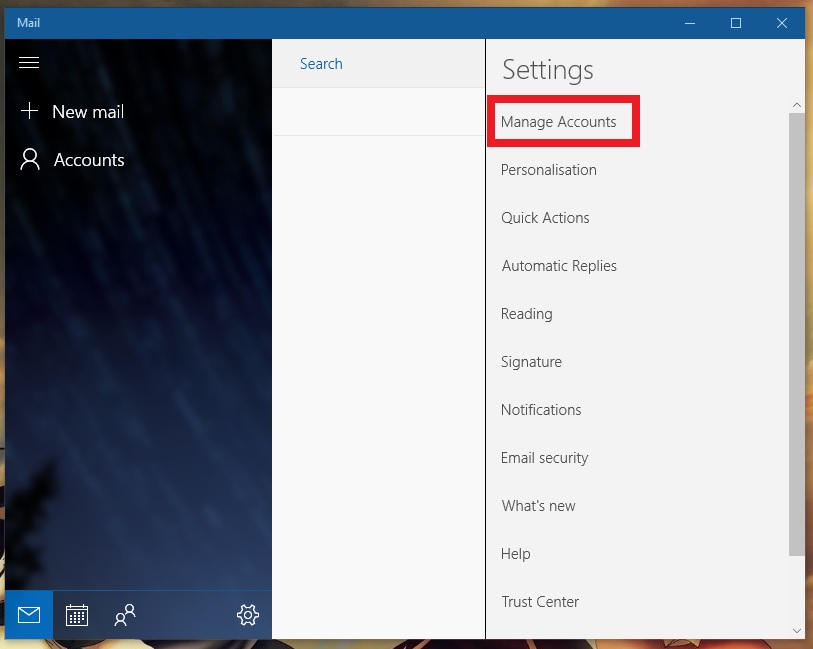
Step 2: In the bottom, you can spot “Gear or Settings” icon, click on it.

Step 3: There’s only one option with two names “Manage accounts” or “Accounts,” click on it. The name might be different but the purpose will remain the same, the name difference is happening because of the build number.
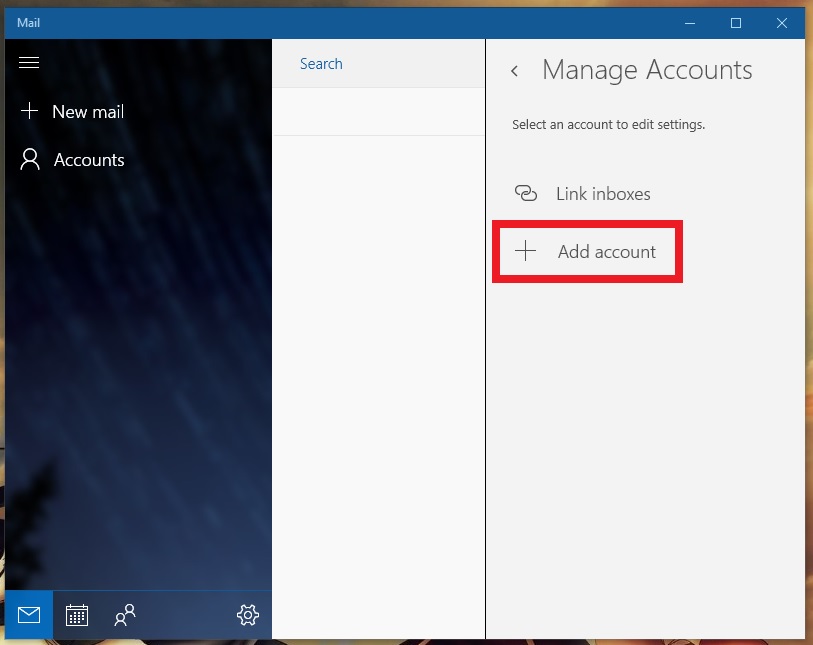
Step 4: Now click on the “Add account.” If you are confused, then you can take a look at the snapshot, and you will find the same option in your Windows 10 no matter which builds it is.
Step 5: A window will pop-up, and you can spot “Advanced setup” or scroll down to the option is visible.
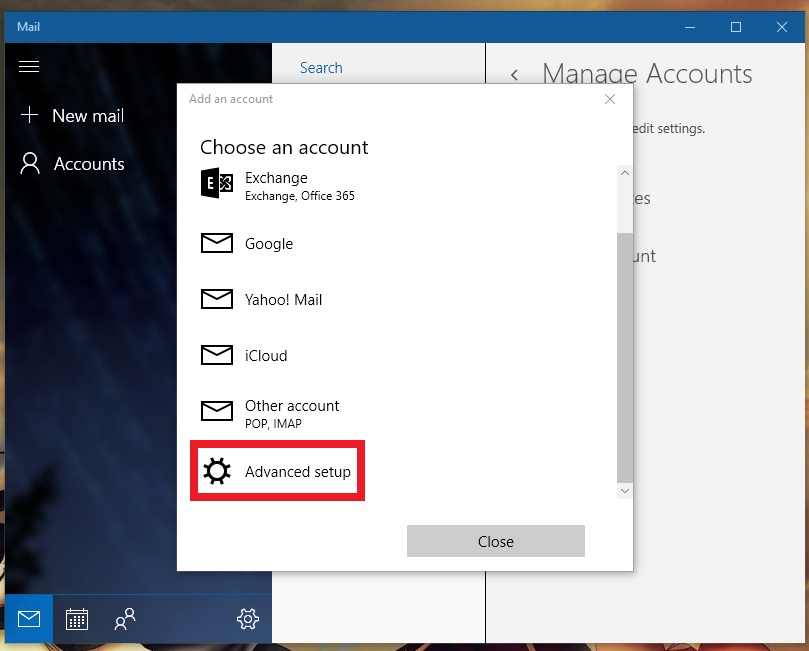
Note: If the Mail app goes non-responsive mode, then restart the PC and clean the PC using CCleaner, which will remove all unnecessary files and memory dumps.
Step 6: Another Window will pop-up and select “Internet Email.“

Step 7: Fill up the empty blanks with your LOGIN CREDENTIALS of your website email.
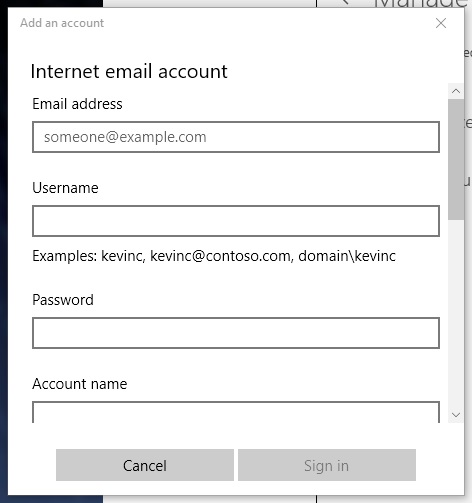
Note: All empty fields are about your blog or website email login details. You have to enter pre-existing official website email address credentials in the area, or you have to create a new account in your hosting account, or else it won’t work.
- Email address – Your website email, example: [email protected].
- Username – Registered username of your email.
- Password – You must add your password used to login [email protected] email account.
- Account name – It is nothing but a name to recognize your website email account among multiple email account.
- Send your messages to this username – Leave it as it is.
- Incoming email server – Copy and paste it in this field “Pop.secureserver.net.”
- Account type – Click (There will be two options) and select Pop3.
- Outgoing (SMTP) email server – Copy and paste this “Smtpout.secureserver.net“
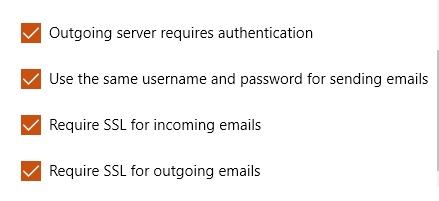
Step 8: Leave these options ticked and do not mess with them unless you are confident that you know what you are doing. Remember, if you have made any mistake, then delete the account right away and begin from the step 1 to save time in fixing it. It’s faster to create a new one than figure out to fix it.
Step 9: Now click on Sign in, within few seconds to minutes you will be able to see all of your emails loading in the Mail App. Remember, sometimes it takes longer than ten minutes to load all messages due to the Internet speed, or some emails are taking too long to load.
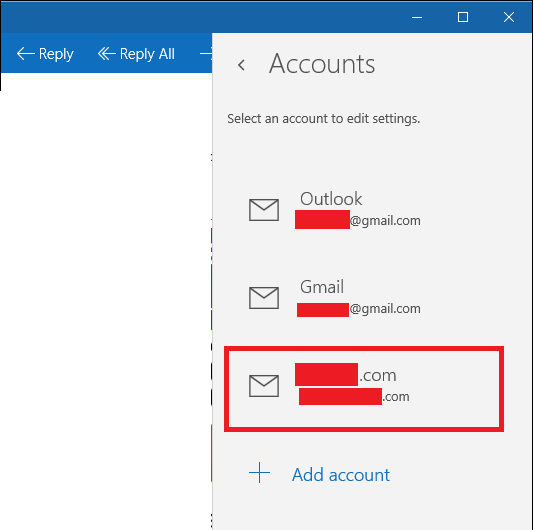
In case, if this doesn’t work do not panic because it might be a simple error (Mostly happens with your website hosting provider.) Keep on trying again until you are fully connected with your hosting account. Remember, once appropriately synced, and you no longer have to worry about waiting to load.
Conclusion
It isn’t that difficult, is it? We have shown you step-by-step process, and if things go wrong, then we are always here to help you. We will assist you if any problems occur during the setup, so make sure to comment below.