A computer system available in the house has many up and down moments that is many moments that some new file is introduced to the computer and by down it means the time when someone else accidently deletes some important document of your. When something like this happens it is a very tragic moment for you if the file is not recoverable from recycle bin, it is thought that the file has vanished from the system. But, the truth is that the file is still available from the memory of your system unless or until something really big has been installed. The way to recover the data that is available on the memory at different location can be retrieved through data recovery software. One of the best Data Recovery software is the one from Wondershare. It should be understood that each of these is software is paid but, Wondershare provides you a free version of the software that allows you to examine the software and try its capability. The trial version is easily downloadable and install-able, the restriction provided by the trial version of the software is that anything equivalent or less than 100 MB is only recoverable.
Download free recovery software for Windows
Download free recovery software for Mac
Wondershare data recovery software the best way to recover deleted files quickly
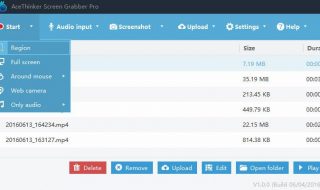
Startup
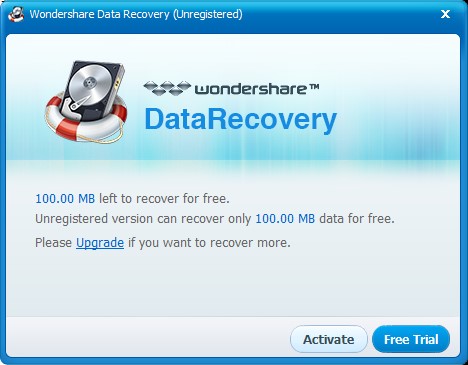
The home screen allows you to select amongst two options, which are Activate and free trial. The activate button will allow you to buy this software and will remove the restriction of only 100 MB recoverable restriction for the specified period of time. The second option that is the free trial of the software brings you to the second screen of the software, which allows you to select among two option one is to select the wizard that provides you with different options to complete the task at hand and the other one is a detail do it yourself option which should be completely a no, if you are a first time user of the Wondershare data recovery and are using it because of the fact that some one in your house has deleted the file that was required by you.
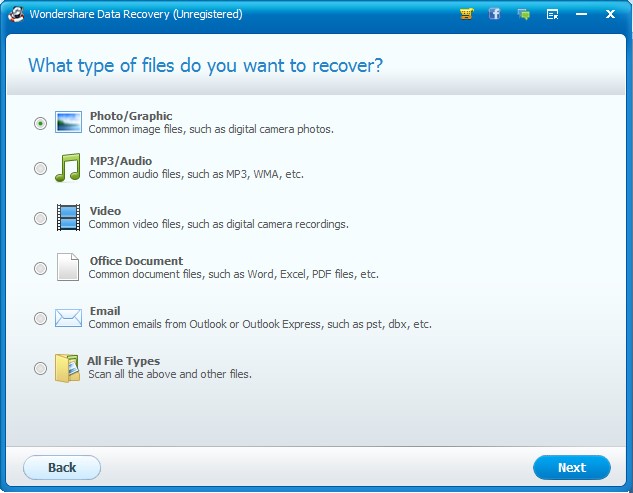
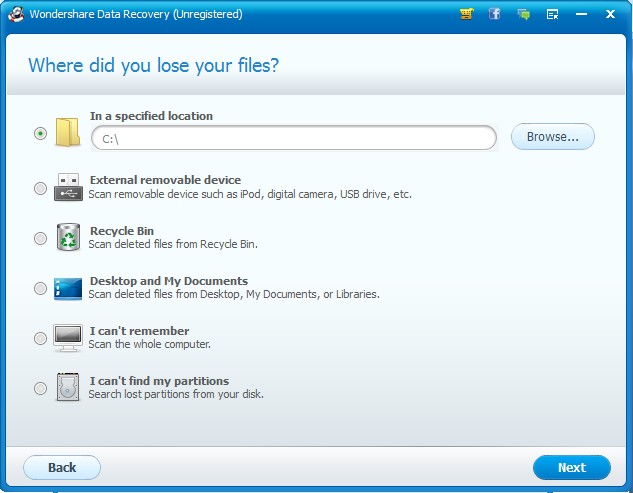
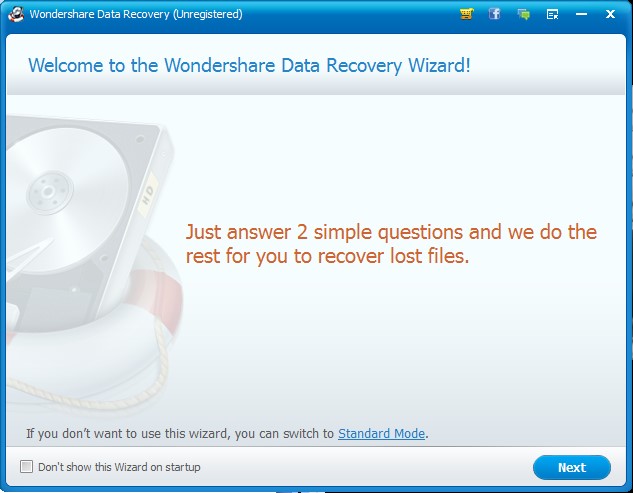 Simply click the next button in the second window, and if you like you may select the check-box available button on the right hand corner of the window which states that don’t show this wizard on startup means that this screen that you are currently viewing will not be shown to you anytime you load the software. The next step is to select what type of file retrieval is required by you as seen in the screen shot there is a wide variety of options to choose from. Like the photo options, the music files options etc. If you are still unclear of what type of file its was that you want to recover you may select the last option that allow you to retrieve all the files that were lost due to deletion on the personal baby. Click on next after the selection of your own choice.
Choose the document or the file to restored
The next step of this recovery software is to select the place that you want to search to retrieve that specified kind of file. As seen above the software here as well provides you with abundance of options like selecting a particular drive or a detachable device or lastly if you done remember select I don’t remember option which will retrieve all the files that were deleted and have not still have been over written by any other file available. Please understand this very accurately, that the size that you locate for searching directly is linked to the time that will be required to search that part of the system or the whole system as specified by you in this step.
Choose your laptop or desktop drive
The last step of the restoring the file is to let it scan your system to check for all the non overwritten files available on the system. As specified before it will take time which is directly proportional to the length of the memory specified by you. After the scanning you are required to select a specific type of file for which you want the listing for. Lets say you want to view all the mp3 files. Then you are required to select the .mp3 extension from the music type available on the left hand side. The last thing to do is to select the file that you would like to recover and select the option available in the Wondershare, which is recover and the file will be available when recovering is complete on the same place from which it was deleted.
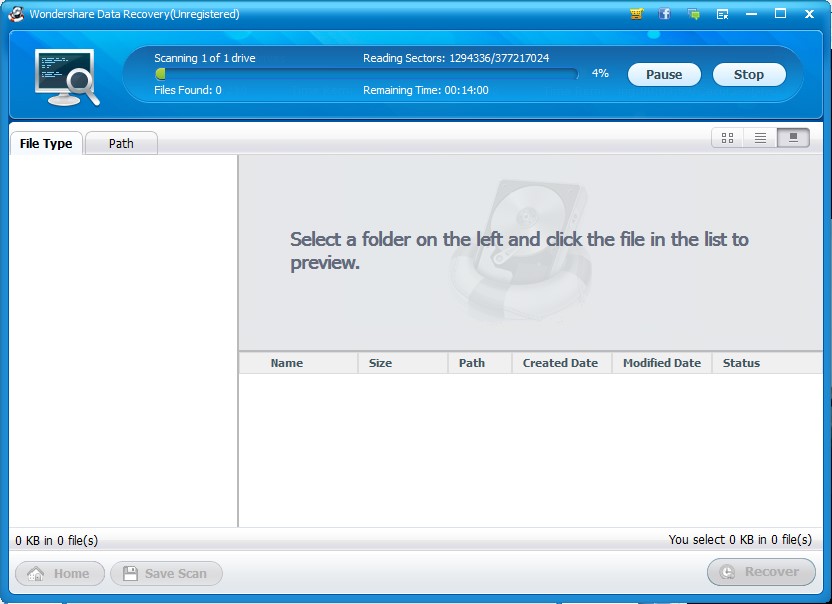
Searching for files
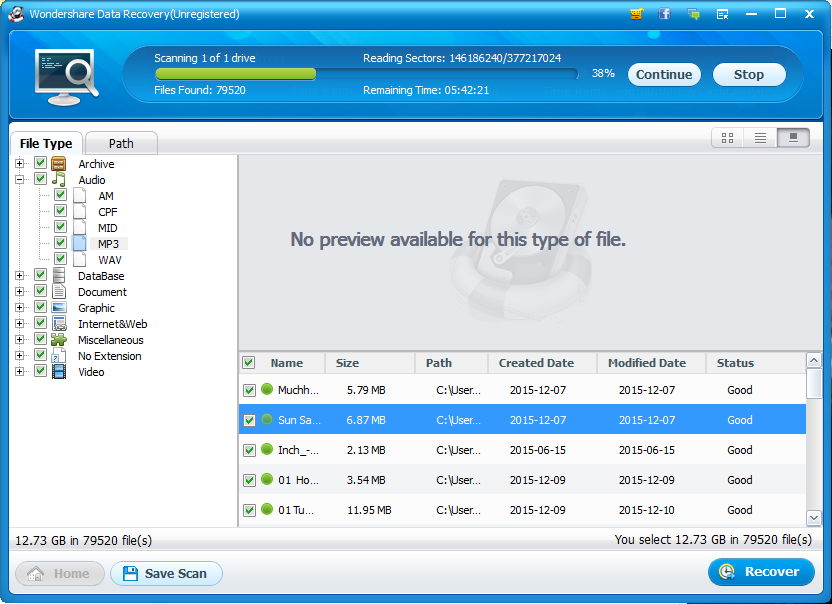
Files that can restored back to drive
Final Thought
Wondershare data recovery seems to save your back when you have accidentally deleted an important document from your system running Windows 8.1 or Windows 10