Windows 10 is the latest version, which the company is promoting in the market as the flagship operating system. Microsoft has added new features to the Win10 creators build, and they have released various build-version for this operating system.
However, that does mean Microsoft has ditched their old functions and features, which happen to be the better solution than the newer ones. Windows comes with an inbuilt tool which allows you to diagnostic your PC performance.
Quickly Check RAM Performance With Windows 10 Memory Diagnostic Tool
Windows 10 comes with primitive tools, if you have used them in the past, then you will be familiar with most of the options and interface.
Among those several functions, we have a RAM or Memory diagnostic tool, which enables you to dig deeper into the RAM performance and gives you accurate information about the RAM health.
But, how to check it? How to use it? Where to find it?

We are here just for that, let us guide you the right path.
*1 Memory Diagnostic Tool
There is no such option called “Enabling or Disabling” the tool. So keep that out of your mind, The tool can only be used once at a time, you can run as many times you want, but it does not activate on its own.
No matter what the problem is with your RAM, these tools have no negative impact on your Windows PC.
Step 1: Close all of the existing programs in the Taskbar to begin. End every program in the taskbar, or else you might lose data or have a non-functional program after you restart your PC.

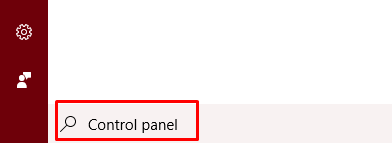
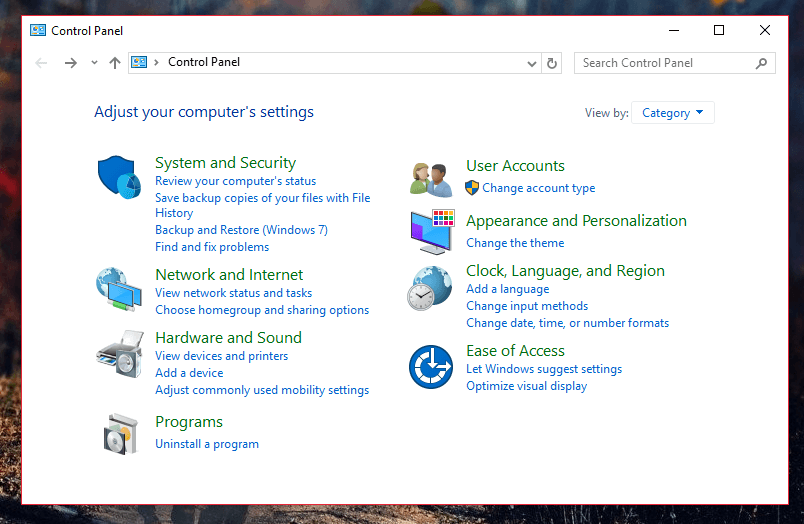
Step 2: Go to your search bar and enter “Control panel” or you can find it on the Start option.
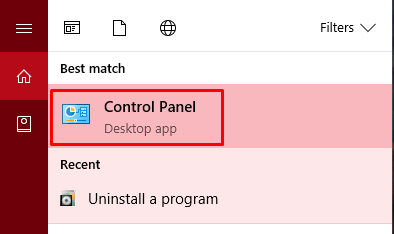
Step 3: The first result will be “Control panel, ” and you have to open to proceed to next step.
Step 4: In the snapshot, we have provided, your control panel may be a little different, but the options will remain the same, so do not worry about the interface indifferences.
Step 5: Above on the right corner, you will find the search bar (Any build-version).
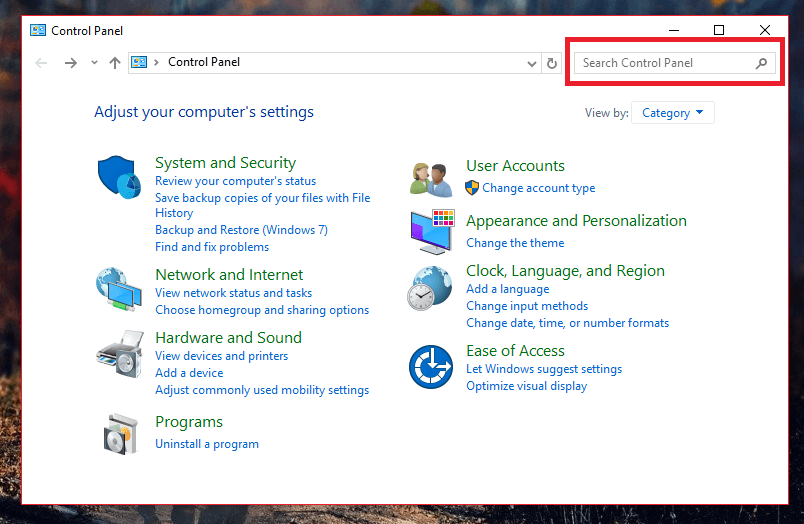
Step 6: You have to type “Memory” and hit “Enter.”

Step 7: These are the options you should be seeing in the control panel, right now.
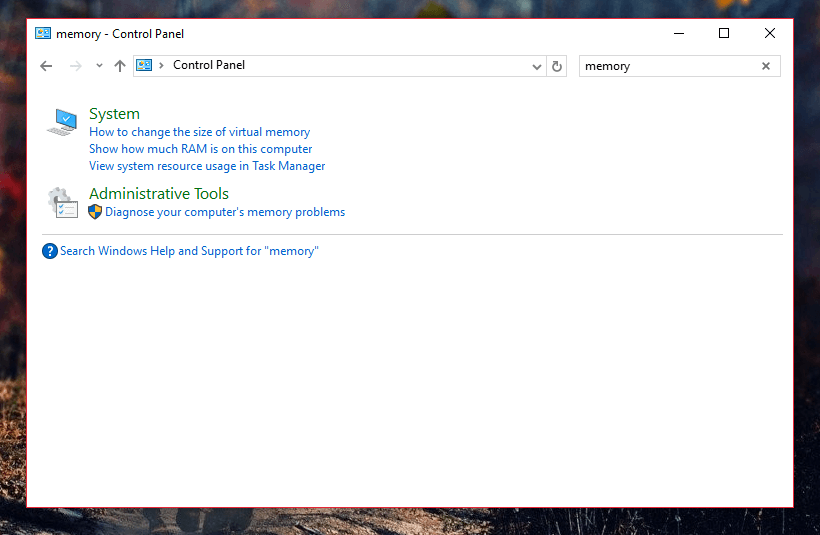
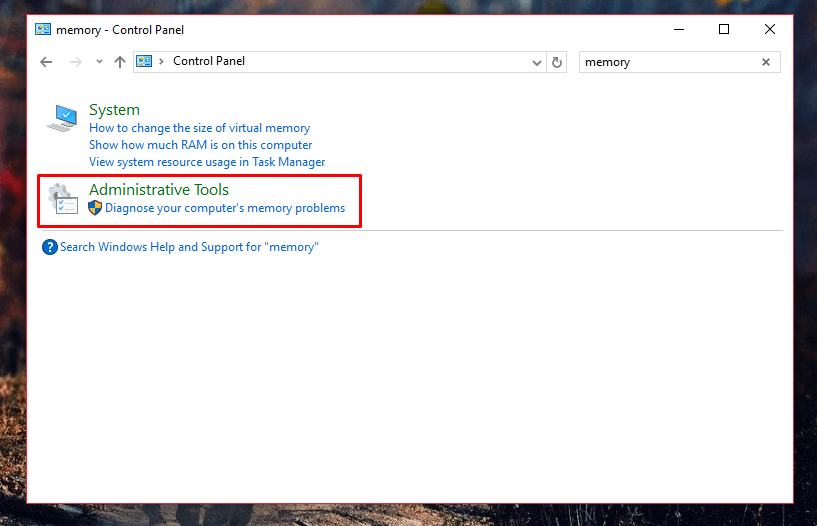
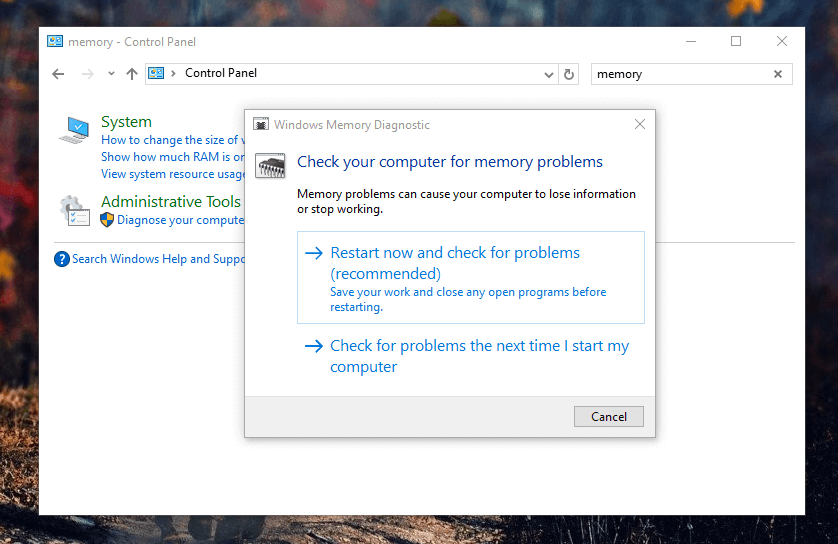
Step 8: Now, pay attention to the second option called “Administrative Tools – Diagnose your computer’s memory problems.”
Step 9: You have to click on the option, and you will have a pop-up in your Window.
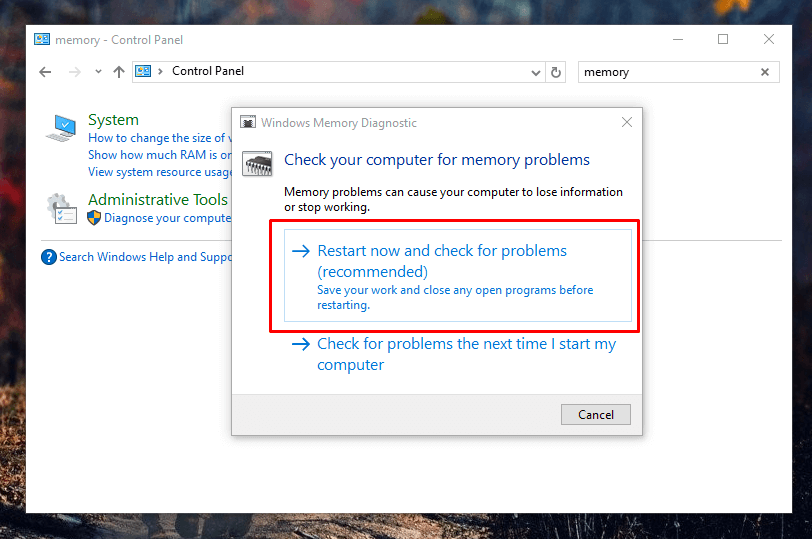
Step 10: In the Window, you have two options “Restart now” and “Check next time when I start my PC” close all your programs when choosing the first option.
Step 11: If you want to check now, then you have to click on “Restart now.”
Step 12: You computer will restart and make sure you are not manually restarting when it looks froze in between.
Step 13: The traditional XP-version look can be seen, it will bring back memories as well. You will have two options,
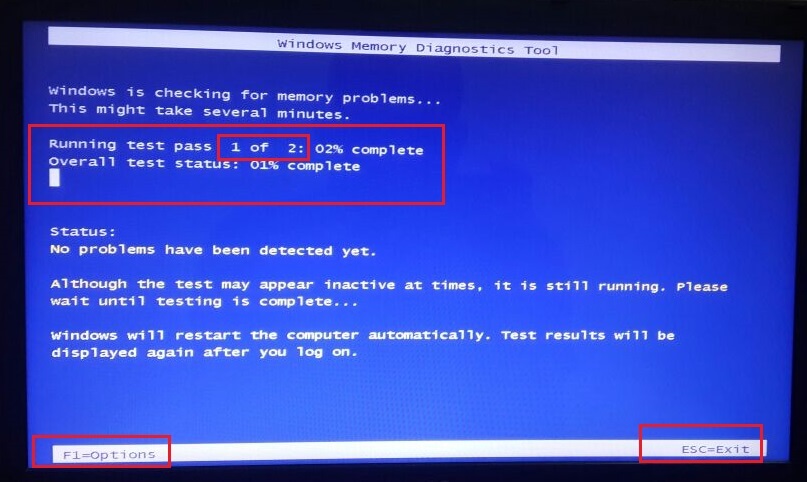
- ESC – ESC is also known as Escape, a key you can find on your keyboard you can cancel the process anytime by using ESC.
- F1 – If you are looking for advanced options, then you will all of it by clicking F1.
Step 14: In the “F1” options, you will find several options, which we suggest you keep out unless you are sure of what you are doing.
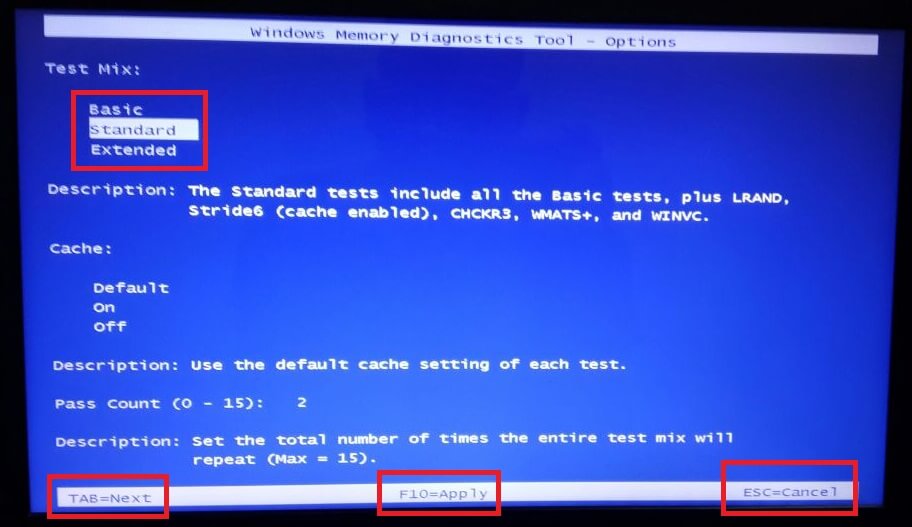
- Test Mix – This options will enable you to test all essential aspects, which will determine the average performance of the RAM.
- Cache – Do not mess with it because you may have inaccurate information.
- Pass count – It’s not an option, but it does give you an insight information on how many tests did the RAM has passed till now.
You have three option mentioned at the bottom,
- TAB – If you want to go to “Next” click on TAB button on your keyboard.
- F10 – Any changes you make on this page, you can click on “Apply” to proceed.
- ESC – Cancel, it will end the process and restart your PC regularly.
Note: By using the ESC button to end the testing tool in the middle of the process won’t hurt your PC in any manner.
Duration: To complete the two steps test, it will normally take 15 minutes to 30 minutes.
Conclusion
Extremely easy to use the tool, we have explained the whole procedure step-by-step so those who have a non-technical side can comprehend. Let us know what do you think about the diagnostics tool in the comment section.