The device category makes the developer’s and security team’s job easier. Later, Azure Security Group can lay down the parameters for the users. However, it’s not a piece of cake if a device has enrolled through the Hybrid Azure AD service. The system doesn’t assign the category at the time of enrollment, unlike the Mac and iOS devices. Let me show you how to create a new category.
What Do You Need To Create Category and Add a New Device?
We want to increase the success rate. I have listed the requirements you need to create and assign a category in Microsoft Intune
a. The account holder needs administrator privileges.
b. Allow the device to connect the MS Intune.
c. Active internet access to make changes.
d. A desktop with Chrome or Firefox browser. You can use Windows, Linux, and macOS machines.
We haven’t tested the method on Android or iOS devices. Let us know in the comments if you have tried to create the category.
How To Create and Manage Device Categories in Microsoft Intune?
We recommend the readers launch Chrome or Firefox without ad blockers.
1. Open the dashboard through the web link.
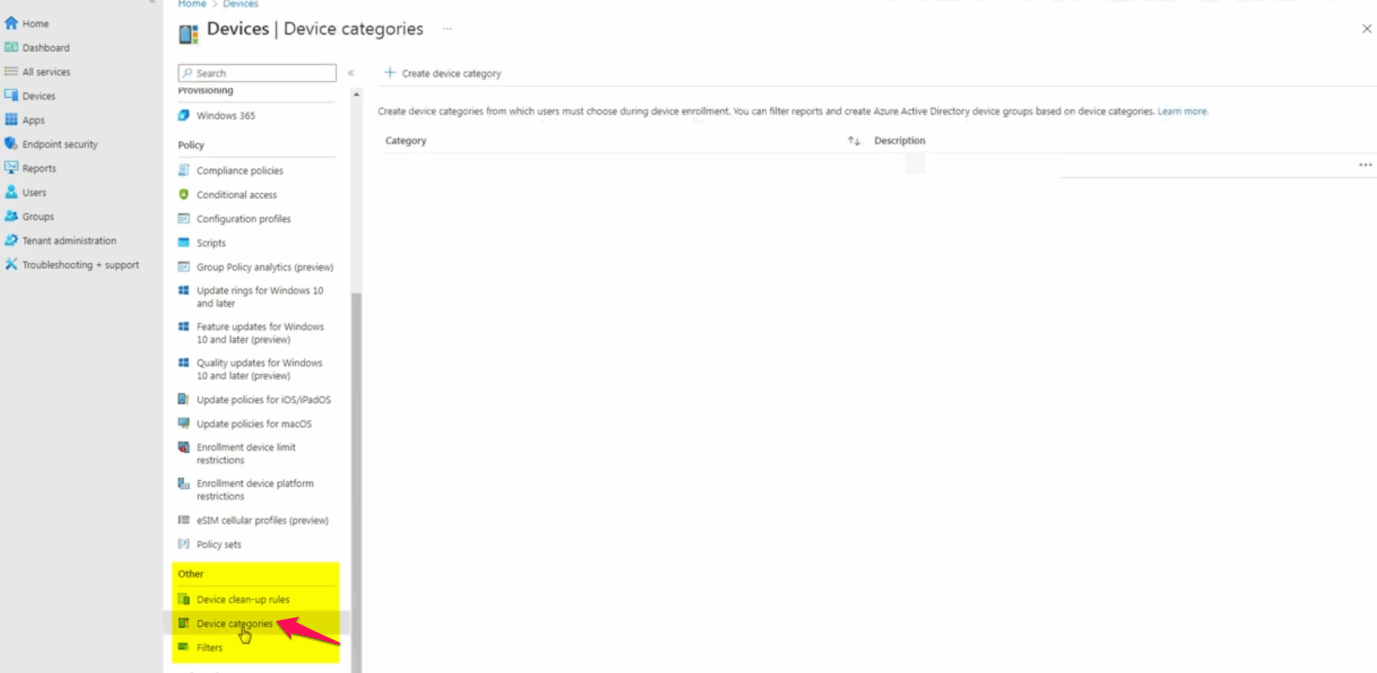
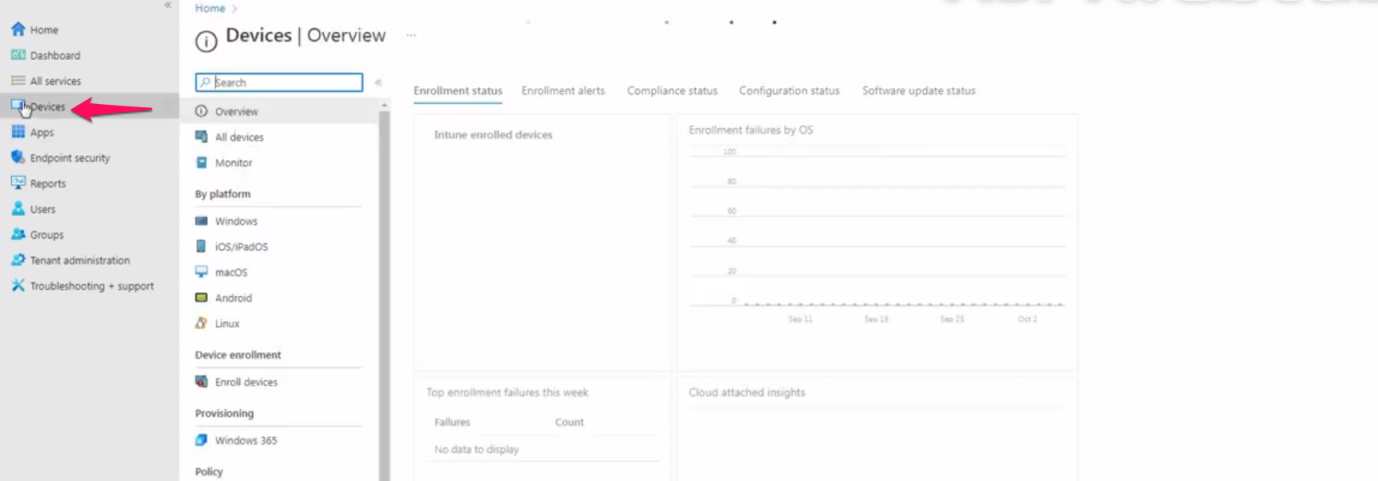
2. Click on the “Devices” on the left pane.

3. Scroll down under the “Overview” section.
4. Click the “Device categories” under the “Other” section.
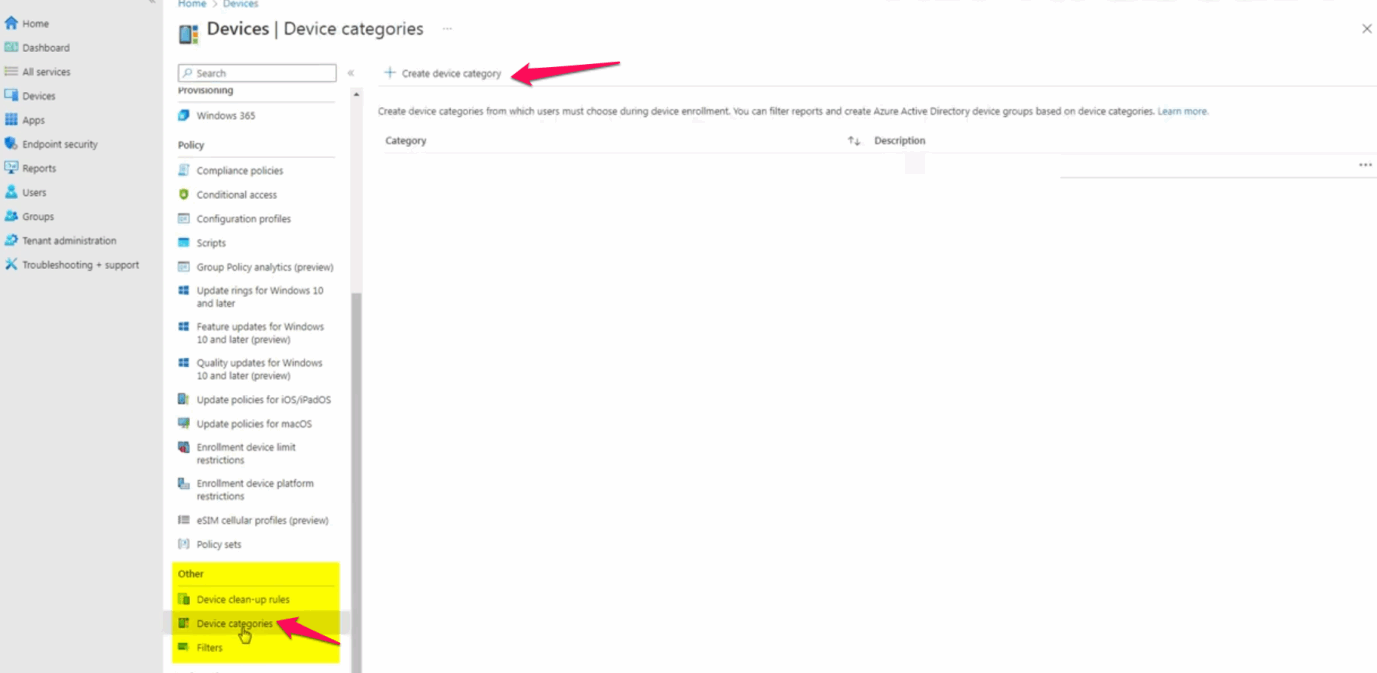
5. You will find saved Device Categories here.
6. Click the “Create device category” to categorize the devices.
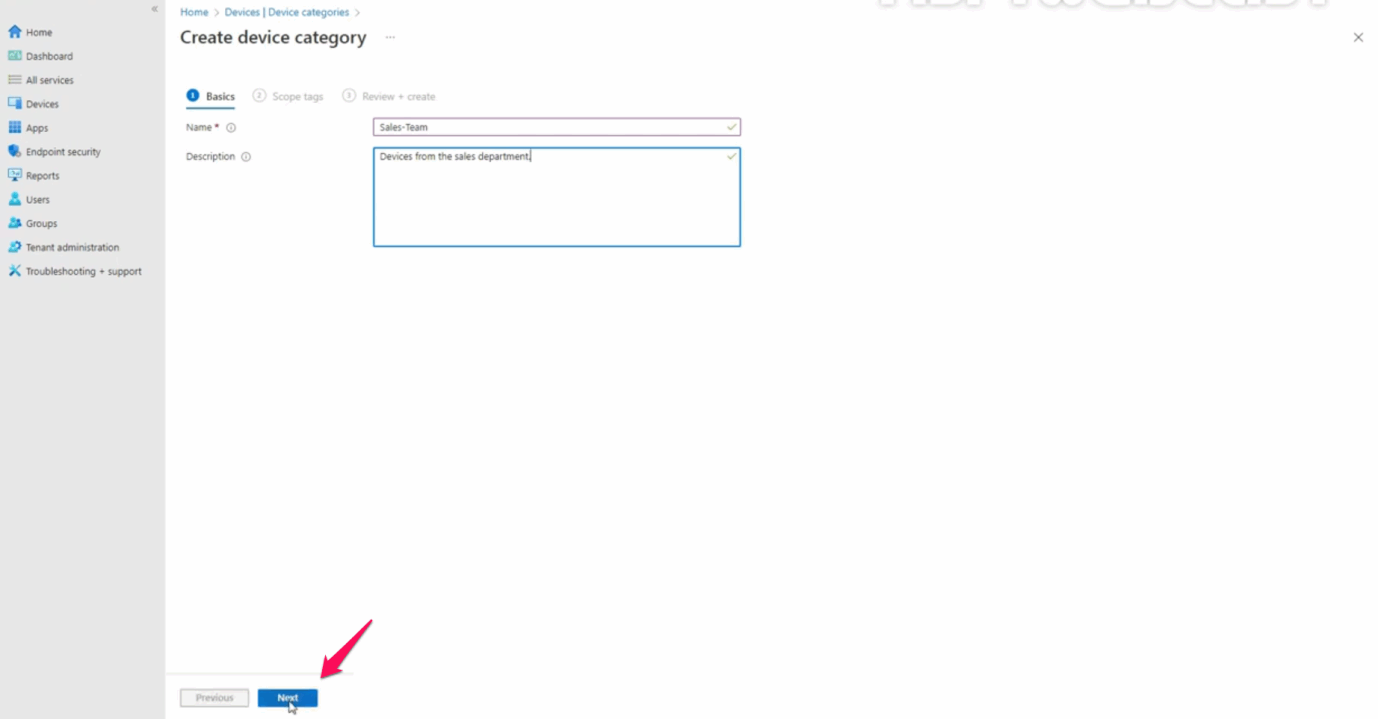
7. Give a name in the first blank.
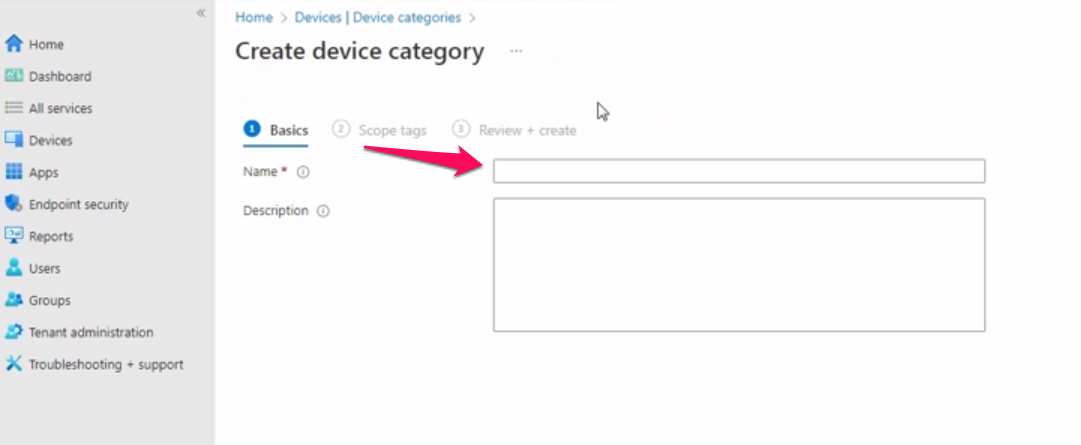
8. Write down a description of the team.
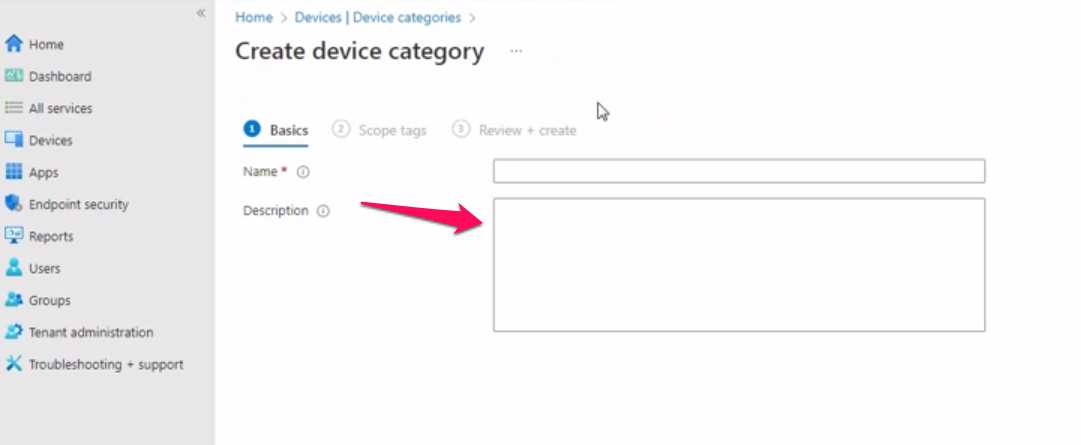
Give a specific description to avoid confusion.
- Click on the “Next” button.
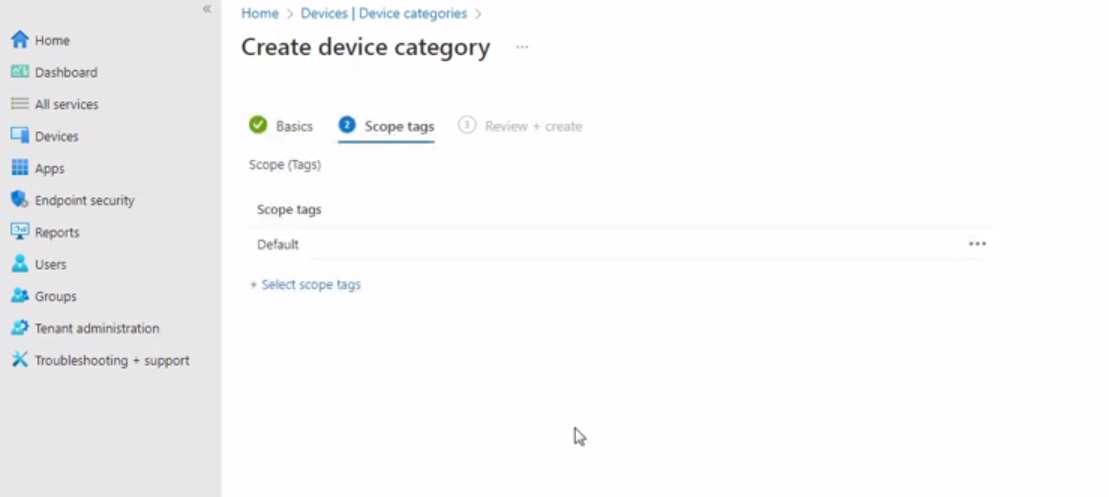
10. Write scope tags for quick search and results.
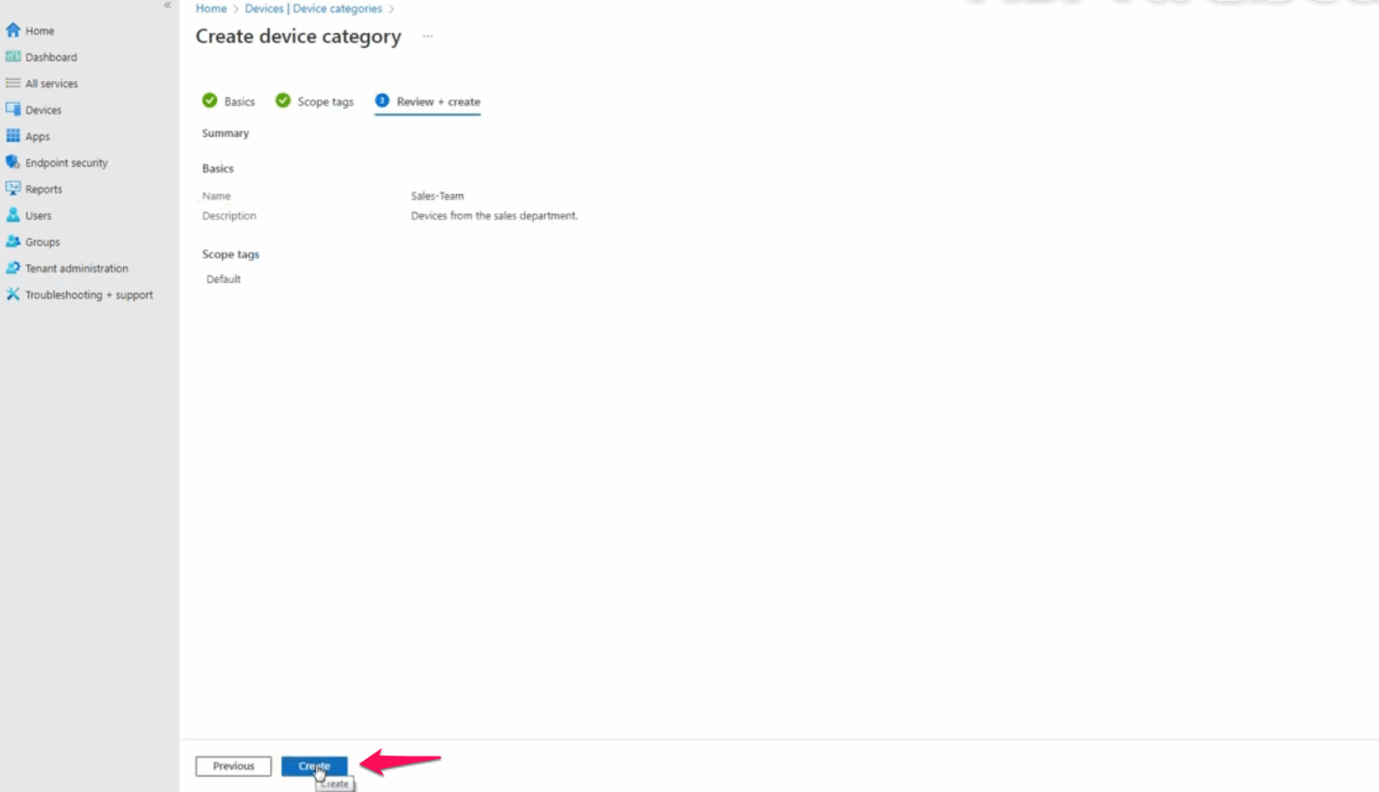
11. Review the new category before moving further.
12. Click on the “Create” button.
13. A confirmation pop-up appears on the website.

14. You can view the new category in the Device Category section.
You can create multiple elements in the section.
How To Assign a Device Category for One Device in Microsoft Intune?
Many experts don’t show you how to assign the category to each device. Follow my lead to categorize the connected devices.
1. Go to the dashboard from the above web link.
2. Click on the “Devices” from the left pane on the dashboard.
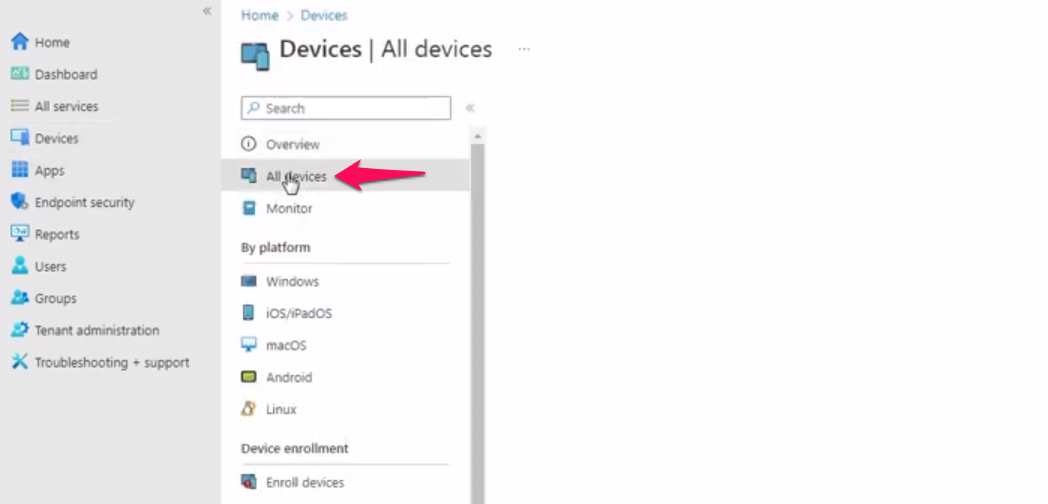
3. Click “All Devices” from the “Overview” section.
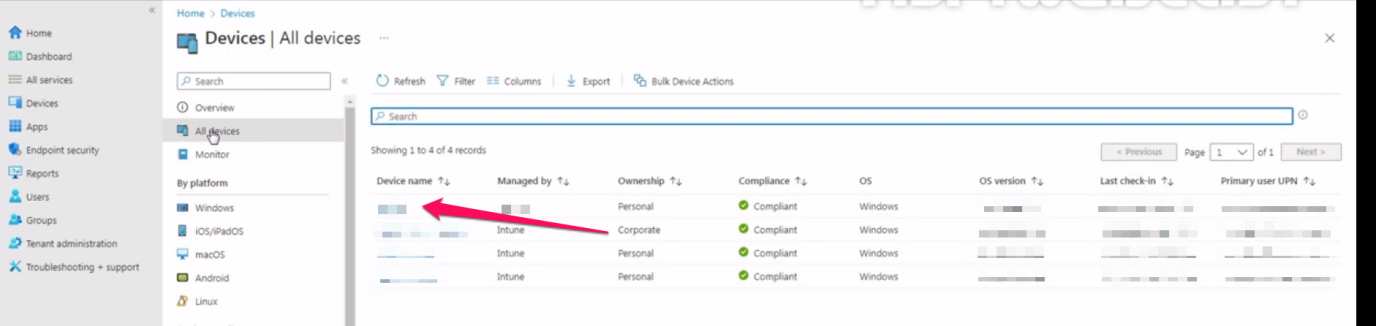
4. Locate the device from the list.
5. Click on the target device. It can be a Windows PC, MacBook, or anything.
6. Click on “Manage” under the “Properties” section. You can find the options under the “Overview” section.
7. Find “Device Category” from the device options.
8. Click on the “Device Category” for the drop-down menu.
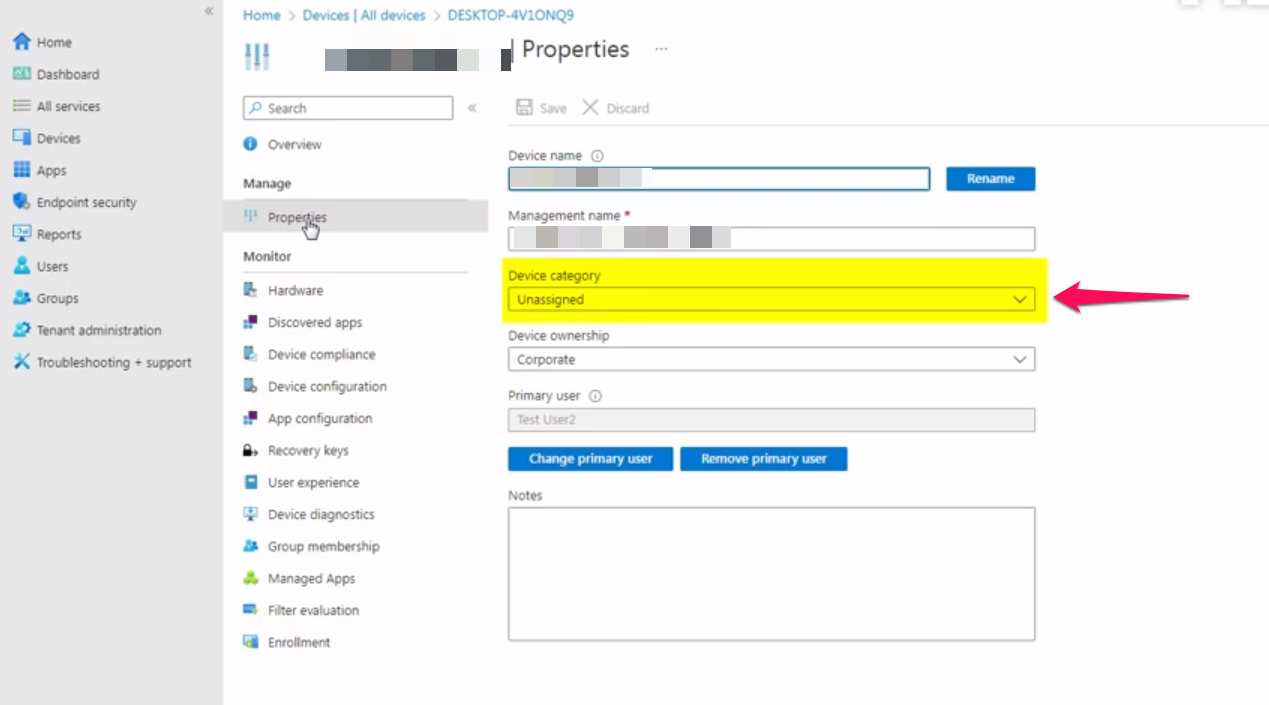
9. Choose a category from the drop-down menu.
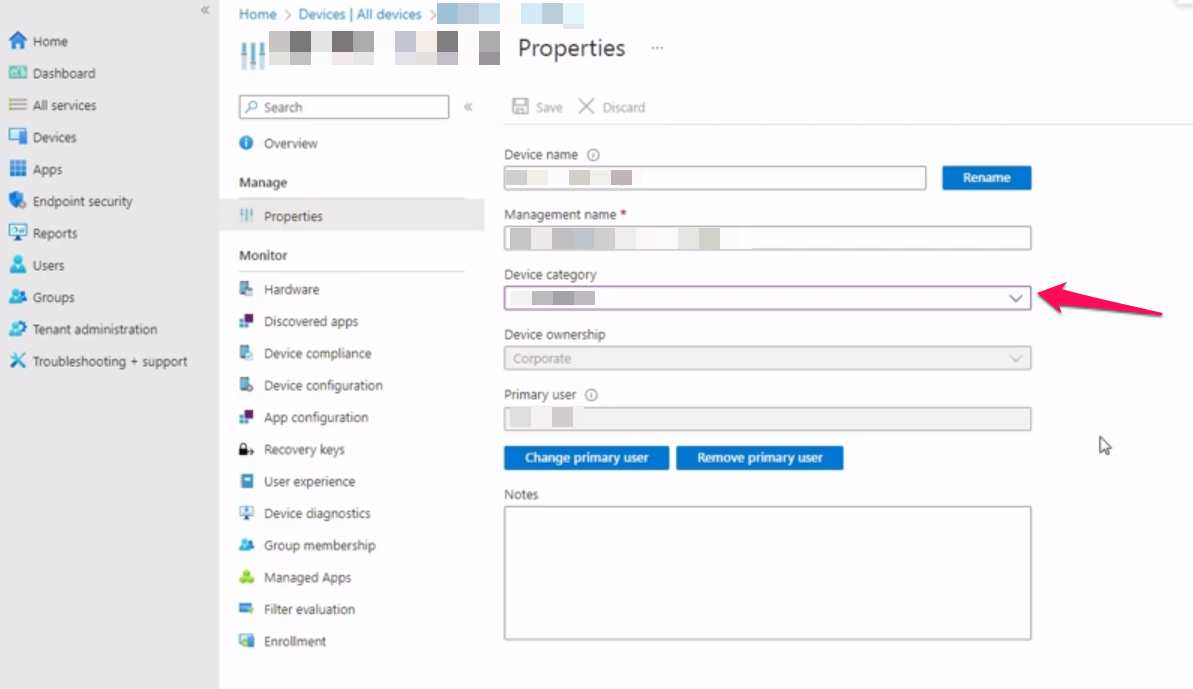
10. Click on the “Save” button.
11. The MS Endpoint manager notifies the new changes in the top left corner.
The newly added device will be a member if you have created a Dynamic Device Group.
How To Delete a Device Catgeory from Microsoft Intune?
You can revert the changes by deleting the category. I have laid down the instructions to delete the categories.
1. Open the dashboard through the web link.
2. Click on the “Devices” on the left pane.
3. Scroll down under the “Overview” section.
4. Click on “Device categories” under the “Other” section.
5. Find the saved Device Category from the list.
6. Click on the “Three-Dots” beside the category.
7. Two options will appear on the screen.
8. Click the “Delete” button.
9. The confirmation pop-up appears on the screen.
10. Read the warning message from the pop-up. Click on the “Yes” button.
11. A confirmation message will appear in the top left corner.
You have successfully deleted the category from the account.
What Happens to the Device After Deleting the Category?
The Microsoft Endpoint system recognizes the changes and removes the category from the device. The system will change the device category to “Unassigned” in the properties. You can check the changes by following the first tutorial. Bookmark the page if you want to come back and assign a category later.
Bottom Line
The instructions on the official Microsoft docs have explained the matter, but they won’t provide a step-by-step tutorial. Nevertheless, I have explained the process to create, add a device, and delete the category. Let us know what challenges you faced in the comment section.